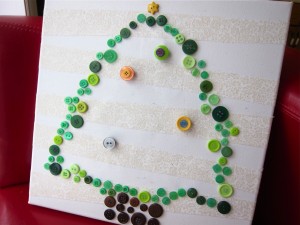
 As promised, here is the button Advent calendar that I made. Sam has been having fun selecting a button magnet to place on the tree each day. It is slowly getting more colourful as the days pass. And once again, I failed to do a step-by-step photo documentation of how I made this beauty, but it’s really pretty simple. Here’s a list of the supplies you’ll need:
- store-bought white canvas (any size or shape)
- strips of white or beige (fairly neutral) fabric
- Mod Podge matte finish
- craft paint brush
- hot glue gun & plenty of glue
- buttons (lots of green, some brown, and various colours for the ornaments)
- strong magnets
- thin strips, sheets, or pieces of metal (I just used the round metal bits that the magnets come mounted on when you purchase them)
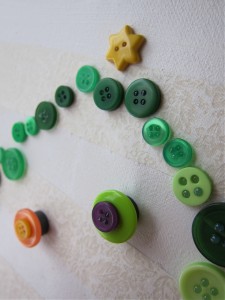 First step, I used Mod Podge to attach the strips of fabric to the canvas (you could just skip this step & leave the canvas blank, but I thought it needed some subtle “sprucing up”). Let dry.
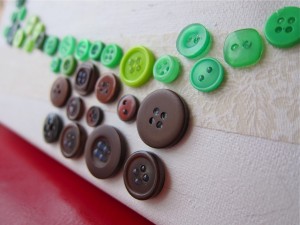 Next, I arranged my green buttons on the canvas, loosely forming the shape of a tree. Then used brown buttons for the trunk of the tree. Once I was satisfied with the design, I got to work with the hot glue gun, fixing each button into place.
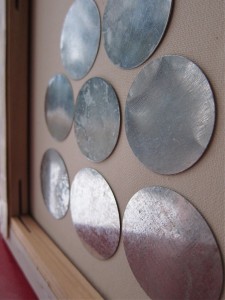 Then I flipped the canvas over and, once again using the hot glue gun, attached the thin metal pieces.
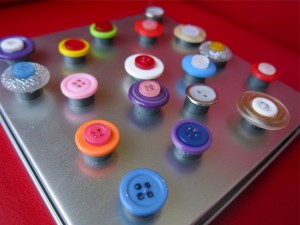 Lastly, I made the button “ornaments” by stacking colourful buttons onto each other and then gluing them onto a magnet.

Love it! Pinned it! Gotta make one!
Yay! Thanks, Shauna!