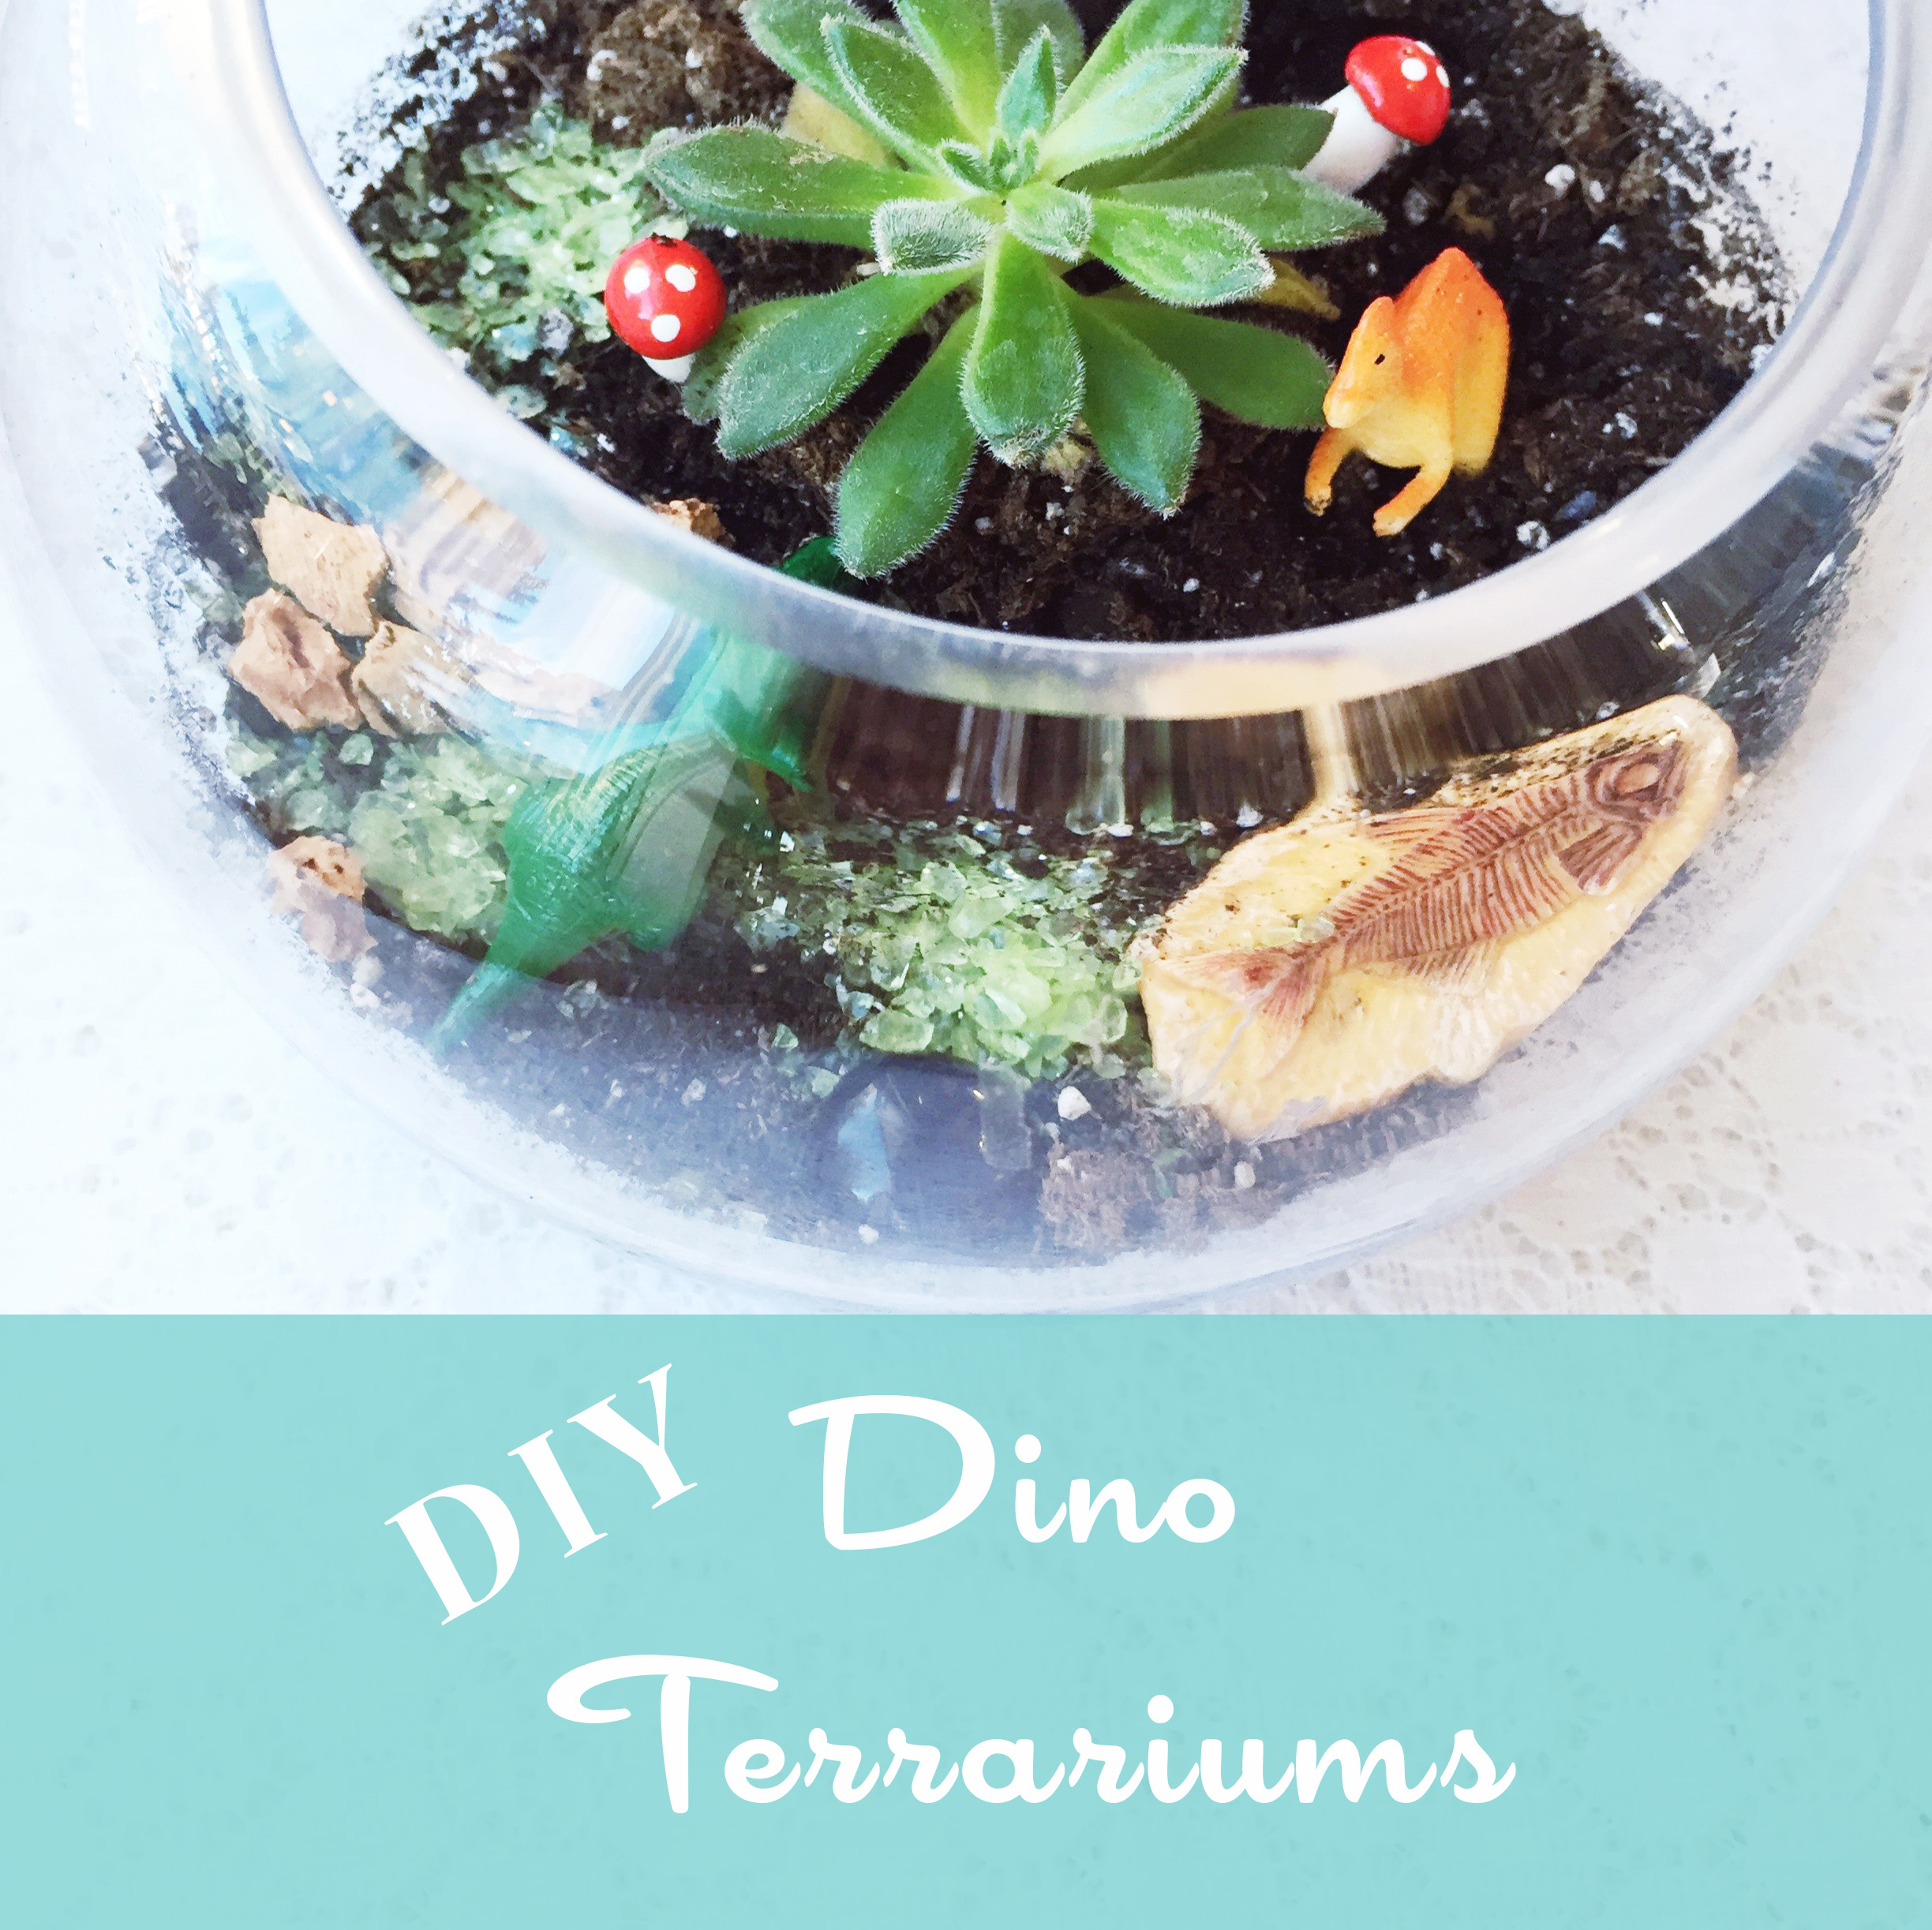
This was the second year in a row that Sam requested a Dino themed birthday party and when you’re kiddo is turning FIVE, you smile & embrace all the fun! Which for me, means diving into all the Dino Pinterest projects I’m constantly pinning.
I grew up in the age of birthday favors, but struggle a bit with them now as a mama. In the past, it has just been candy. This year, I really wanted something the kiddos could keep & enjoy. From that the Dino Terrariums started to take shape. I opted for spending more money on the favors, but made them serve dual duty as a party craft too.
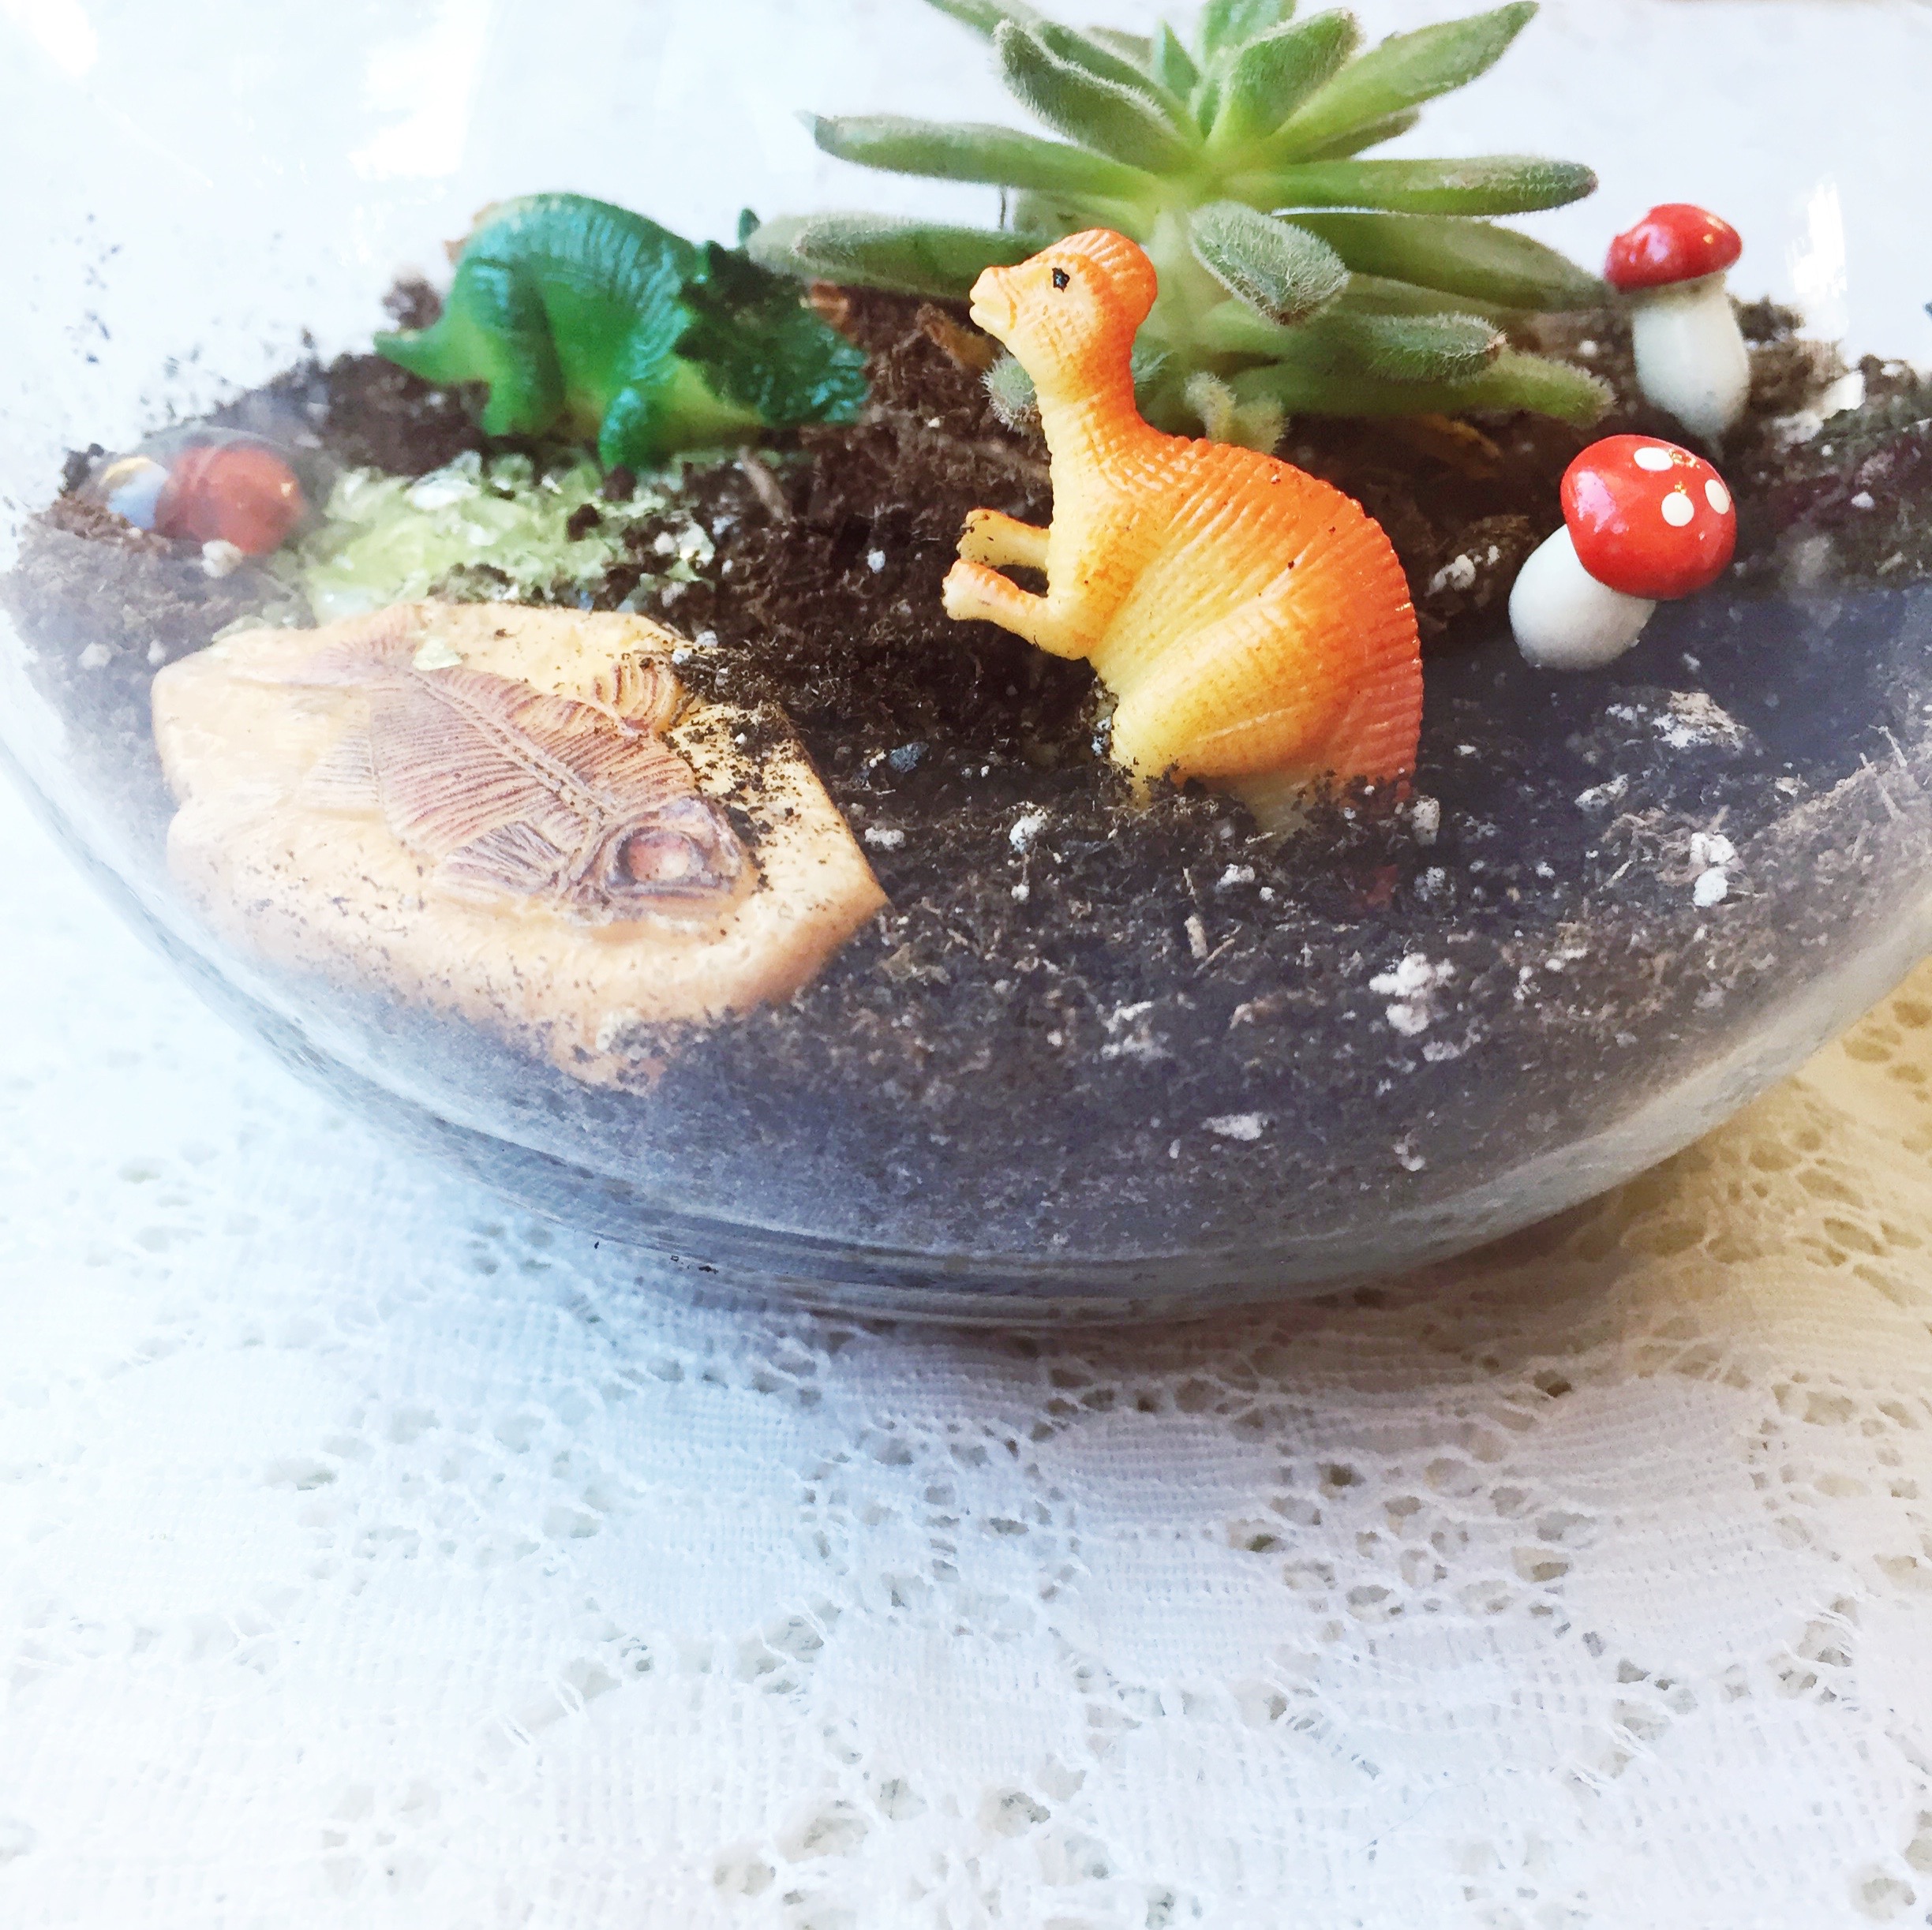
Here’s a basic list of the items you’ll need {for any type of succulent terrarium}. We found many of these supplies at our local, specialty terrarium shop Plant:
- Glass container {any shape or size that you feel works}
- Small, pea-sized pebbles
- Activated charcoal
- Succulent soil
- Potting soil
- Small succulent
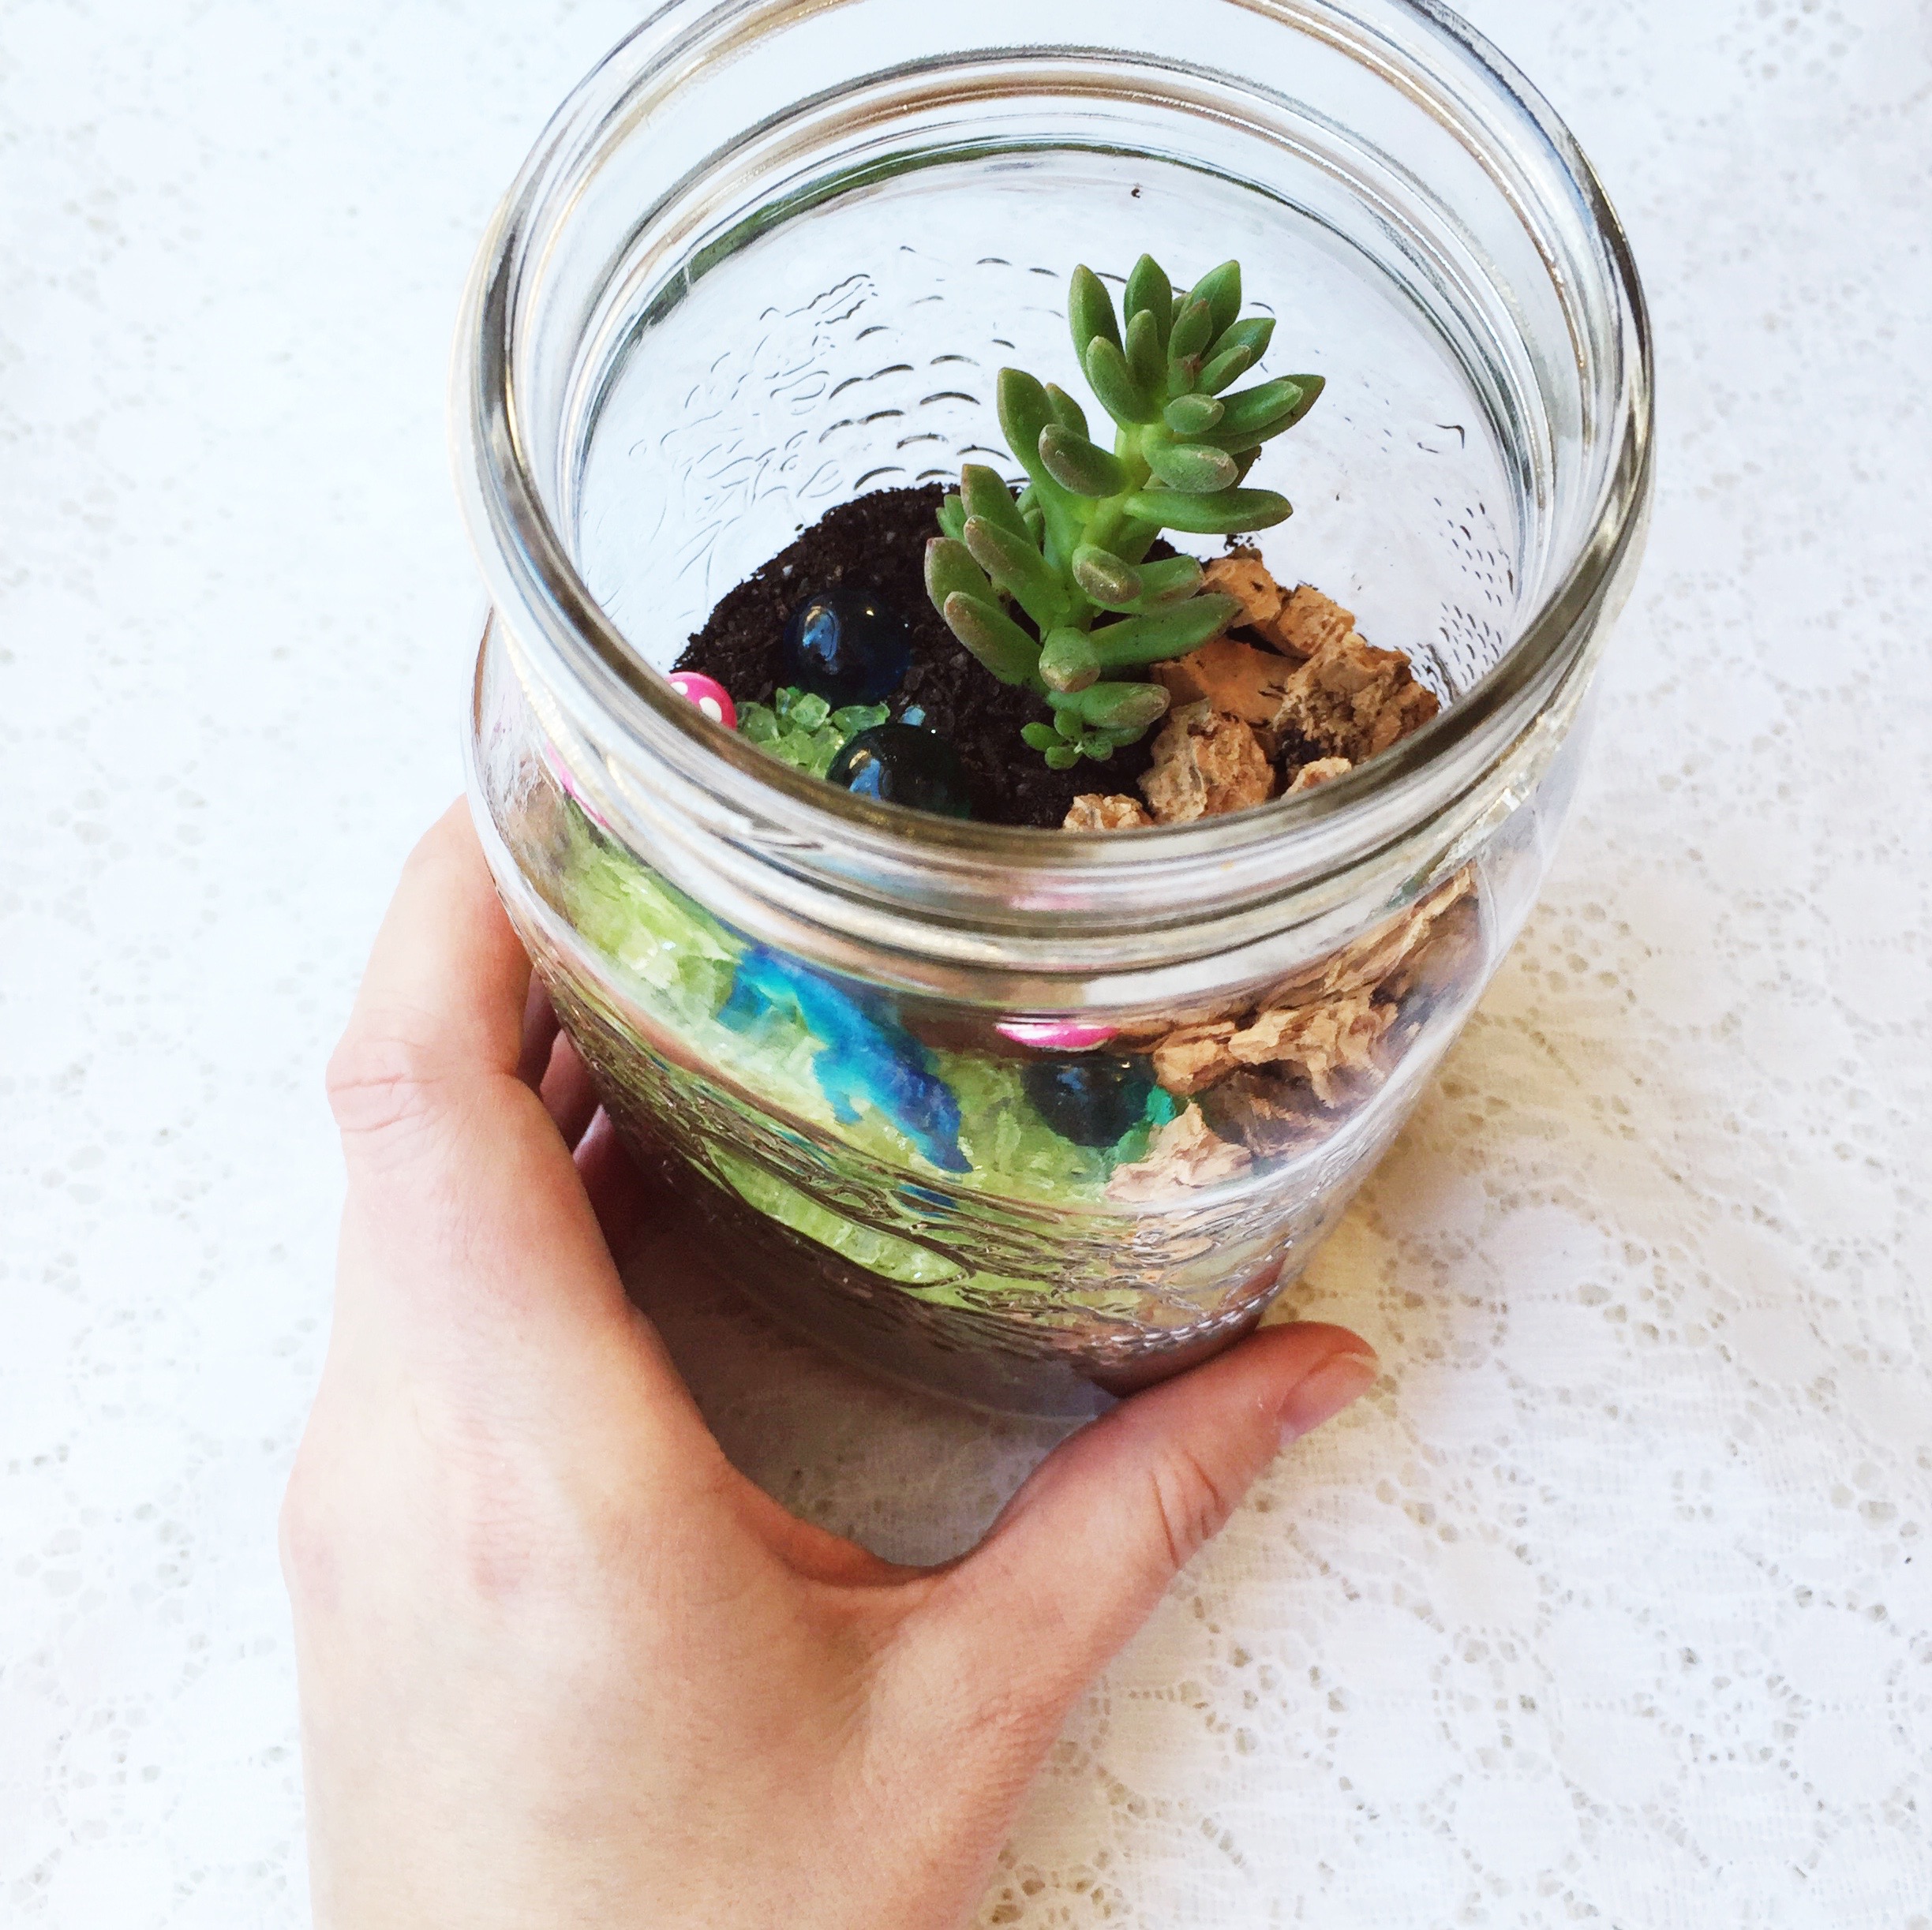
The above list gets layered into your glass container {1 inch of pebbles first, thin layer of charcoal, 1 inch succulent soil, 1 inch potting soil}. Determine the position of your succulent and make a small hole to place it in.
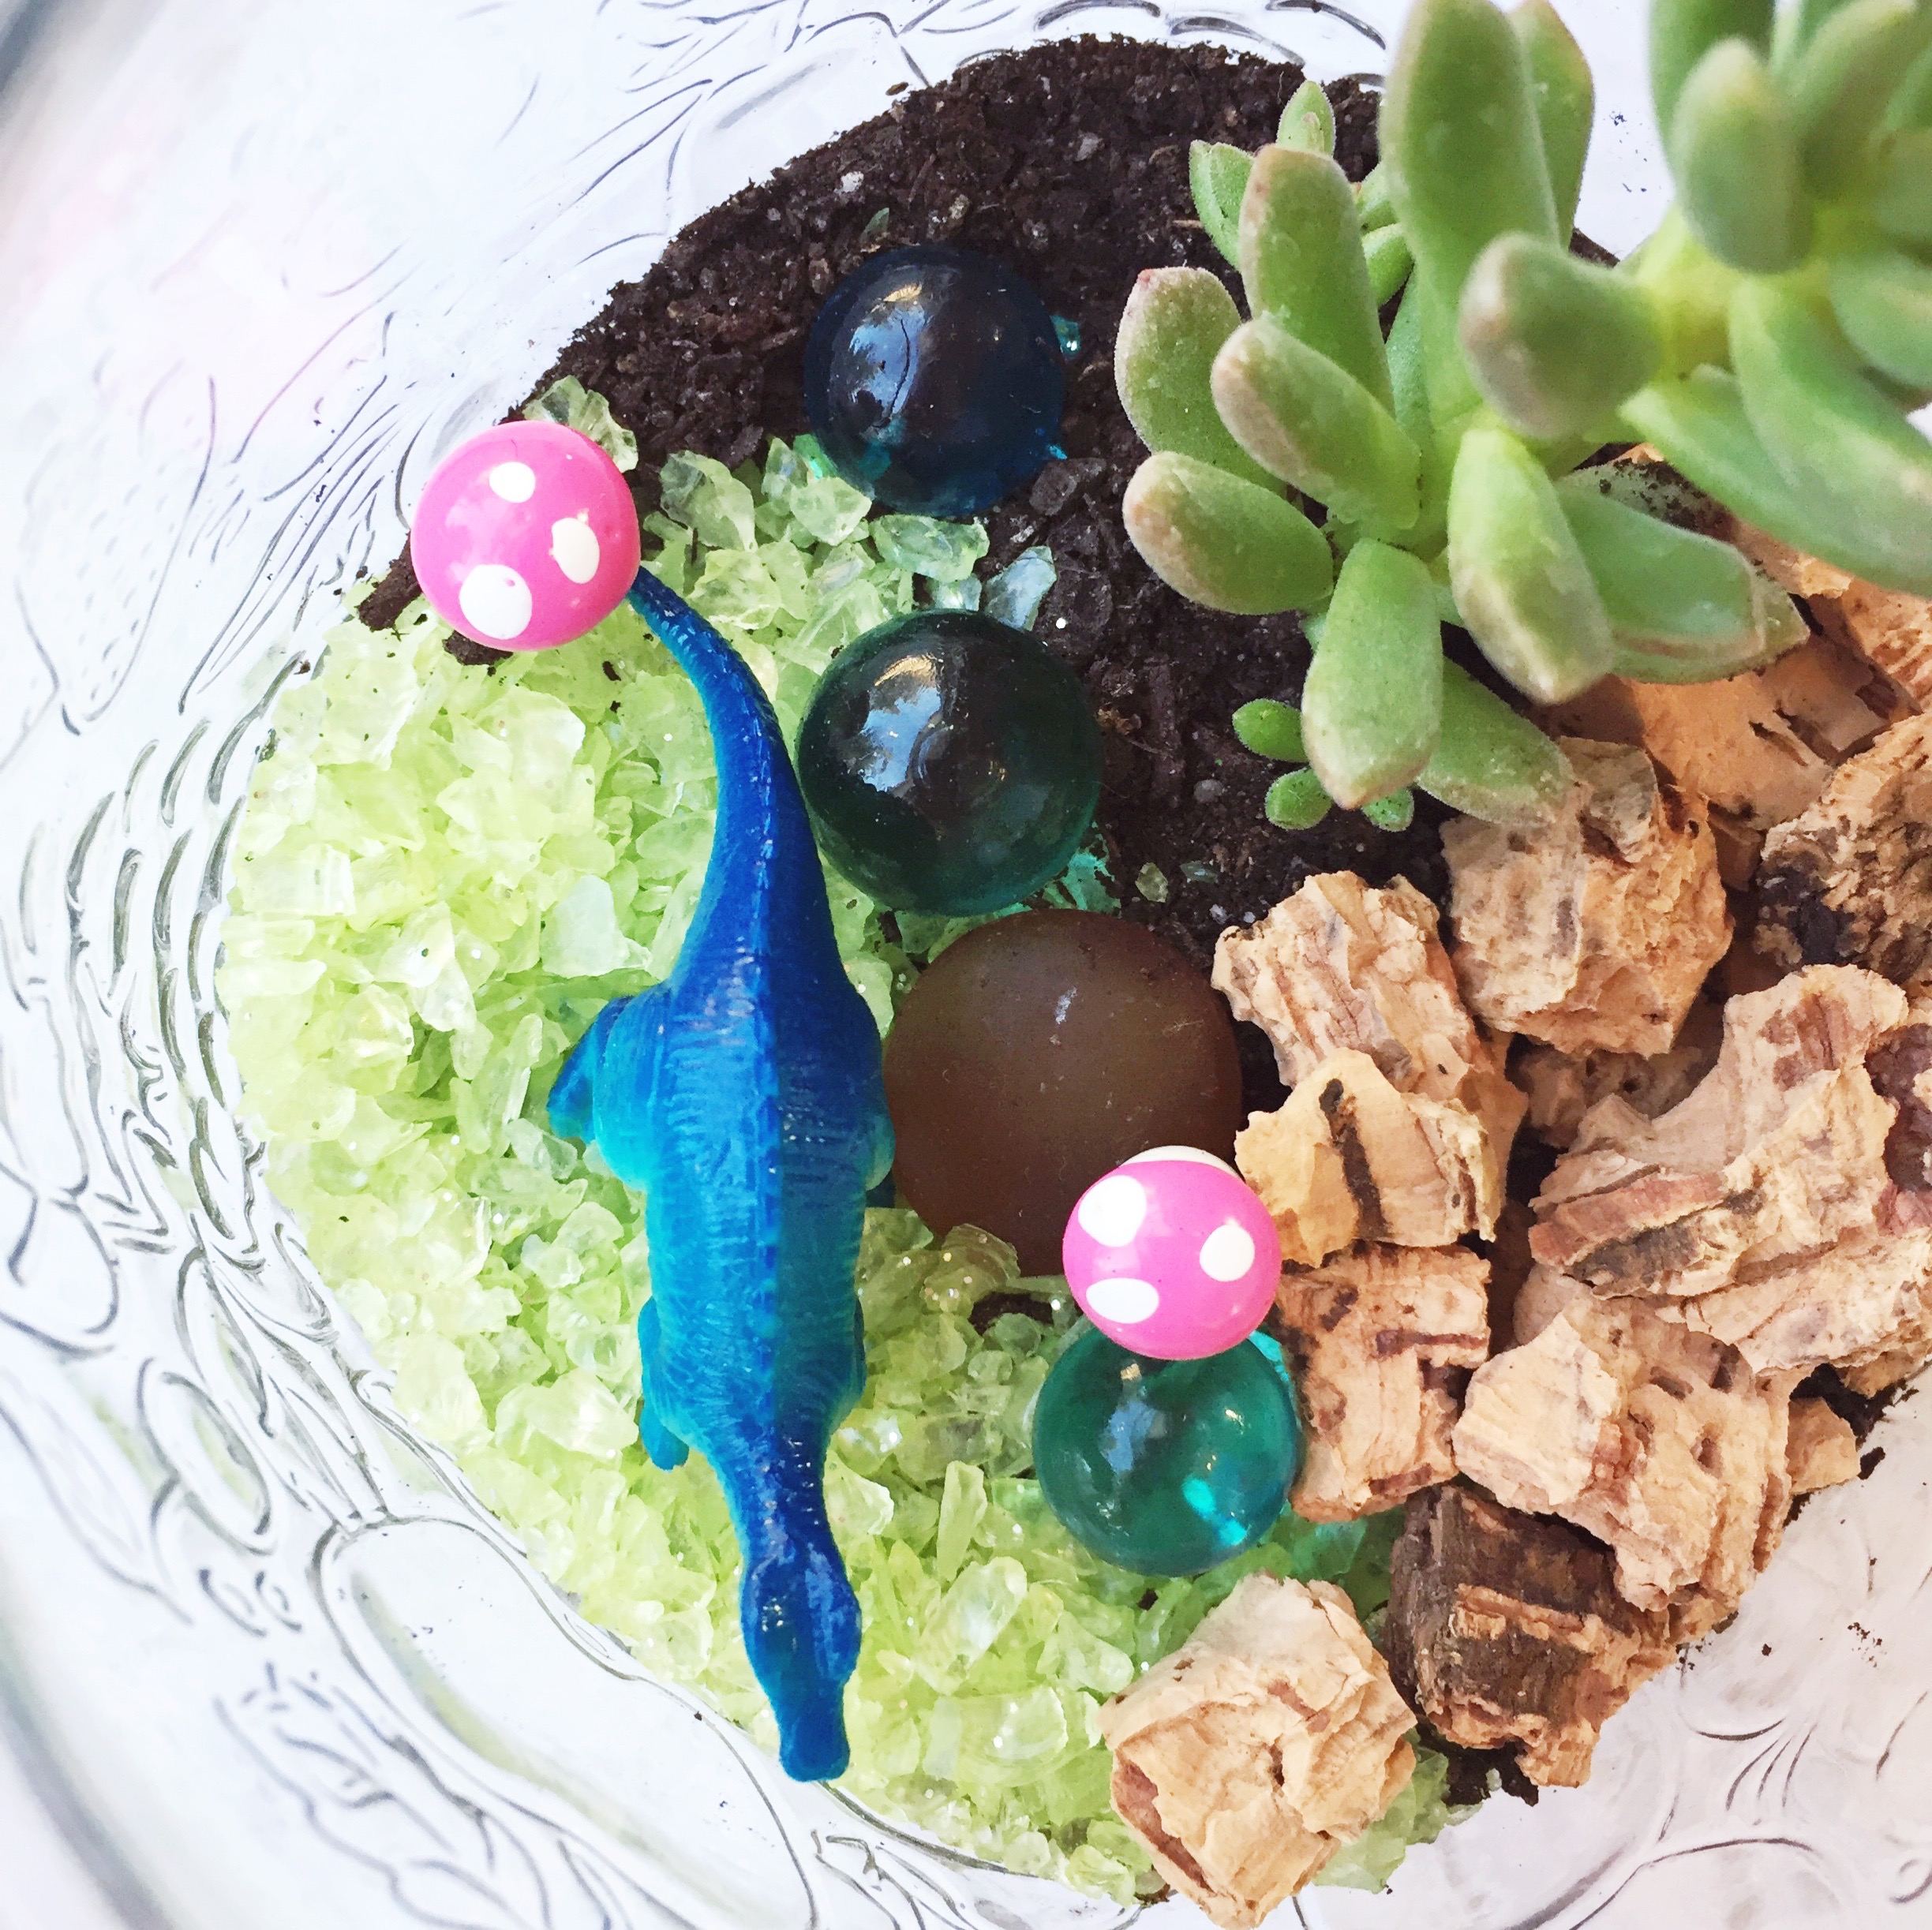
Next comes the fun part! All the landscaping & decorating. I just gave myself some time to hit up a couple of dollar stores and the craft store, shopping with an open mind. Get creative with it! Obviously, we were picturing some kind of Dino-scape, but you can easily alter it for any birthday theme {fairies, mermaids, Pokemon, cars/trucks, etc}.
I purchased a couple different sizes of dino sets, package of plastic fossils, bag of marbles, bag of glass plant pebbles, container of glitter rocks, canister of cork bits, package of tiny mushrooms, etc. Again, get creative with it!
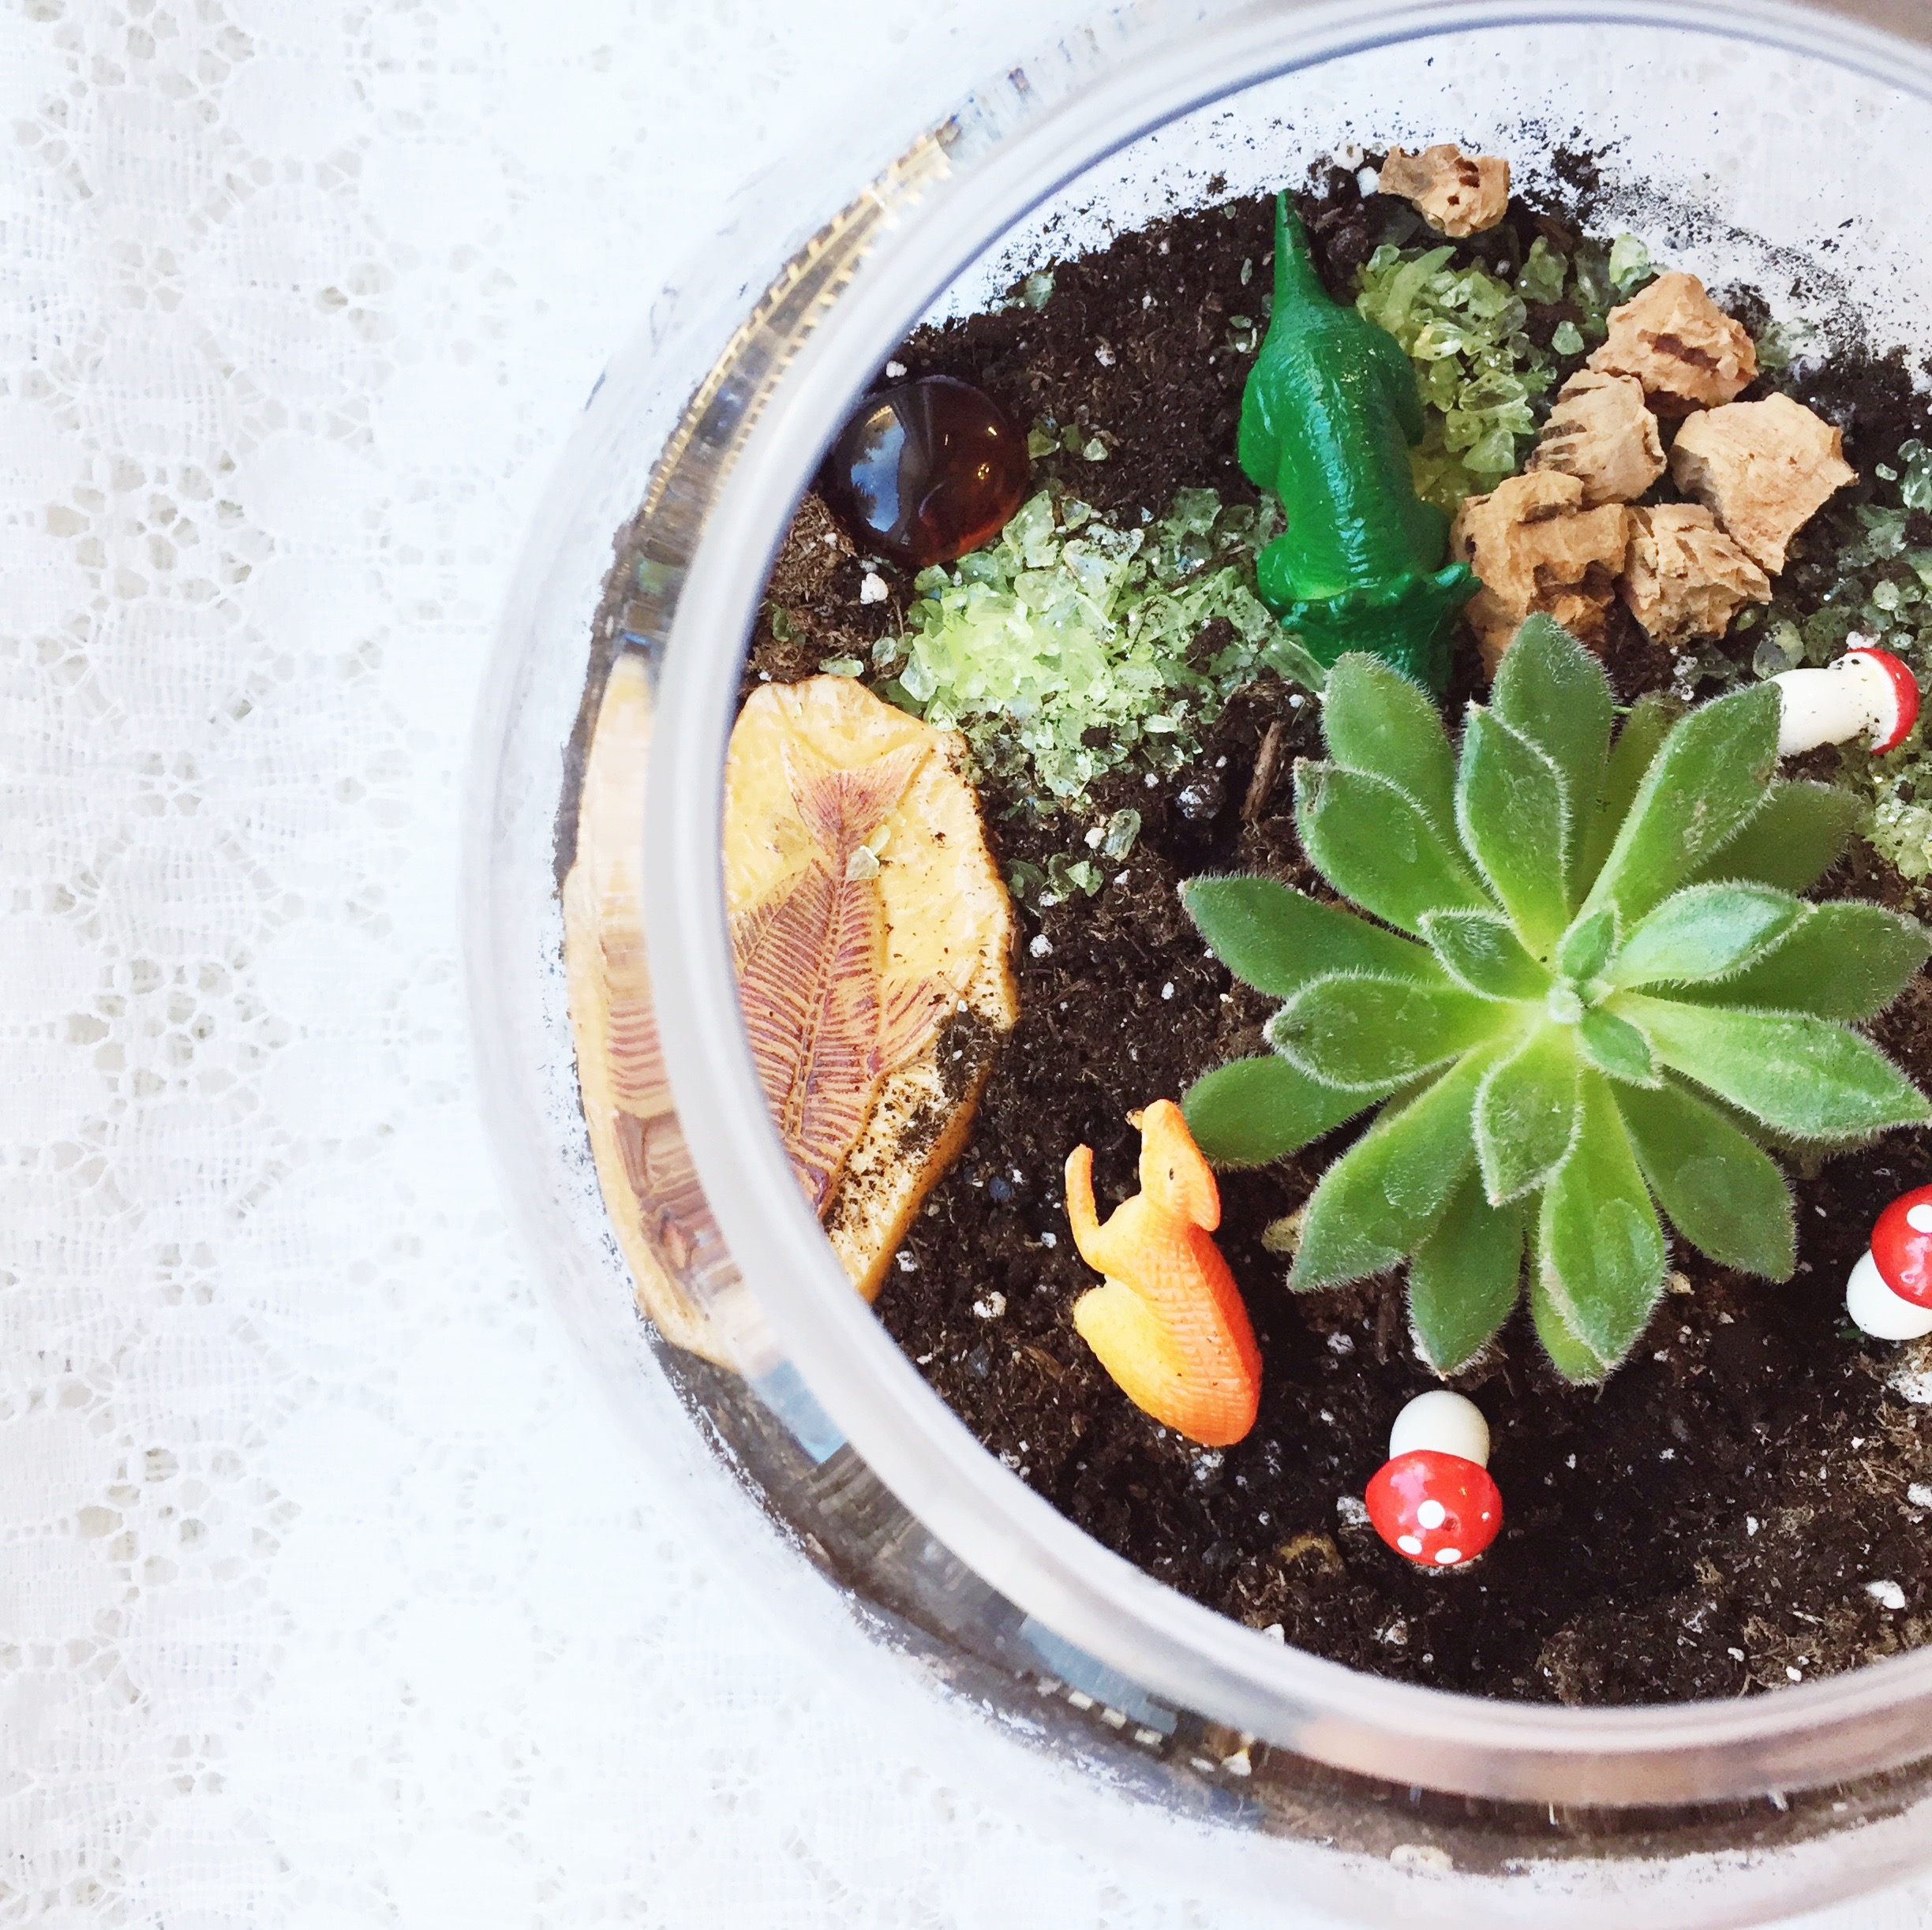
If you’re doing this as a birthday party craft, here’s my suggestions:
- Have this setup at a table before the kiddos arrive
- Use a big plastic tablecloth for easy, quick tidying {we served cake at the same table}
- A second set of adult hands is extremely helpful
- Have one terrarium all complete so the kids can see what they’re making
- Put the various planting supplies in separate containers {large mason jars & buckets}
- Put the landscaping materials in separate containers
- Lay all the dinos & decorations on a baking sheet in the middle of the table, so the kiddos can easily pick their faves
- Show each step, then pass the supplies around the table {we did it with a group of 7 kids, who were extremely patient}
- Write out care instructions on small tags before the party
- As each kiddo finishes their terrarium, write their name on the flip side of the tag and simply set it in the container {then there’s no confusion during pick-up time at the end of the party}
And those care instructions… “Succulent Terrarium: sunlight, water every 2-3 weeks” Easy-peasy and no pressure on parents to care for them.
PS – The first Dino terrarium I tried, I used a large, wide-mouth mason jar {cause we have cupboards full of jars}, but it didn’t turn out so well. It was hard to see inside the terrarium, so I went on a hunt for glass containers. There’s plenty of affordable options, and honestly, the container is half the fun {at least for this mama}.
Happy making!
