DIY Dino Terrariums

DIY Dino Terrariums ~ Succulent Terrarium Tutorial ~ Kid's Dino Birthday Party

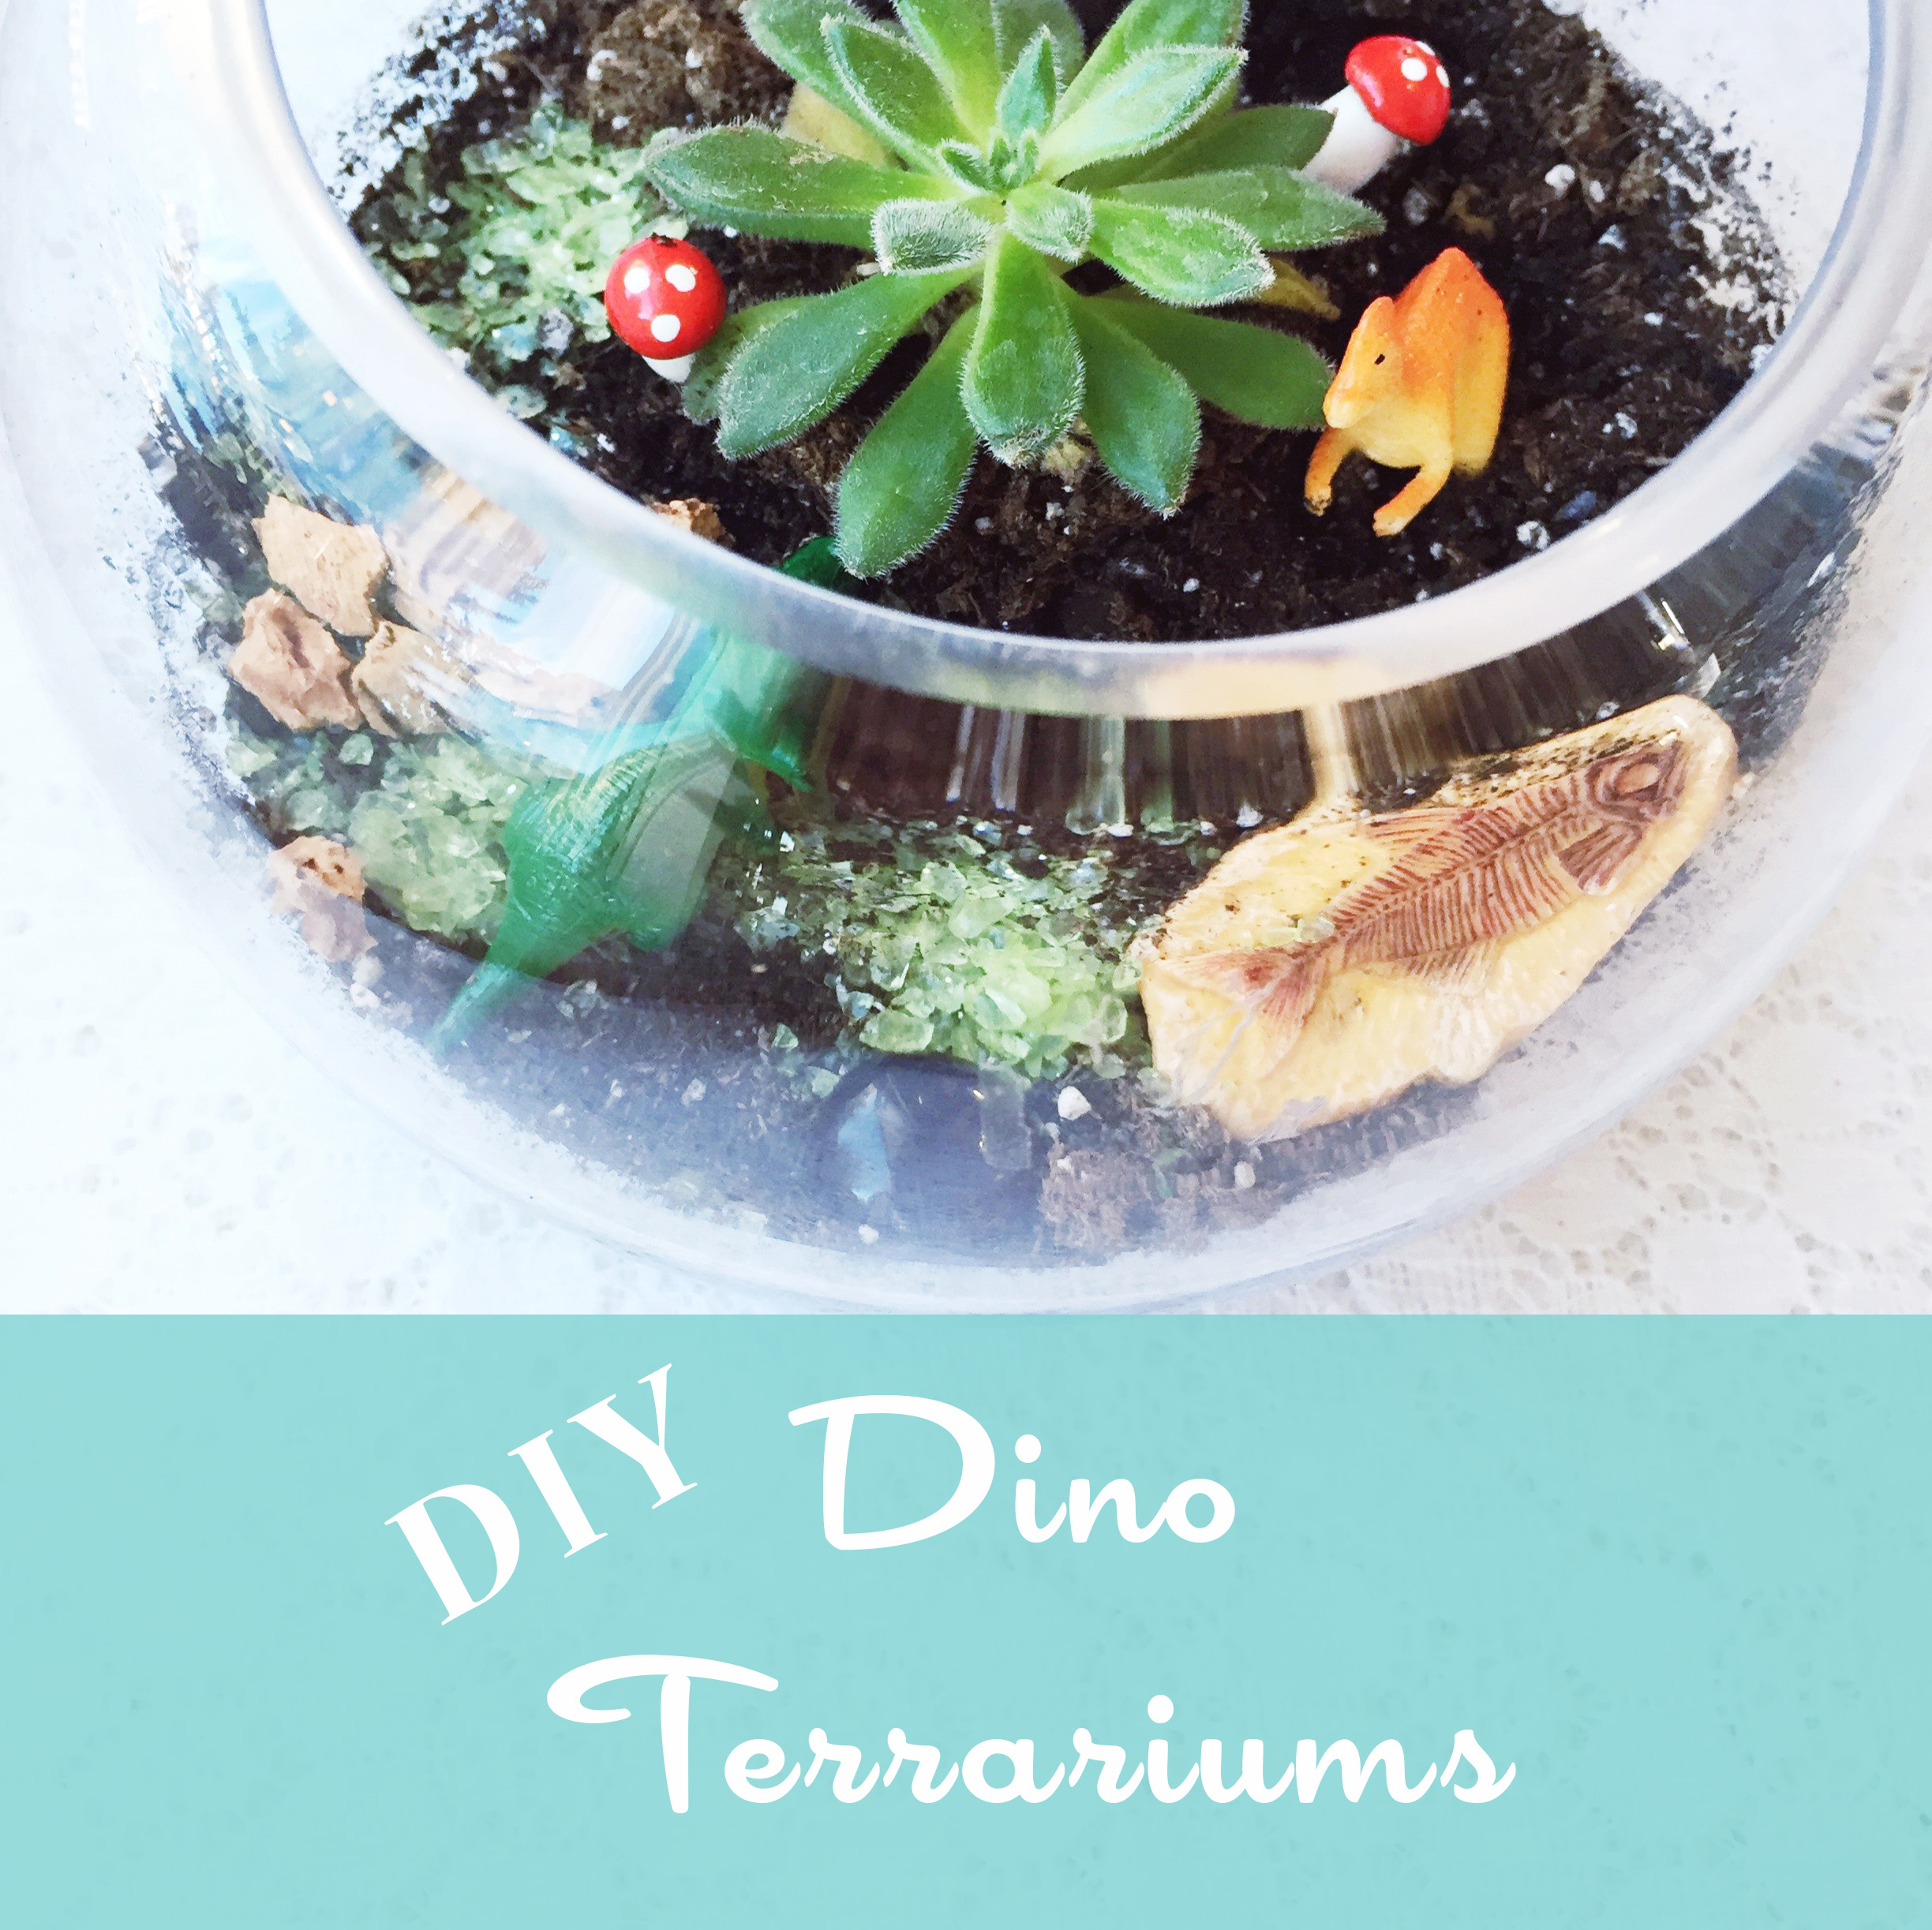
This was the second year in a row that Sam requested a Dino themed birthday party and when you’re kiddo is turning FIVE, you smile & embrace all the fun! Which for me, means diving into all the Dino Pinterest projects I’m constantly pinning.

I grew up in the age of birthday favors, but struggle a bit with them now as a mama. In the past, it has just been candy. This year, I really wanted something the kiddos could keep & enjoy. From that the Dino Terrariums started to take shape. I opted for spending more money on the favors, but made them serve dual duty as a party craft too.

{Read More}

(more…)

Happy Heart Day!

{Otherwise known as Valentine’s Day}


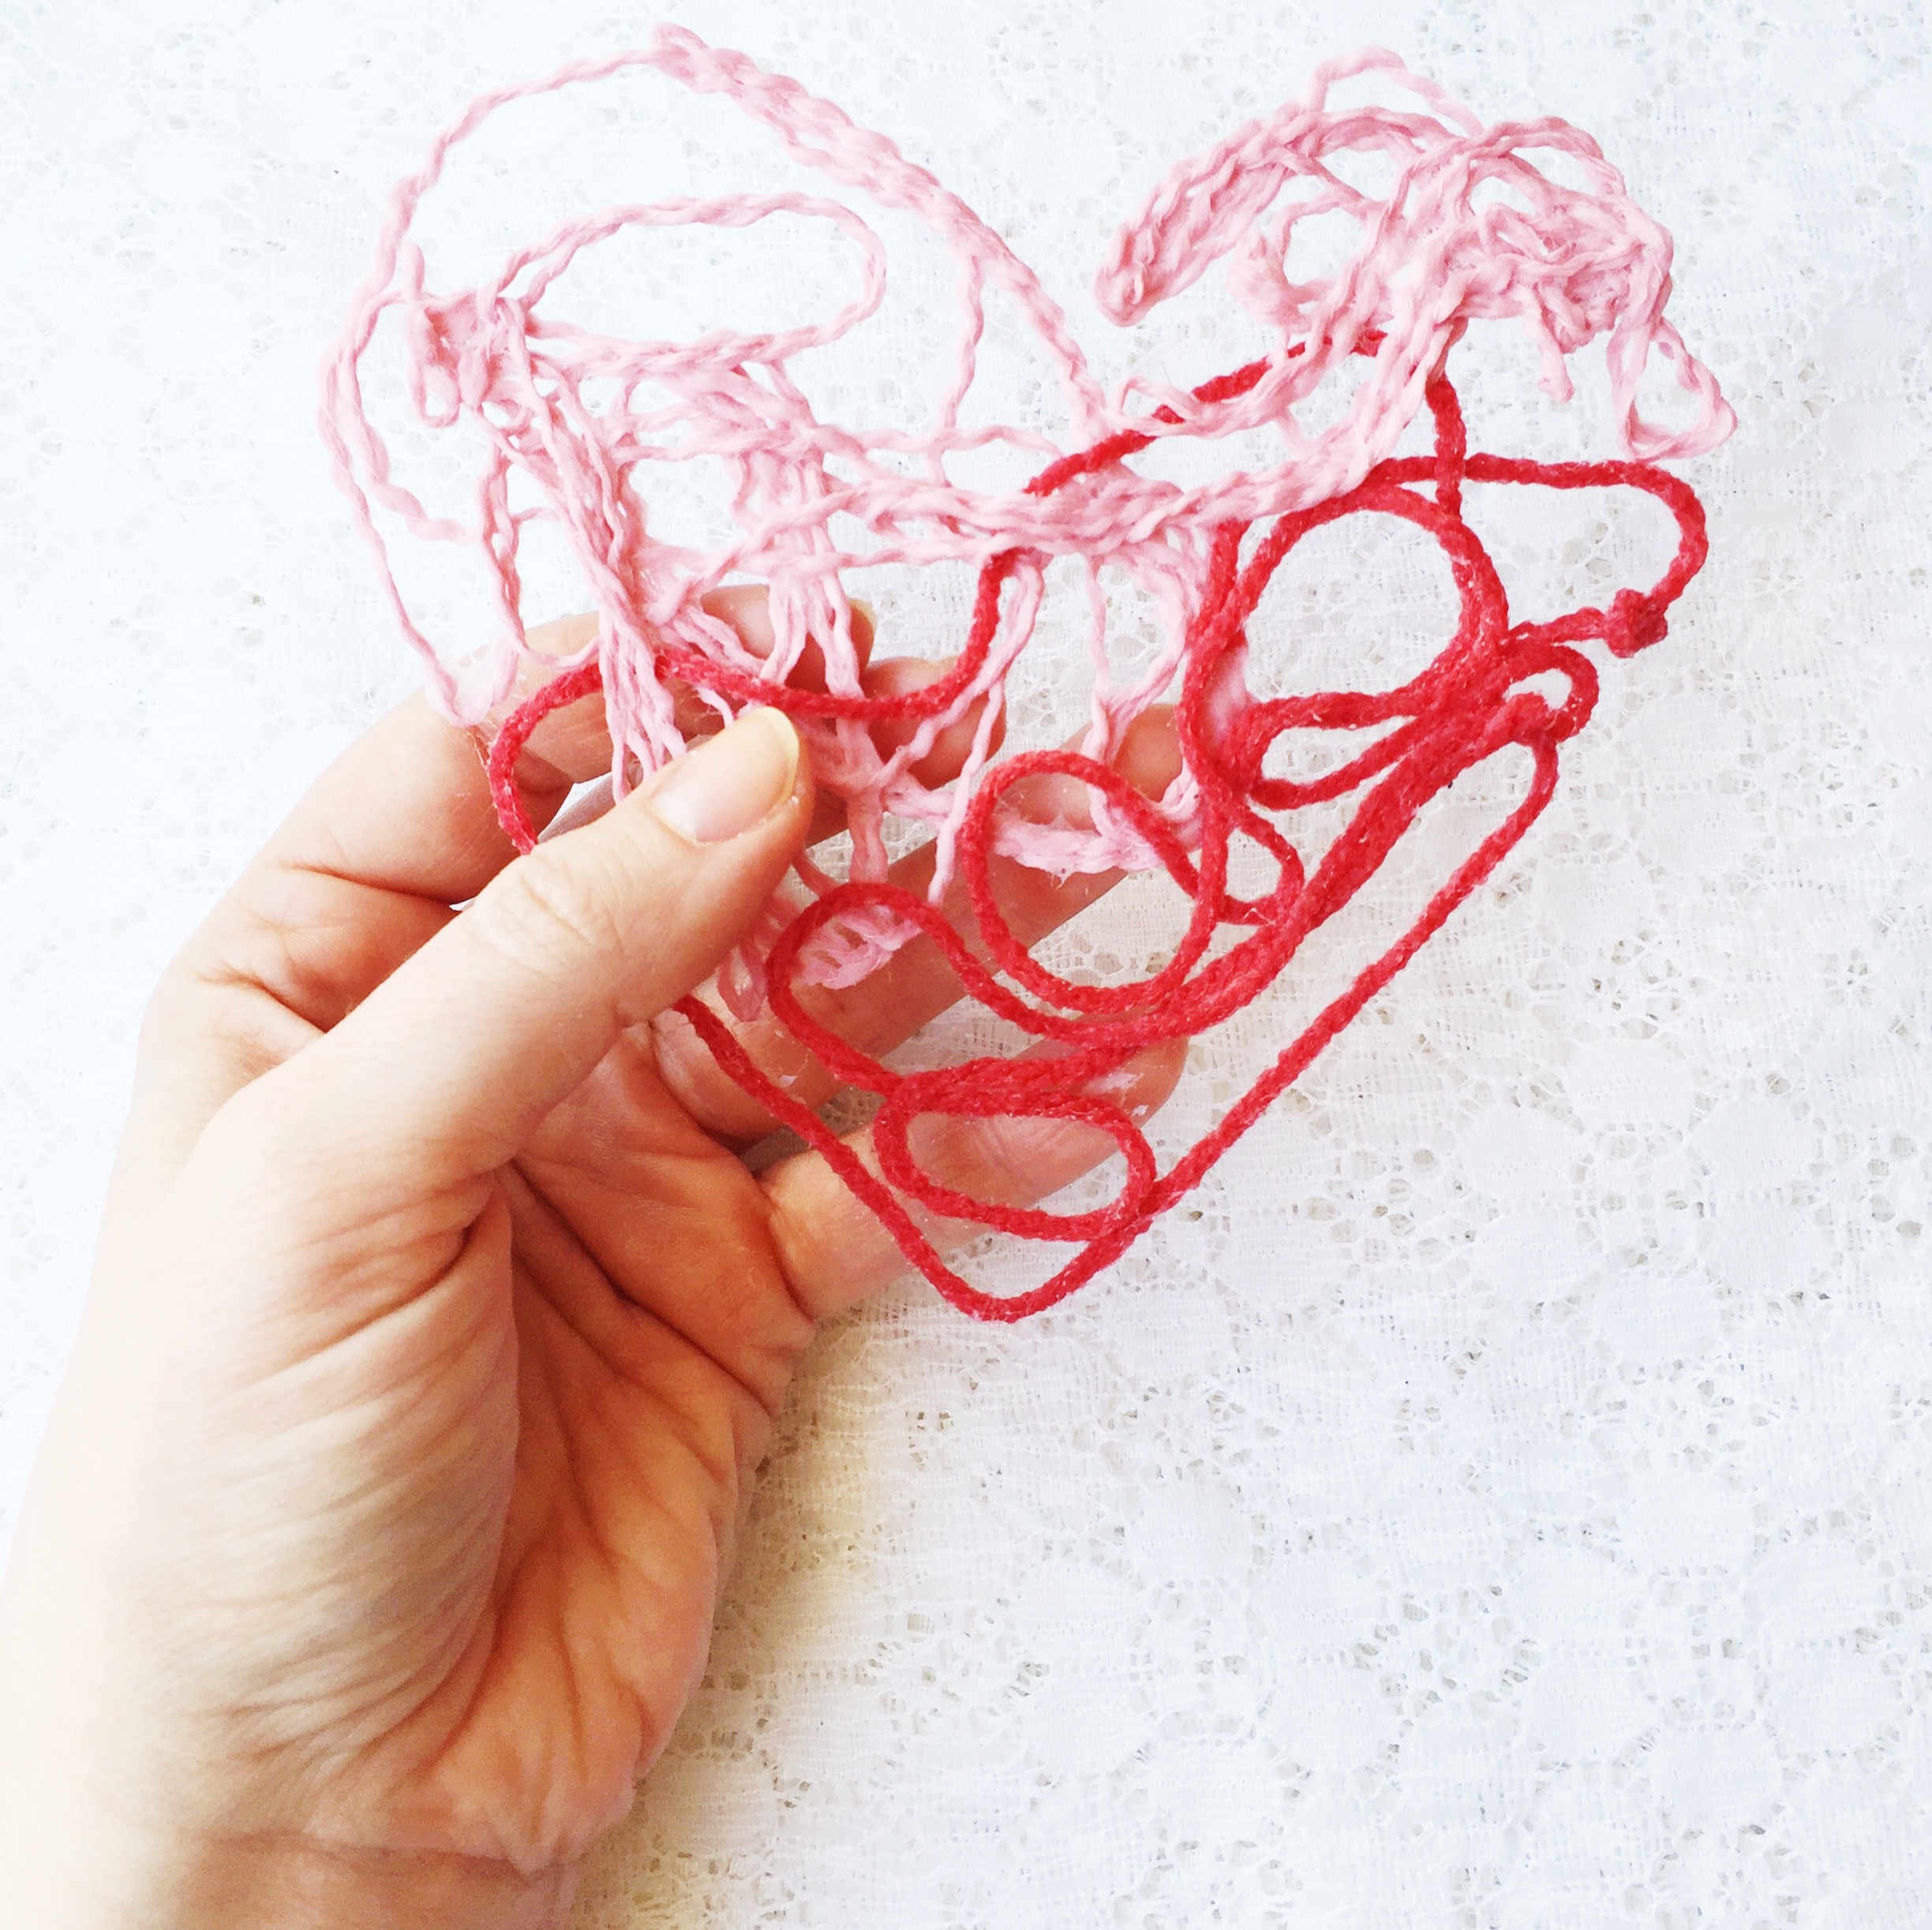
DIY yarn heart kids craft


We made these yarn hearts last week. Yarn dipped in white glue and placed on wax paper in a heart shape… trace a heart shape on the wax paper to make it easy. Let dry over night. Peel off. They’re flat enough you could attach them to cards or pop in an envelope to mail.

Santa’s Workshop: DIY Salts & Sugars

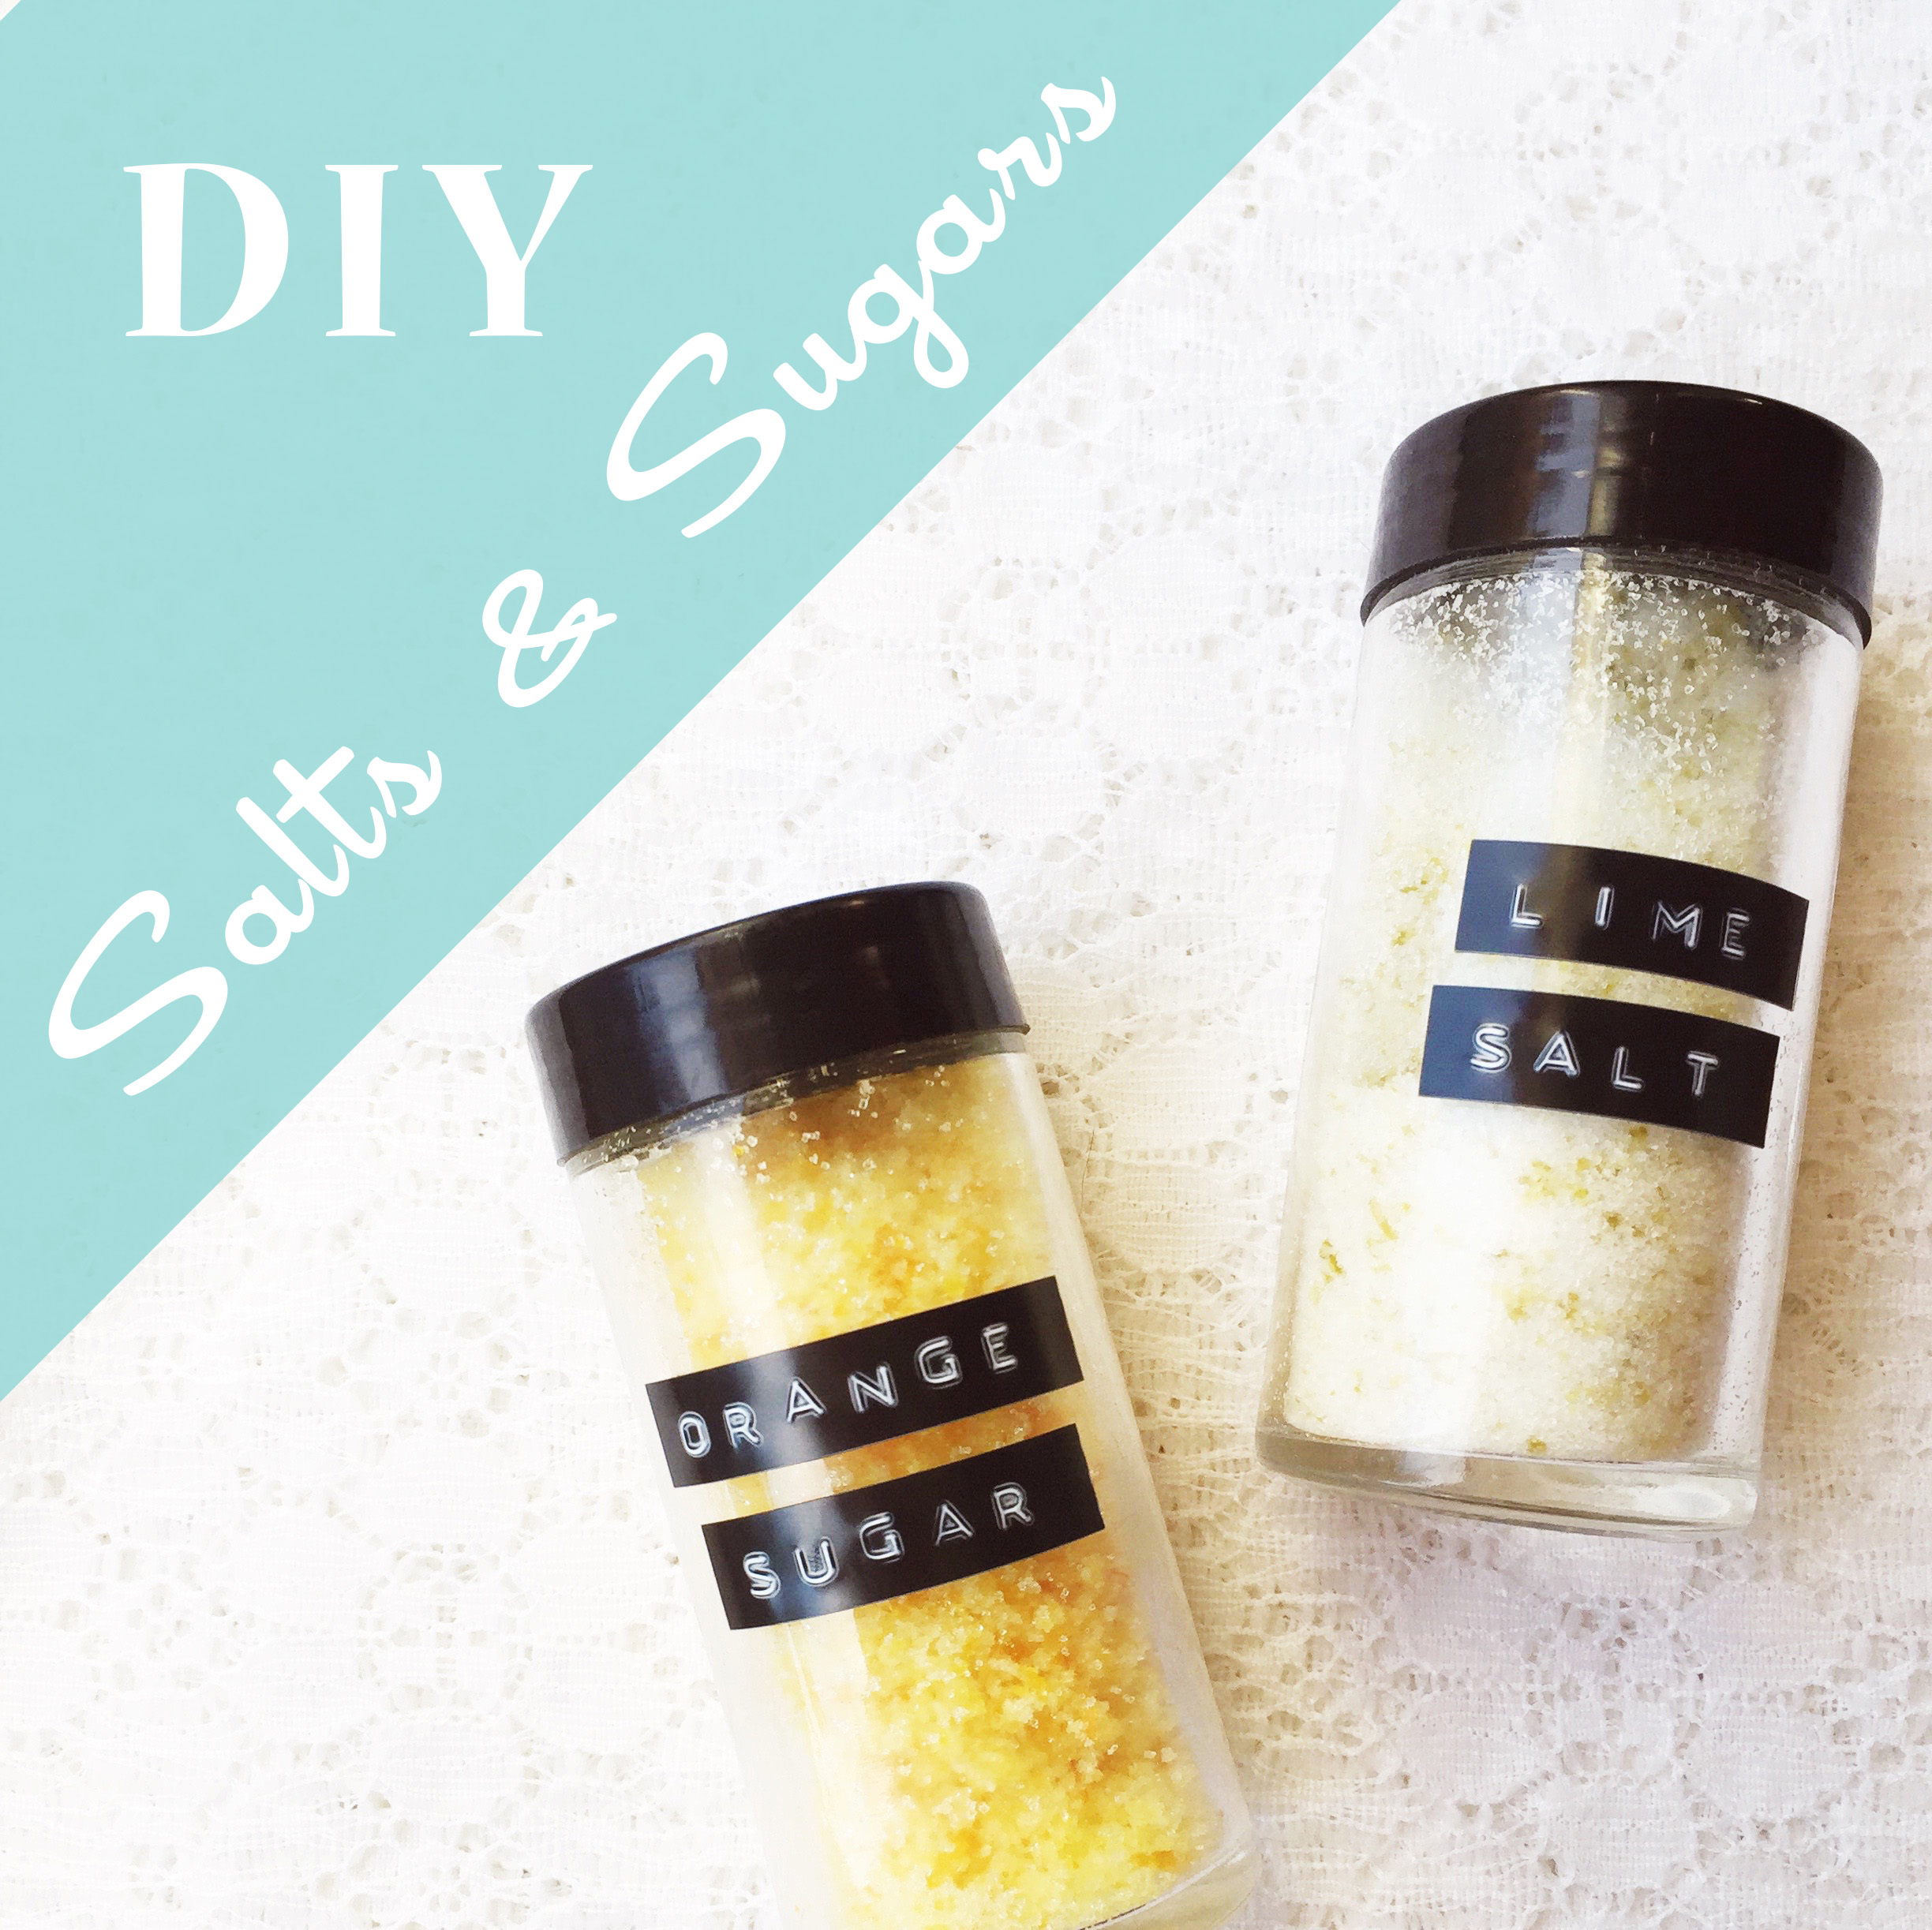
Santa's Workshop: DIY Salts & Sugars ~ Essential Oil Infused ~ by Bubblegum Sass


I was gifted a lovely & deliciously useful salt & sugar set infused with essential oils. It’s one of those things, at first glance, you’re not sure how you’ll use it, but I quickly changed that attitude into “what won’t I use them in?!” Turns out they are simple to make, and really handy to have sitting on the kitchen counter to shake in here & there.

{Read more}

Let’s just jump into it:

Lime Salt

  • 1/2 cup of fine sea salt
  • 15-20 drops of Lime essential oil
  • fresh zest from one lime

Zest your lime & set aside {don’t let your now naked lime go to waste; slice it up & add to your water, or juice it & put it towards a margarita}. Mix together sea salt & lime essential oil, breaking up clumps. Add lime zest. Mix well. Put into whichever container is most convenient. Mine came in spice shakers, which work awesome.

Orange Sugar

  • 1/2 cup of white sugar
  • 7-10 drops of Orange essential oil
  • fresh zest from one orange

Zest your orange & set aside. Mix together sugar & orange essential oil. Add orange zest. Spread mixture onto baking sheet to air dry. Scoop into container, breaking up clumps as needed.


Santa's Workshop: DIY Salts & Sugars ~ Essential Oil Infused ~ by Bubblegum Sass


Now here’s the best part… you can do a whole variety of citrus infused salts & sugars using citrus zests & essential oils! The other amazing thing, is the number of ways to use these. I’ve sort of lost track of how many thing’s I’ve added them to. The salt gets added to random cooking, from veggies to chicken {lime salt & cooked beans is super tasty}. The sugar gets added to things like plain greek yogurt & homemade applesauce. I keep ours handy on the kitchen counter, so whenever I’m at a loss or just plain too tired to decided on flavours or seasonings, I grab one of these. They make a great hostess gift too!

Happy cooking!

Santa’s Workshop: Marble with Nail Polish

Santa's Workshop: Marble with Nail Polish ~ DIY Gift Ideas ~ Bubblegum Sass


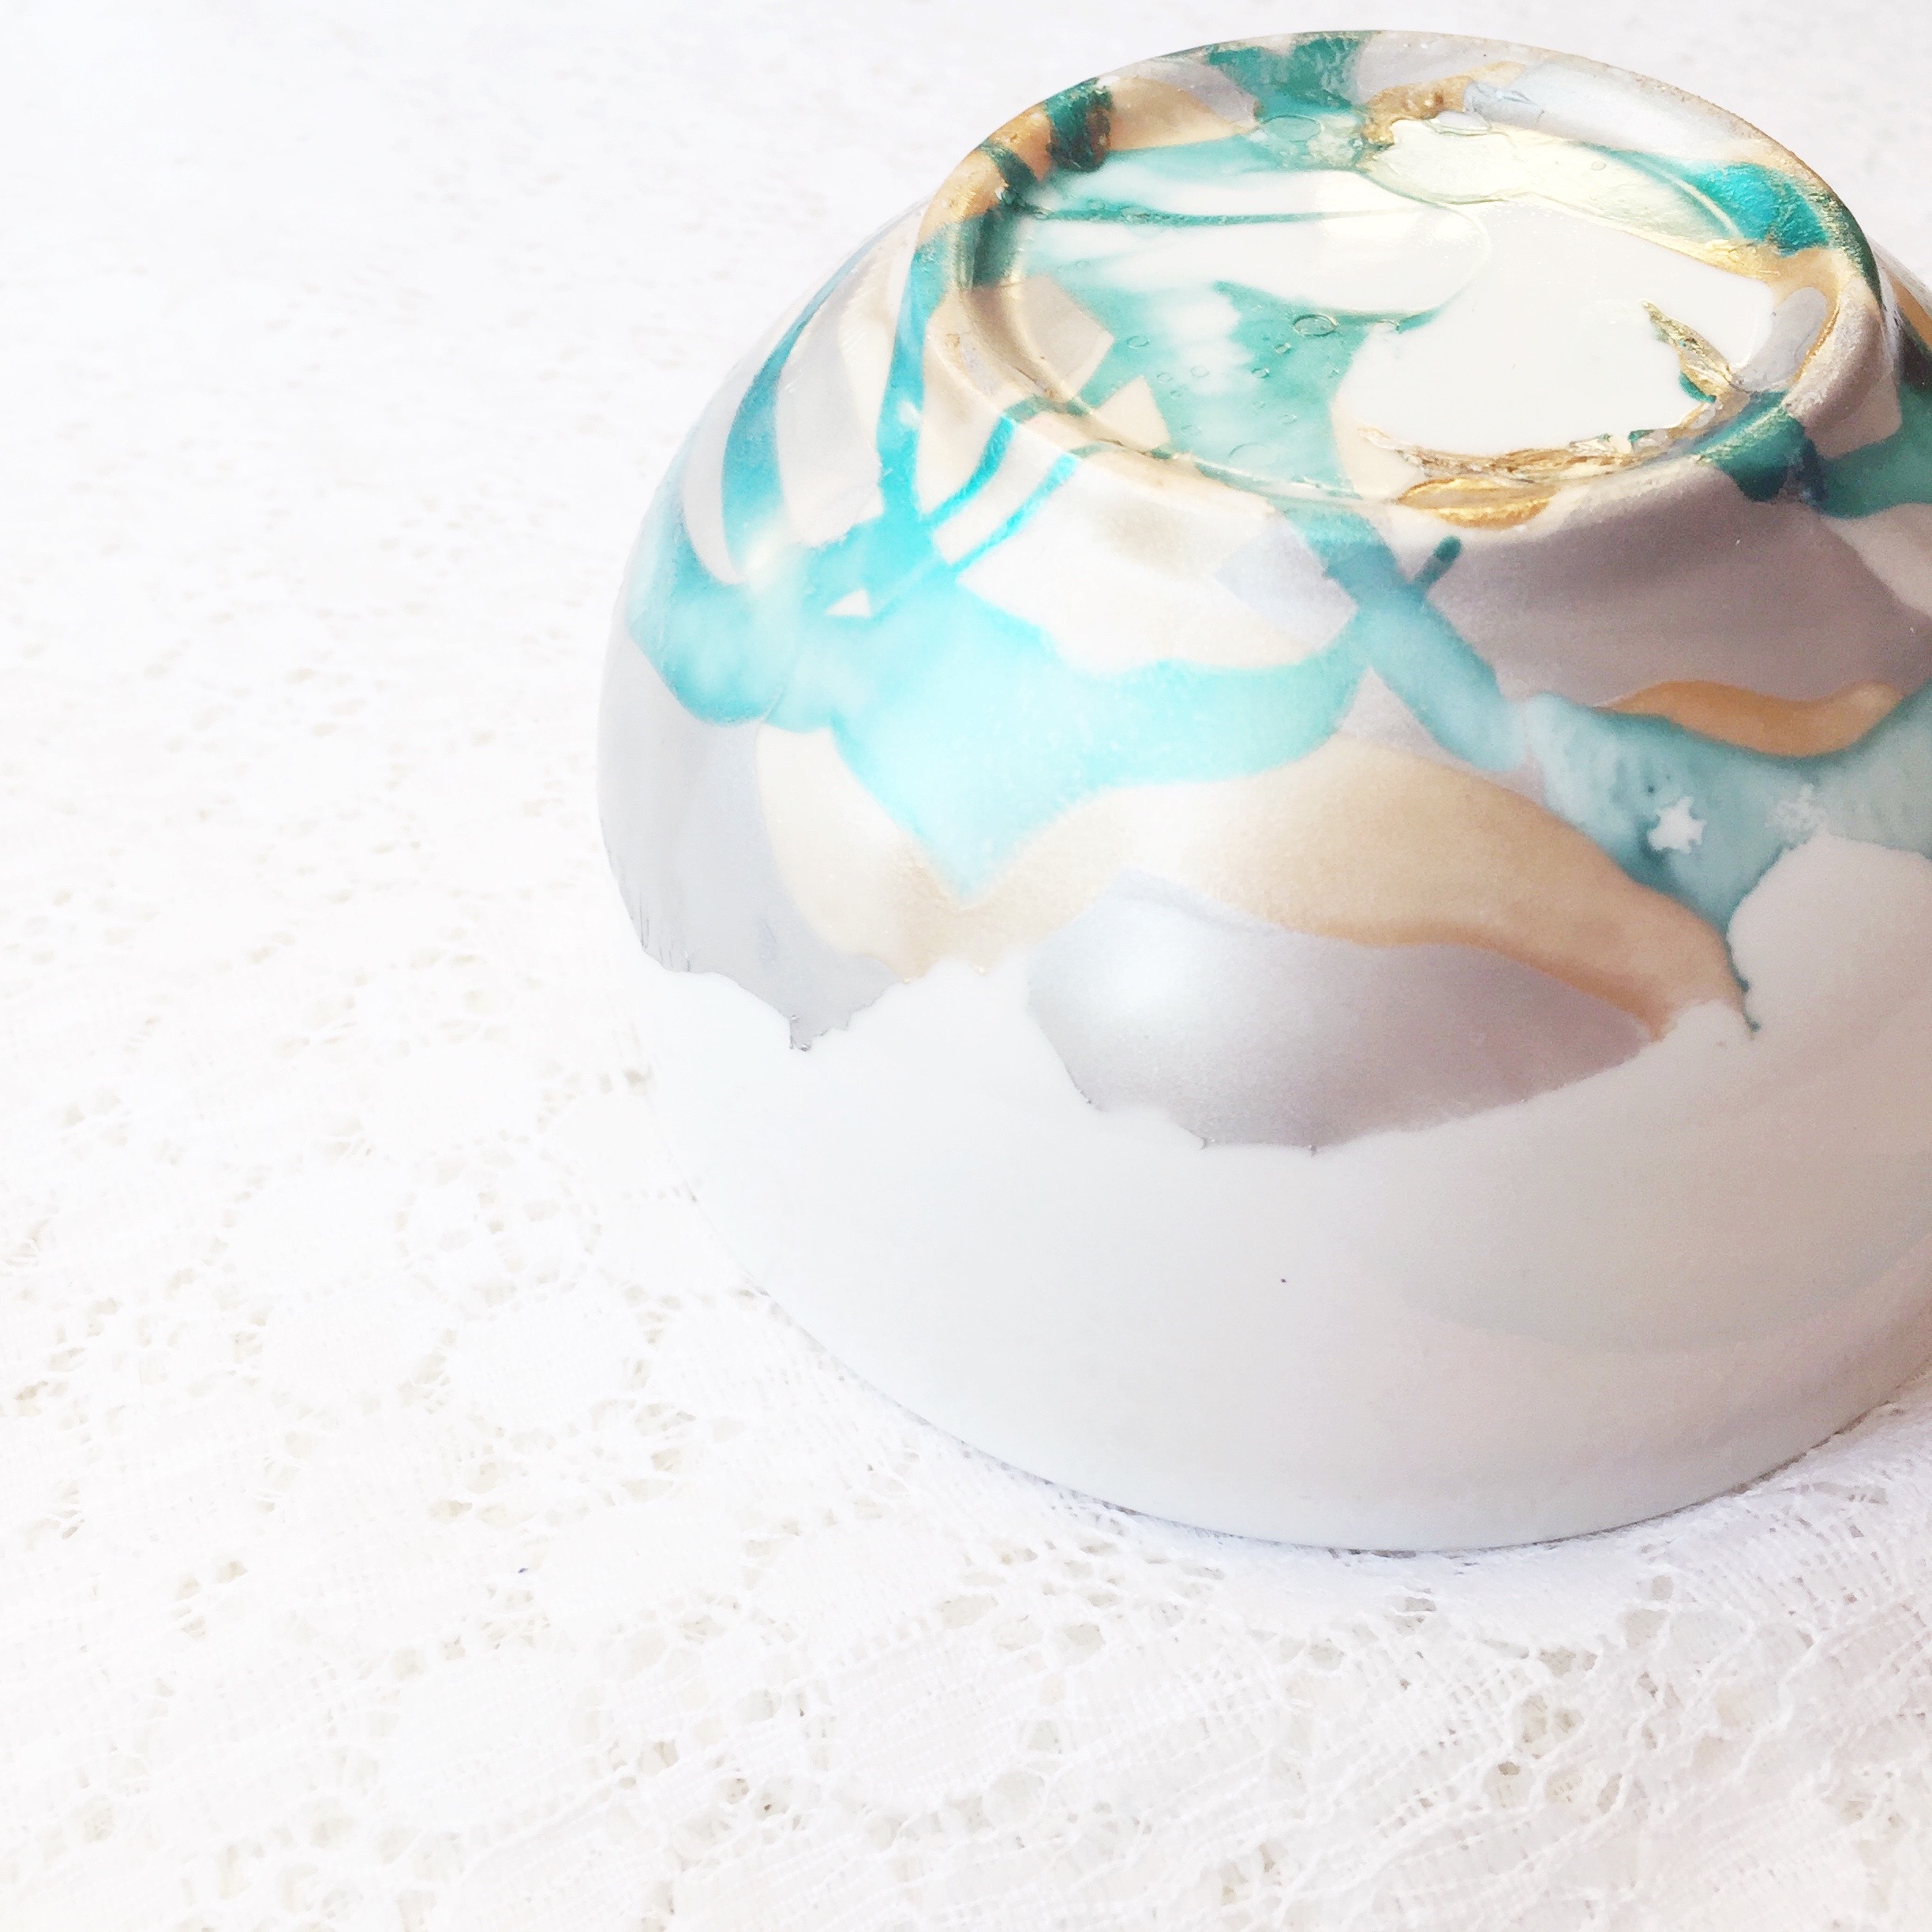
At this year’s annual Pinterest Christmas Party with the ladies, our lovely host, Shauna, had us try out a quick little project: marbling with nail polish. She picked up white bowls & mugs at the dollar store. Then all you need is a disposable foil container, nail polish, hot water, and some creative bravery.


Santa's Workshop: Marble with Nail Polish ~ DIY Gift Ideas ~ Bubblegum Sass


There’s lots of great full tutorials already out there {like here and here}, so I’m not going to do step by step. Just going to offer some tips we discovered as we each took a turn at this project.

Tip #1: Get your work area set up, all the nail polish colours you’re going to use picked out & open each bottle, so everything is ready to go quickly.

Tip #2: Open a friggin’ window {or two}! It was a damn cold winter night, and I’m pretty sure we got a little high on fumes.

Tip #3: In case you thought doing this with young kids was a good idea {ummm, nail polish & kids don’t usually mix}, please reconsider. It’s a simple “adult” craft. Again, hello, fumes.
 

Santa's Workshop: Marble with Nail Polish ~ DIY Gift Ideas ~ Bubblegum Sass


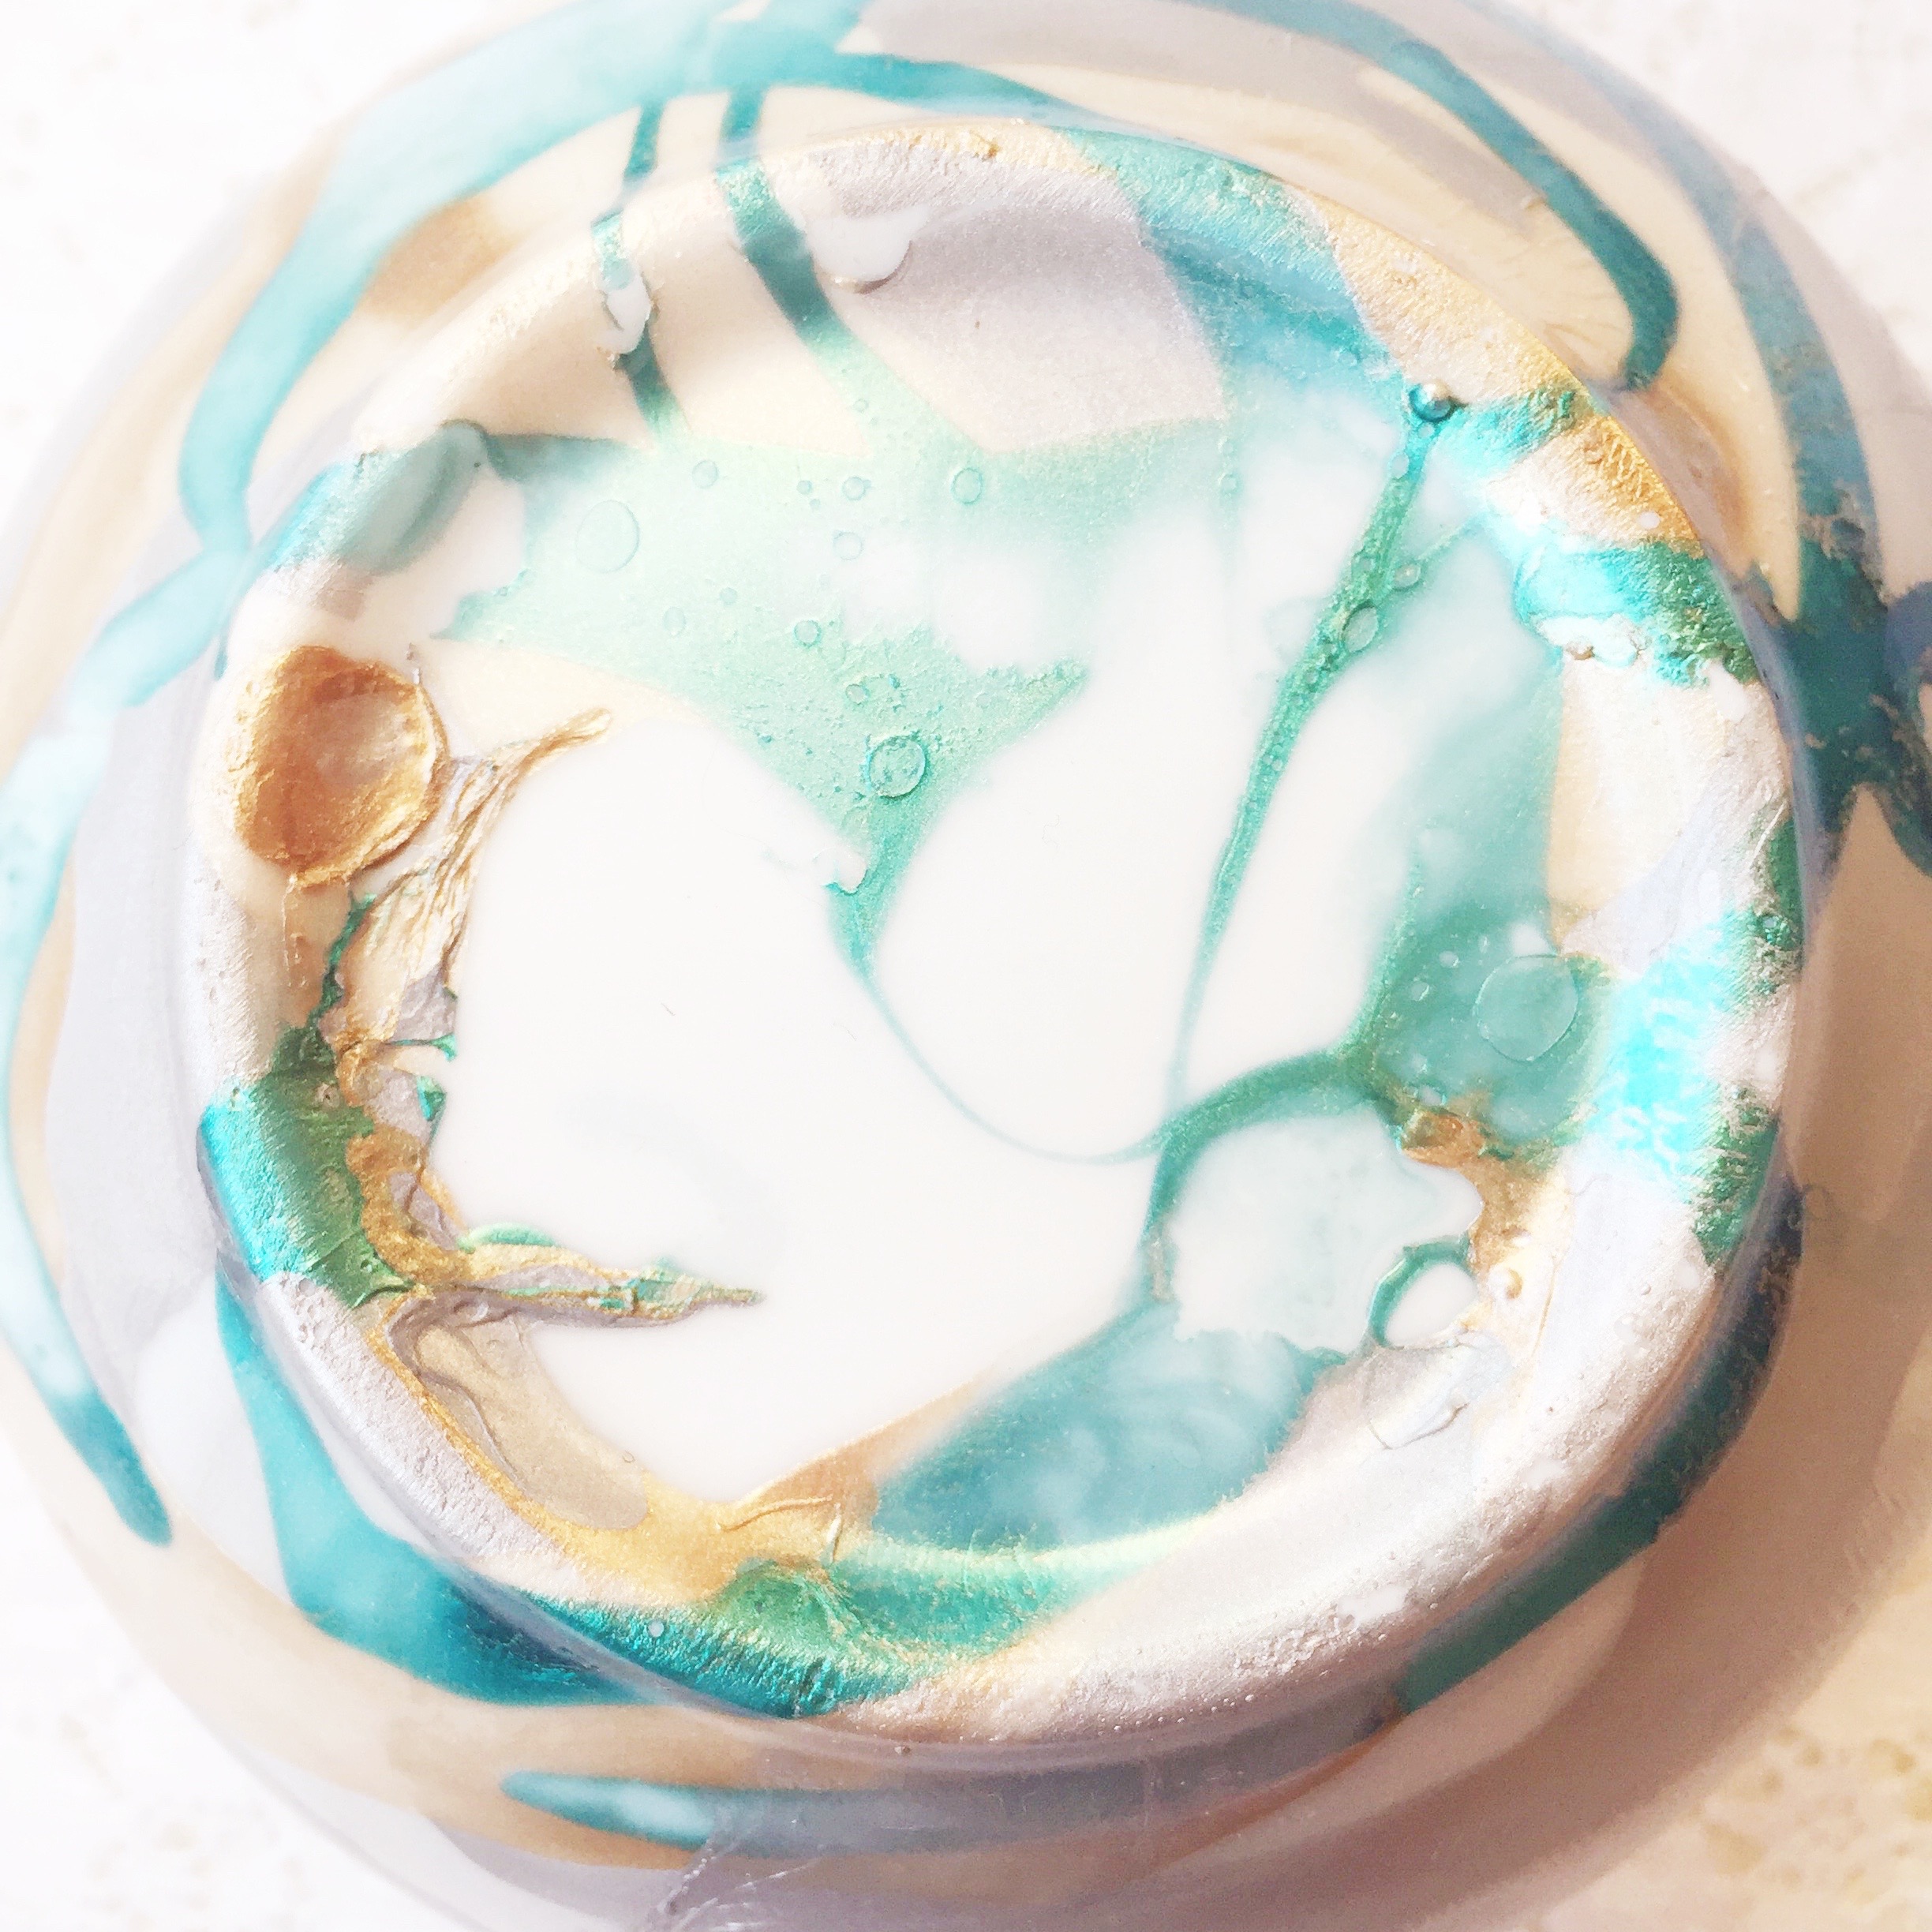
Tip #4: Work quickly. Drizzle the nail polish close to the surface of the water, slowly, but do work quickly. The polish will start to get gummy as it hardens & can lead to lumpy {somewhat ugly} results. But hey, if you don’t like how it turns out, just use nail polish remover & start again.

Tip #5: You don’t necessarily have to take the time to swirl the nail polish in the water with a toothpick before dipping your item in. Simply the way you drizzled the nail polish colours into the water can give beautiful results.

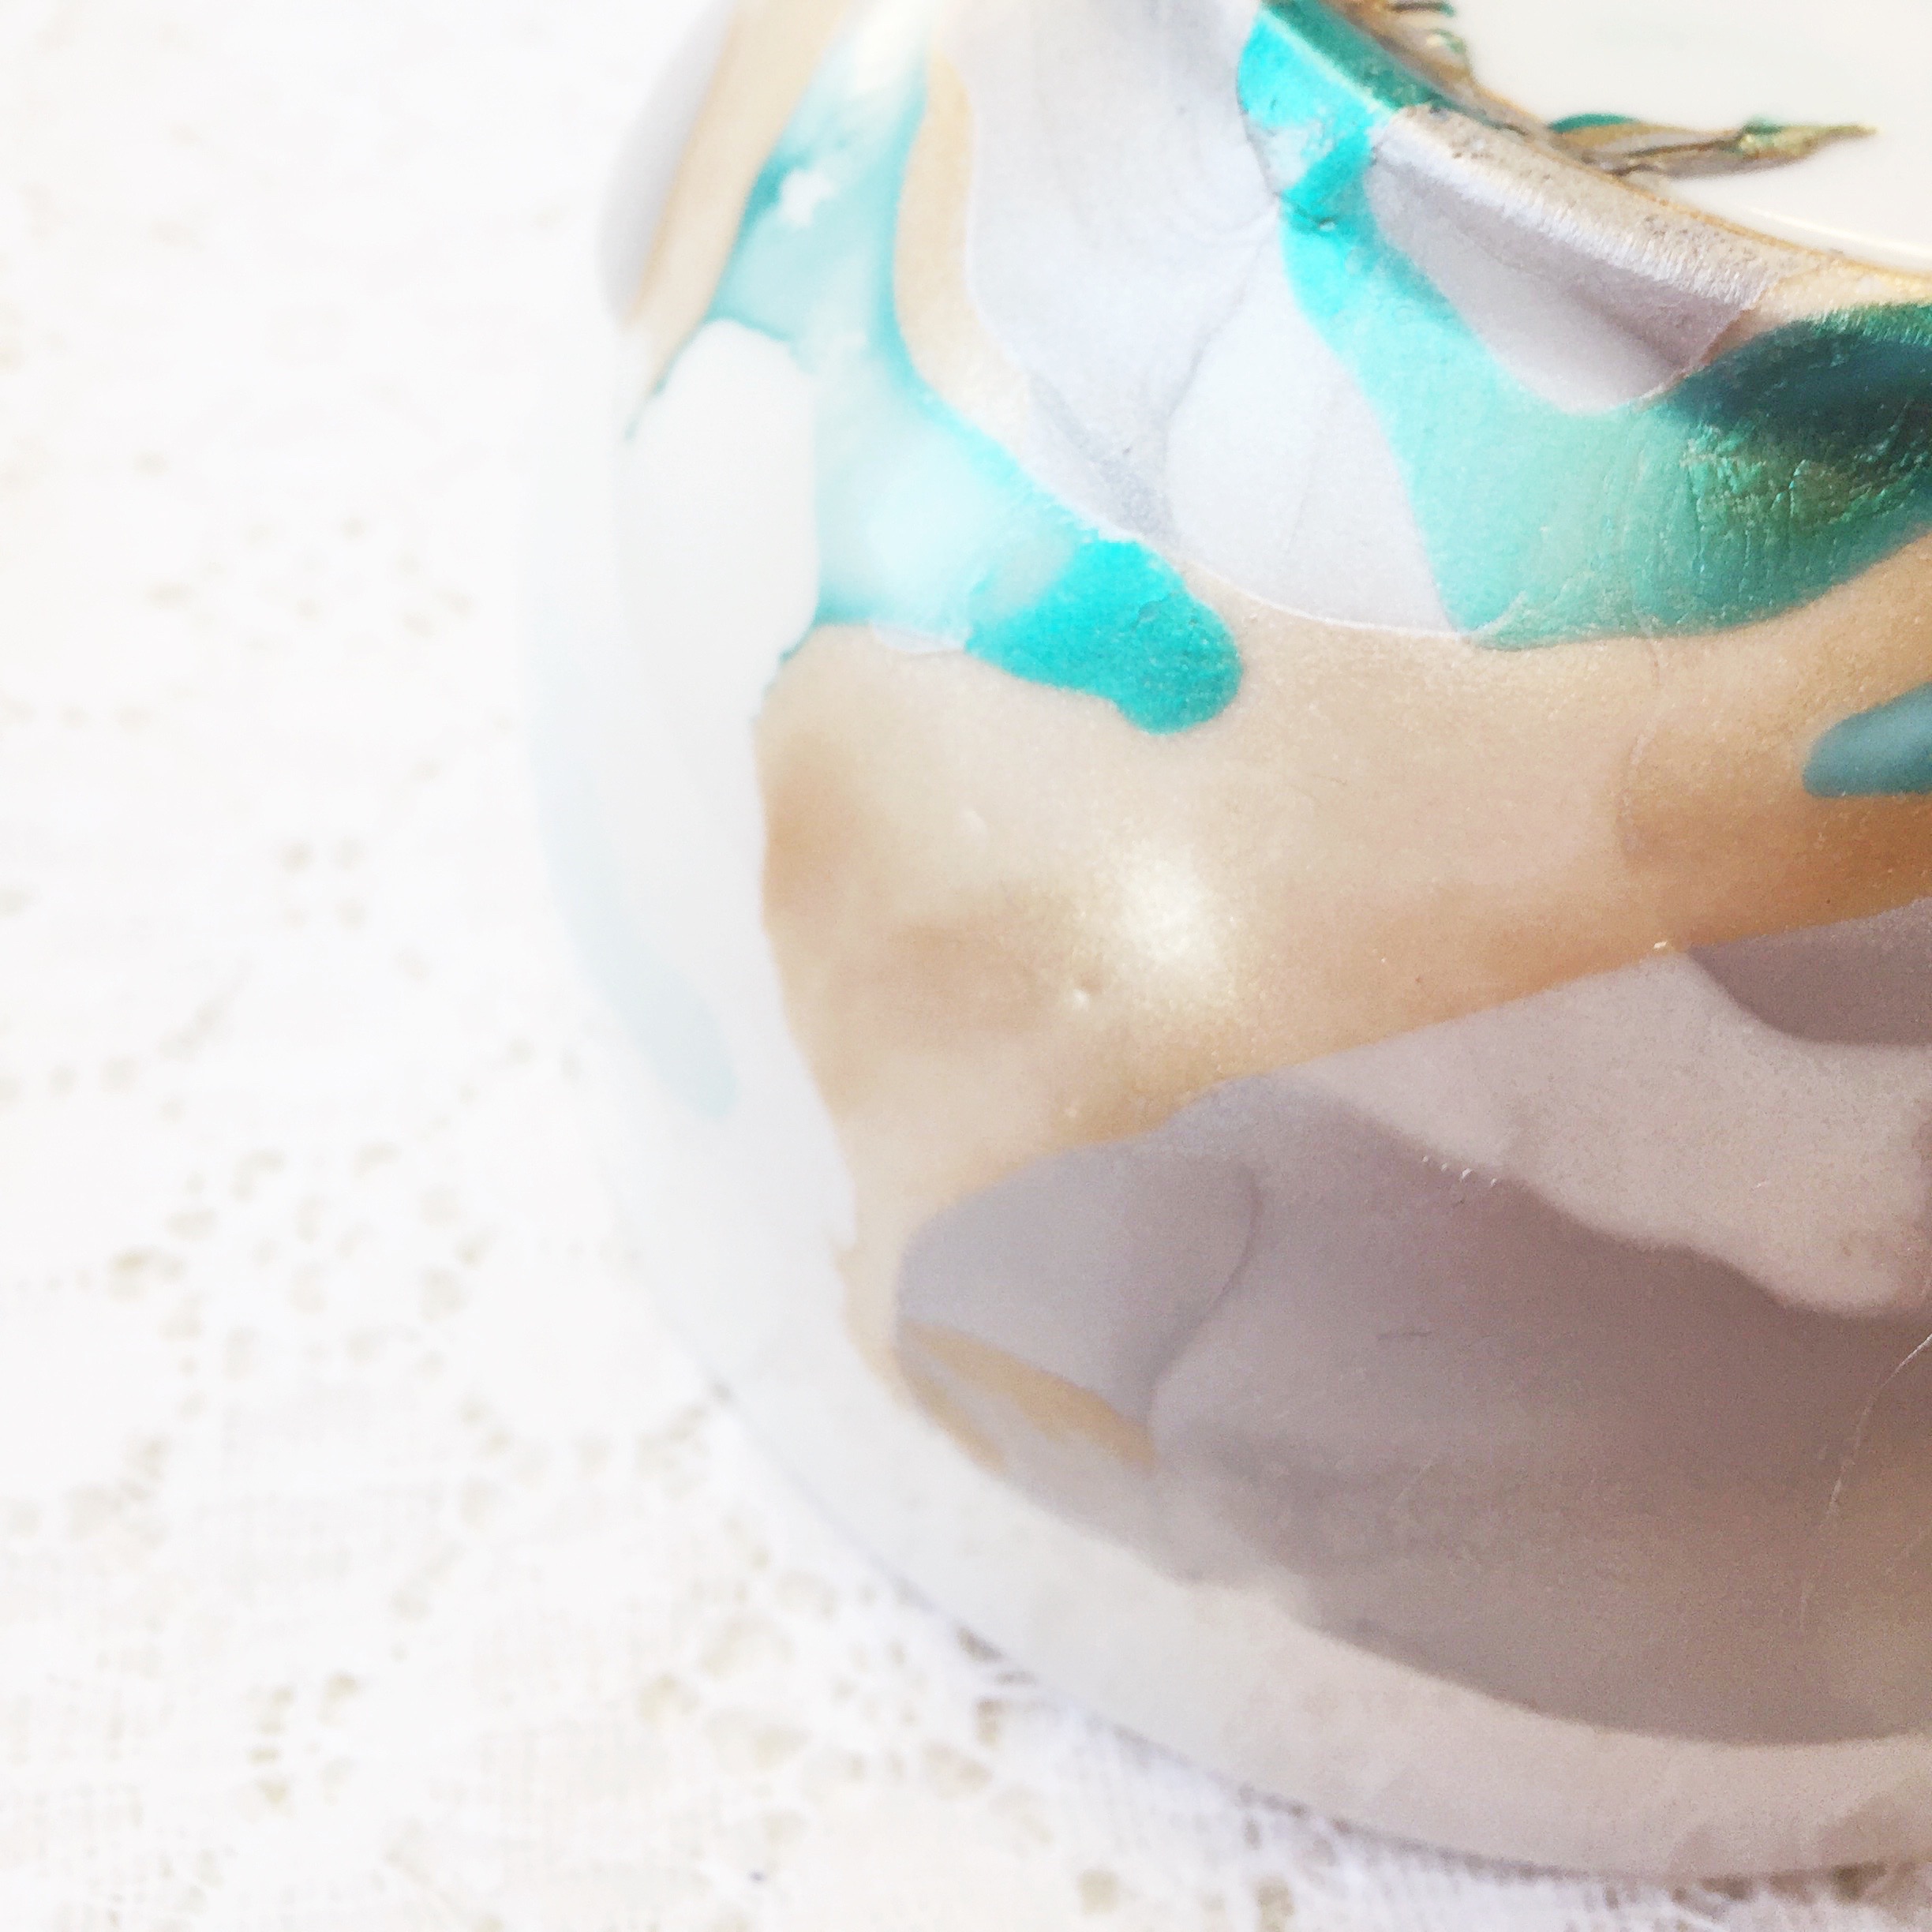
Tip #6: Prepare to be surprised! Or brace yourself! Or heck, just dive in & DO NOT overthink it. This is one of those crafty projects that you can’t predict what the end product will look like. Yes, you’re choosing the colour scheme, but that’s about all you have control over. I found it exciting, others found it a little frightening. Experiment!
 

Santa's Workshop: Marble with Nail Polish ~ DIY Gift Ideas ~ Bubblegum Sass


You can generally rate the success of a Pinterest project by whether you’d repeat it. And yes, I would definitely gives this one another go. Several of us at the party were interested in attempting to dip our bowls upside down, so that the inside gets marbled {not food safe, but to keep jewelry in}. I think tile coasters would be awesome too {and a great hostess gift idea}. But high on the list to try, is a marbled hanging planter! They’re gorgeous!

Happy crafting!

Save

Save
Countdown to Disney Vacation

We're actually only THREE days away now!!
We’re actually only THREE days away now!!

Yes, we are firmly in the countdown to our Disney Vacation! This week has been entirely dedicated to getting ready for the trip. So much to organize for both our stay at Disney World and our week-long Disney Cruise. It’s a little overwhelming, when the basics include pirate and Halloween costumes, plus we’ve never taken a beach-type vacation before AND Sam has never flown before. A lot of firsts packed into this trip.

I’m hoping to post more about our trip after we get back (with plenty of photos), in case you’re dreaming about your own Disney vacation. In the meantime, I thought I would share a couple of pre-trip tips with you. I’ve been collecting tips, cruise secrets, packing list suggestions, and the like on Pinterest, so head over there to get a helpful links to other blog posts.

One of the best suggestions I came across was pre-ordering baby & toddler items from Babies Travel Lite. What a stress-relieving solution for mamas (and papas)! Our little (ok, not so little) Sammy is not yet potty trained. In my mind, that meant we had two options: packing all the diapers, wipes & such we would need for an almost two week trip in his suitcase (including swim diapers) OR bringing just enough for a couple of days & trying to get to a store during our short Disney World stay to purchase the rest. Both options seemed a bit stressful. Who really wants to use any of their precious time at Disney World to go diaper shopping?! And that’s when I came across Babies Travel Lite. They’ve got diaper packages based on the number of days of your vacation. The packages are very customizable (choose your sizes, brand & type preferences). And it’s not just diapers, they have lots of stuff for meal time, bath time, and sun time. Even little potties for those that are in the potty training process. Place your order, and they will deliver it to your Disney hotel or cruise. We put together a diaper order and included some handy toddler snacks that we can bring along on our port adventures (since prepackaged snacks on cruises cost extra anyway). The beauty of it all is that now, we just walk onto our cruise and our box of goodies will be waiting in our stateroom.

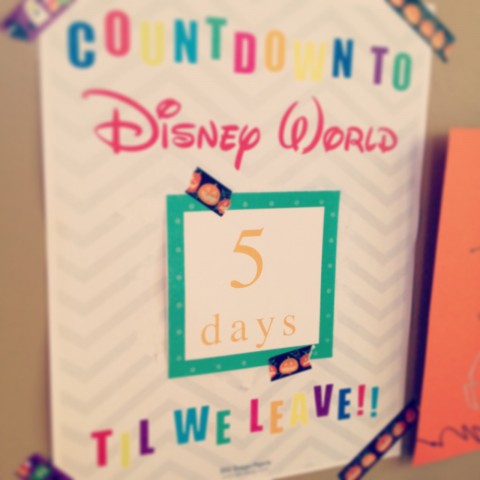
We didn’t book our trip waaaaay in advance like a lot of families, but I’m sure it’s felt like a looong time for Sam. When a single day can feel like two or three to a toddler (and his mama), waiting four months for an oh-so-special Disney trip might as well be a year. As the day of departure grew closer though, I really wanted to do a simple countdown calendar, so Sam could have a more tangible way of seeing the passing of time and experience the excitement building up. I found several options, but went with free, printable design from 505 Design Inc. Just pick your design (Disney World or Disneyland), print, and cut. We hung ours in the kitchen and each morning we put up the new number and then count to it. Sammy can only count to 12, so I didn’t start the countdown until day 13. I think it’s a pretty fun pre-trip activity to do with kids!

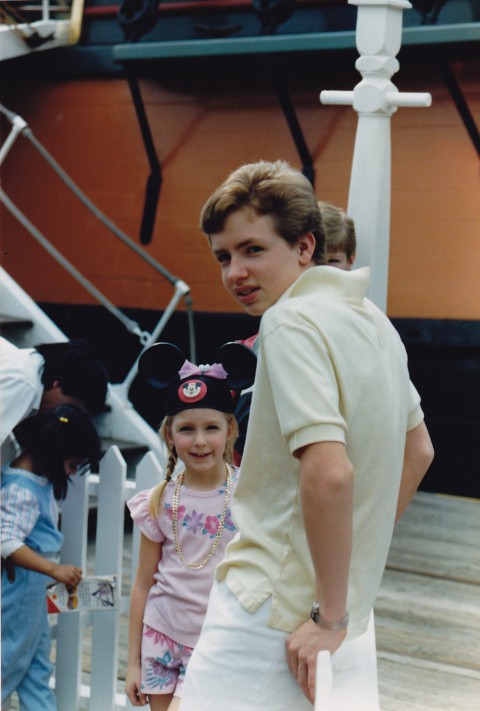
That's little 'ol me with my big brother during our first trip to Disneyland, 1986 (I was 5 years old). I still have those mouse ears.
That’s little ‘ol me with my big brother during our first trip to Disneyland, 1987 (I was 6 years old). I still have those mouse ears.

Ok, that’s all I’ve got time for right now. Gotta get back to making lists, checking things off, and getting packed. Also still have boxes of tomatoes ripening in the basement that need to be made into sauce. See you when we get back from what will be an awesome family adventure!!!

Button-spiration: Spring Flowers Pt. 2

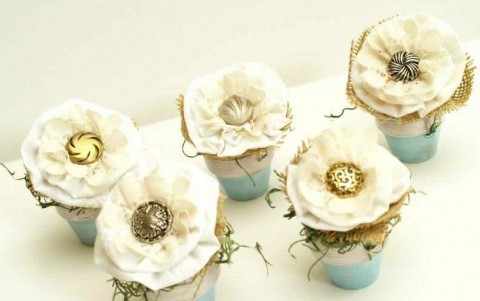
Button flower pots by Flamingo Toes

Here is another adorable spring button flower project to keep you busy until we can enjoy actual flowers in the yard. The full tutorial can be found on the V Spot blog, by special guest blogger Flamingo Toes.

These little potted fabric flowers are actually quite small, only about 4″ tall. You can pick up all sorts of sizes of clay pots at the craft store these days (and they’re usually very inexpensive). You can either paint the pots, or leave them as is, depending on the look you’re going for. You’ll need some stuffing and faux green moss to fill the pots. Next choose some fabric and burlap to make your flowers. Really, you can use any fabric flower tutorial to create the blossoms, it doesn’t necessarily have to be the style she used here. I would likely use some of my scrappy flowers that I use to make the floral hair combs & brooches. However you decide to make your fabric flowers, just pop a button into the centre of each to finish them off.

Pretty darn adorable project to decorate a fireplace mantel, small shelf or Easter dinner centerpiece. In fact, they’re so simple to make, you could put together one for each Easter dinner guest to take home with them. Attach a little name tag to the pot and you’ve got adorable seating place markers. Lots of ways to use these guys! Have fun creating!

Button-spiration: Spring Flowers Pt.1

The official arrival date of spring has come and gone. In Calgary, that typically means we get more snow (no joke). This year is not much different, except that it is unusually cold out still. By now, the temperature is a little more mild, but the last few days have felt like full-on winter again. Le sigh. I am feeling VERY done with the snow & cold this year. I’m longing for those days when we can spend hours outside playing & discovering with Sam. Soon, soon, I keep repeating to myself. Well, not soon enough!

As we wait for the snow to fully melt, the ground to thaw, and a tiny hint of green to poke through, I thought we could embrace some simple spring flower button projects. This one is the first in a series of ideas, all collected on my Button-spiration Pinterest board. This cute egg carton button art project is brought to you by Mod Podge Rocks. She cut up a paper egg carton to form the flower blossoms, then had her kids paint and decorate them. When the blossoms were dry, they glued a button into the center of each. A bundle of pipe cleaners were tied with a ribbon to create the flower stems. Everything was then glued into place on a canvas (which she had painted beforehand, although you can now purchase coloured canvases from the craft store, if you’re short on time).


Sammy and I are using this flower egg carton idea to decorate a spring wreath. Hubby made a large twisted twig wreath several years ago, which we hang on the front door at this time of year. It needs a bit of colour to offset the current dreariness these days, but I don’t want to permanently attach anything to the wreath. I like the idea of having a wreath we can decorate a few different ways. I’ll get Sammy to paint & decorate the egg carton blossoms, then poke two holes through the bottom of each blossom & attach some yarn, so we can just tie them onto the wreath. Once the yarn is through the holes, we can cover it up with a button in the center of each blossom. I’ll try to remember to a) take pictures as we finish working on this and b) find the time to post them.

Until then, have fun playing around with your egg carton flower art!

Sweetheart Treats

Valentine treats by Bubblegum Sass

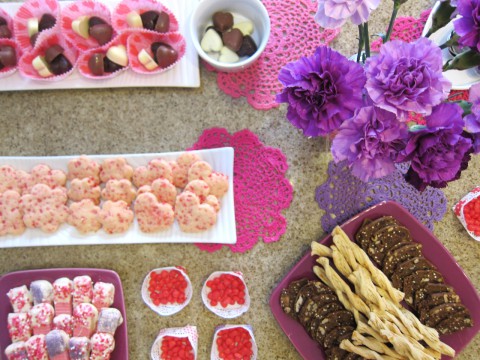
Last month, I hosted a little get together for friends. There was lots of sweet treats and pretty decorations in pink & purple. Simple doilies, fresh carnations, and cute handmade details.

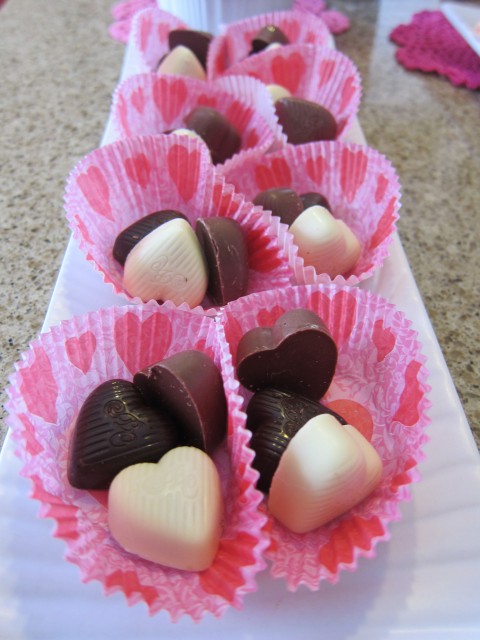
Cupcake liner bowls by Bubblegum Sass

Instead of trying to make my own little chocolates, I picked up some tasty Bernard Callebaut chocolates. I turned pretty paper cupcake liners inside-out to make little bowls for them.

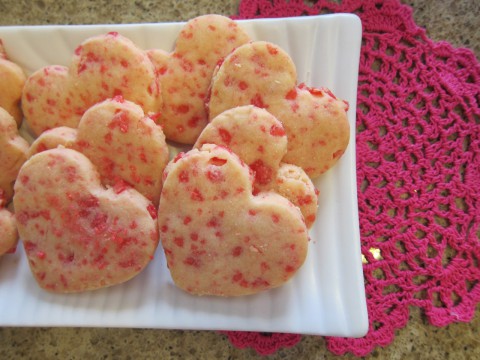
Cinnamon heart shortbread cookies by Bubblegum Sass

These tasty Cinnamon Heart Shortbread cookies were a hit with my tummy and I’ll be sure to make them again next year for Valentine’s Day. You can find the recipe for these here. The recipe calls for cinnamon extract, which isn’t something I typically keep with my baking supplies. I found something suitable at Micheal’s. Start by adding a tiny amount, and continue to add more bit by bit until you achieve the flavor you like.

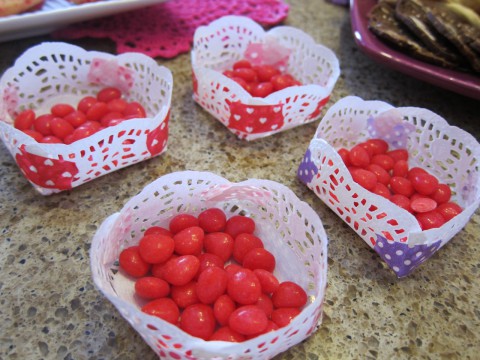
Doily Bowls by Bubblegum Sass

To make some cute little bowls for the cinnamon heart candies, I just folded small circular paper doilies and taped the corners with washi tape (similar idea as these bowls made from paper plates).

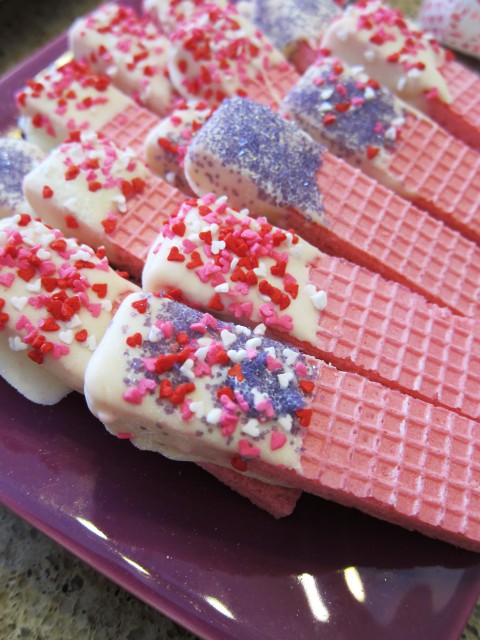
Chocolate dipped waffer cookies by Bubblegum Sass

These cookies were a super hit! I think I’ll have to make more of them soon, the very next time I have an excuse to serve super sweet sugar bombs! They’re really simple to make too. Sammy and I did these together (sort of). I dipped the wafer cookies in the melted white chocolate and Sam did some of the sprinkles (although mainly he waited for them to dry so he could get a bite or two). Find the recipe here.

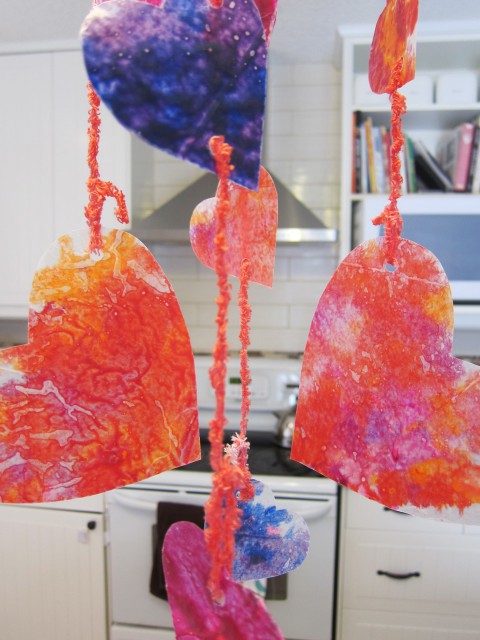
Melted crayon hearts by Bubblegum Sass

And lastly, a little bit of festive decorating. These pretty hearts are made from crayons melted between wax paper. Two lessons learned while making these: First, make the crayon shavings small & don’t over do it. They turn out much better if you don’t use too many shavings. Second, keep the temperature on the iron low and press the wax paper between old tea towels (or t-shirts), otherwise you’ll end up with a very messy iron.

Have fun with all your baking and crafting, whatever the reason or season!

Another little happy dance

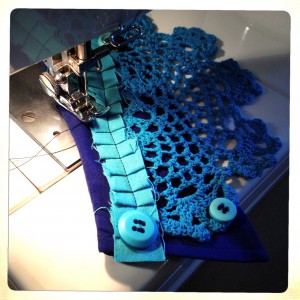
In progress aqua cuff braceletIt has been FOREVER since I last did a post about some of the milestones and achievements Bubblegum Sass has reached! In fact, I think it’s been almost two years since I last stopped to take stock. Waaaay over due! I know how important it is to take a moment and reflect on the things I’ve done with the business. When you don’t have a boss or supervisor to give you praise for a job well done, it’s up to you to provide that little pat on the back every once and a while! Plus, these posts act as a great way to see how things are going with your own business. Definitely give it a try, even if it’s just to reflect on what you have achieved with your personal life. Here are some of the highlights for Bubblegum Sass:

In the Etsy Shop

  • Reached 61 sales
  • Reached over 100 items for sale
  • 228 shop admirers (people who have favored the shop)
  • 873 listing favorites (people who “heart” an individual item)
  • 282 followers (folks who keep track of the shop in their news feed)
  • Had my first order from the UK
  • Had my first order from Australia
  • Still participating (when I can) in the Alberta Etsy team
  • Been featured in well over 100 treasuries
  • Spread the love, and created close to 200 treasuries
  • Offered my first big sale in the shop (Spring Cleaning)
  • Paid for Etsy Search Ads for one month (I’ll report on that a bit more another time)
  • Started photographing all the product on a white background
  • Started modeling some of the product, for a bit more variety

On Facebook

  • 126 people “like” my page
  • Trying to share more of the creative process and my personality with followers
  • Posting regular updates, blog links, new product listings, and photos

Out and About

  • Traveled to Edmonton to see fellow teamies at the spring Make It!
  • Participated in this year’s spring meet-up with Alberta Team members
  • Become the official handmade sponsor of the Make It Happen! documentary
  • Interviewed by Neil Mangan for the Make It Happen! documentary
  • Submitted my application for the Make It! show in November (will find out in June, if I’ve been accepted)
  • Received my nifty mobile credit card reader from Square (all set for future craft shows… no more “cash only”)
  • Have an exciting new collaboration coming up with Red Bloom Photography
  • Will have a line of product available for sale at Treehouse Boutique in Ontario

In the Sewing Room

  • Developed a new line of upcycled accessories for women
  • Took a hard look at my product line and decided to stop production on certain items
  • Trying to determine which items I will focus on making going forward
  • Brainstorming craft show display ideas for new product

On Pinterest

Sometimes I don’t feel so great about what I’ve done or haven’t done with my business. After all, this is already the third year of Bubblegum Sass and I thought things would be progressing further (aka more steady online sales, more regular craft shows). But then I remind myself of what else I packed into those three years. Not things that fit into easy stats or numbers. Life changing events that will forever impact where I go from here: a brother laid to rest, our first child born, my mother’s battle with cancer. Somewhere in there, we bought farmland and started planning for an even BIGGER change. Many times, Bubblegum Sass sat to the side, while I fought through these things. The challenge that remains and which I am feeling more ready to face, is ensuring that from now, Bubblegum Sass keeps pace with the rest of our life.

So now looking back over all these random numbers and accomplishments, I can honestly say that I feel quite satisfied. I can’t change the past or hold onto regrets, but I’m excited about tackling the future. Ready, steady, go!

Sarah, Marcus and Sam at Make It!