Happy Heart Day!

{Otherwise known as Valentine’s Day}


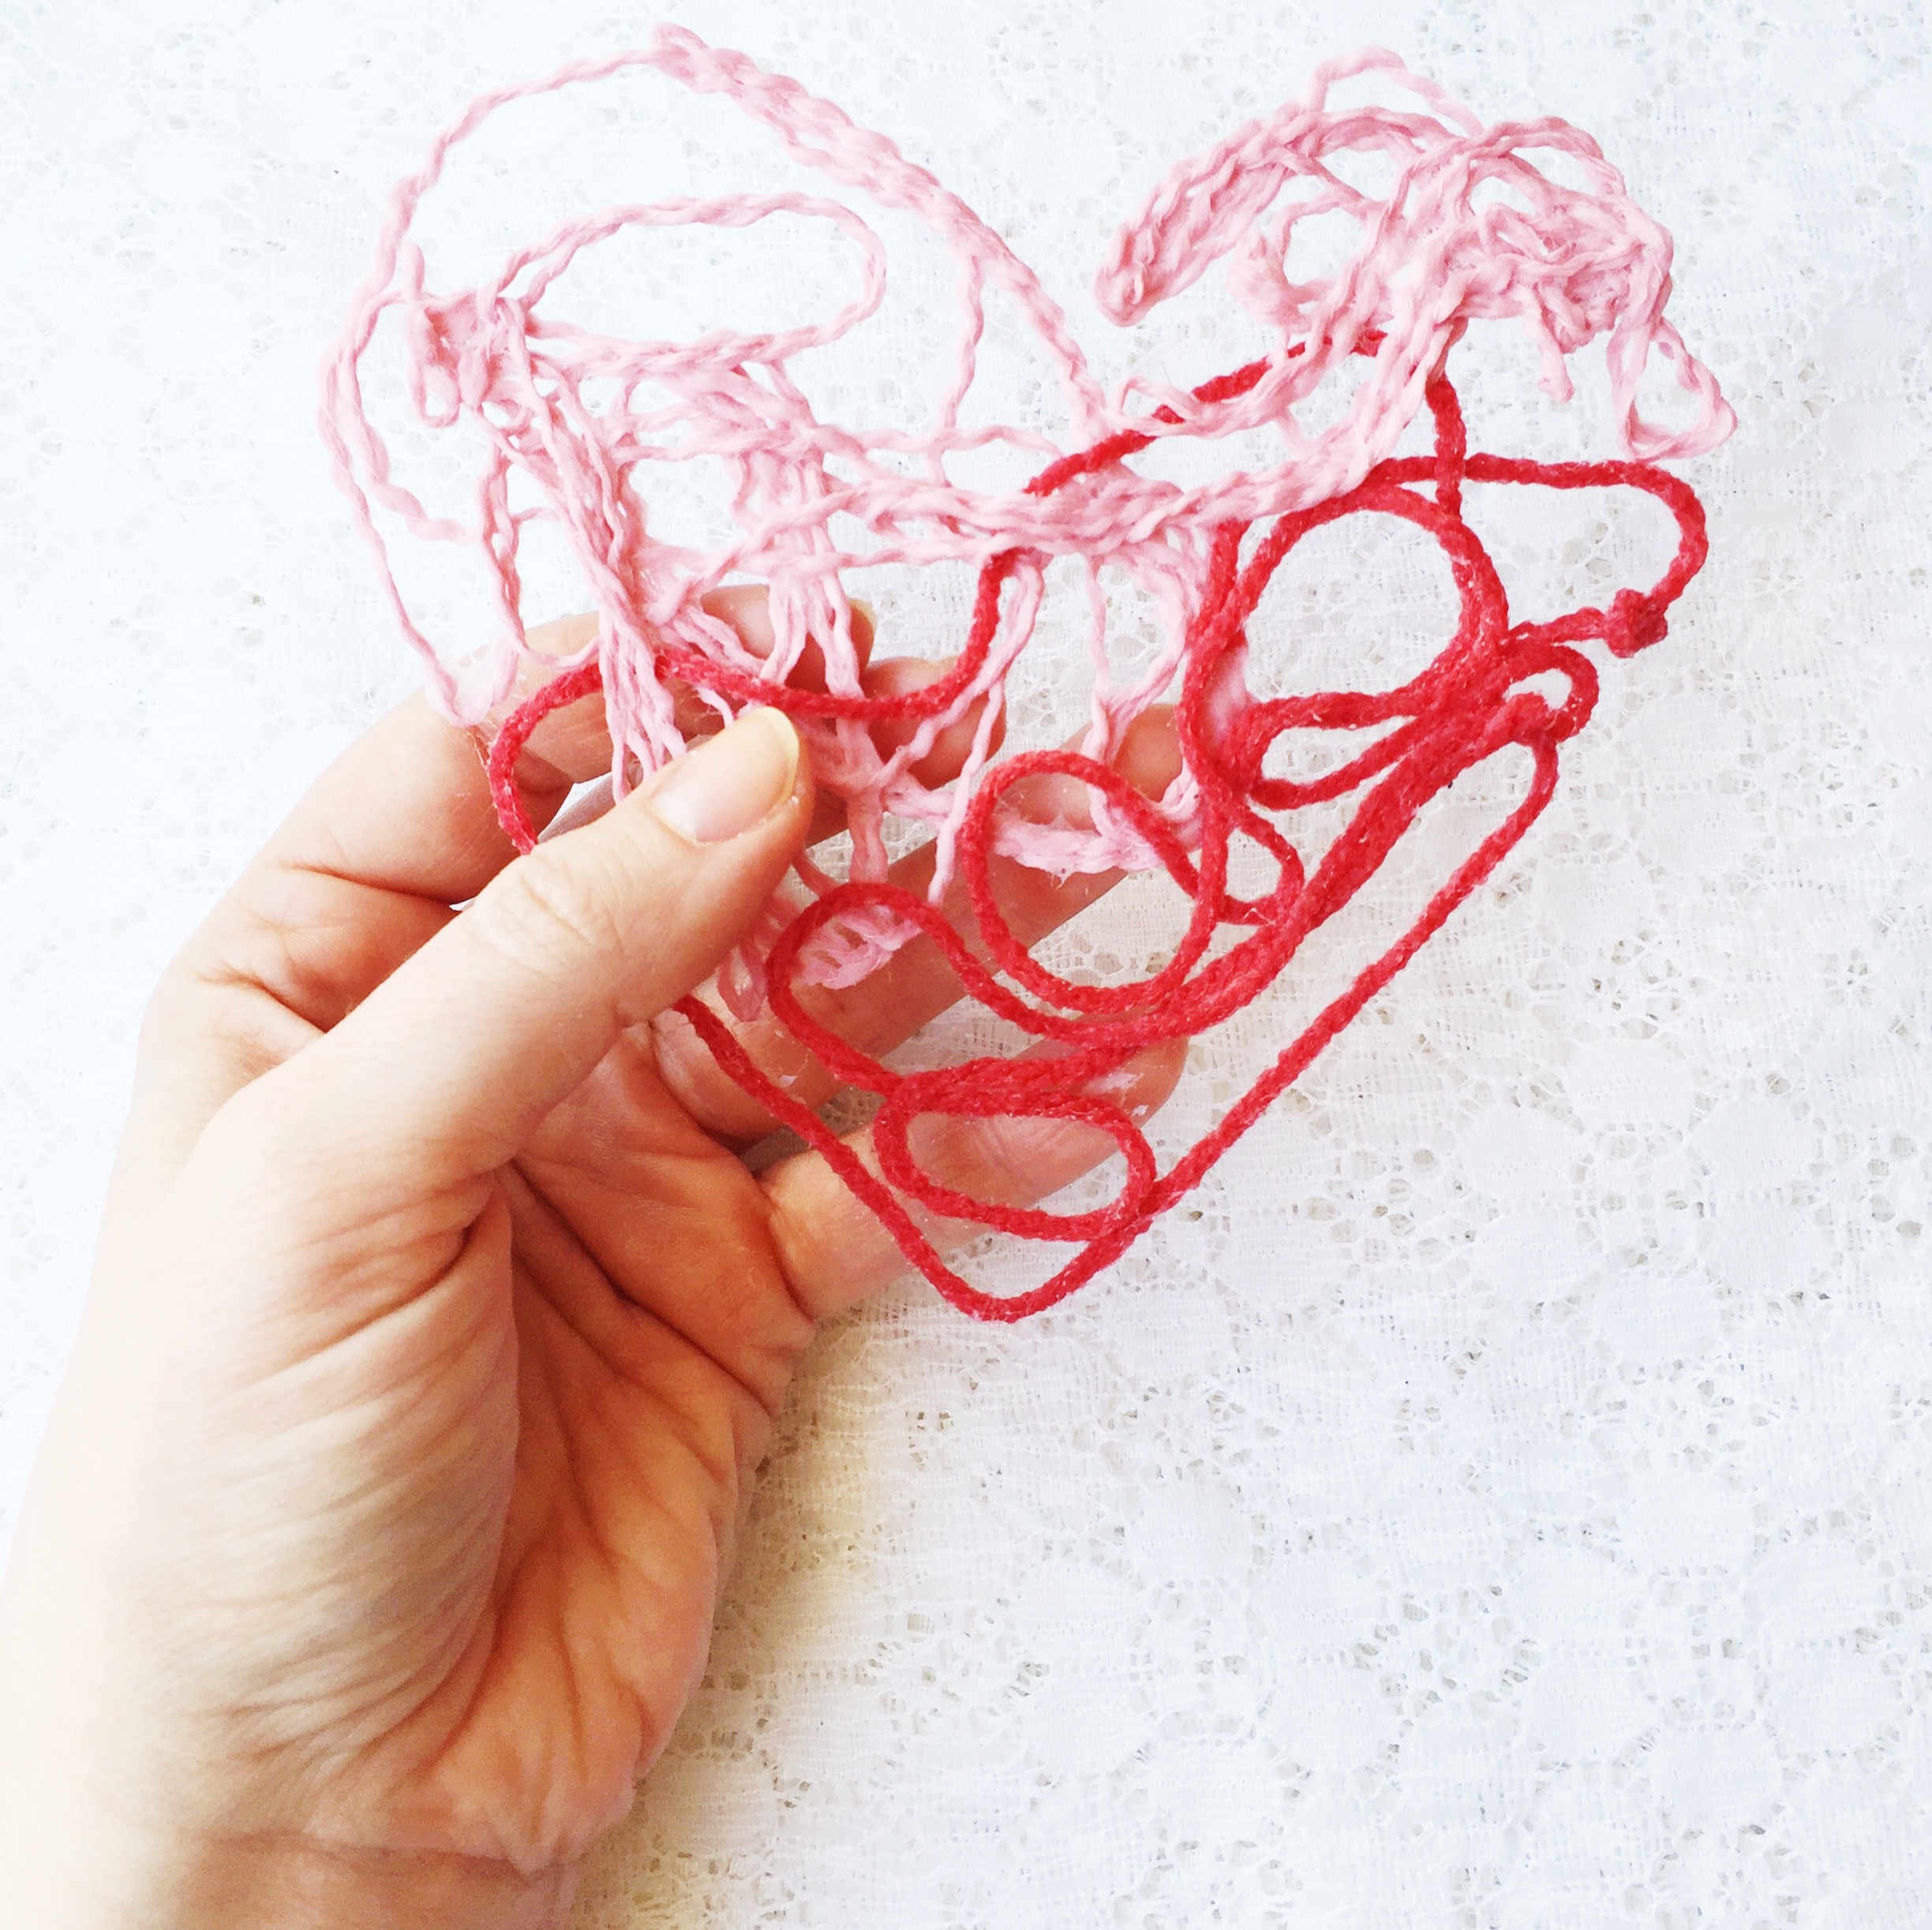
DIY yarn heart kids craft


We made these yarn hearts last week. Yarn dipped in white glue and placed on wax paper in a heart shape… trace a heart shape on the wax paper to make it easy. Let dry over night. Peel off. They’re flat enough you could attach them to cards or pop in an envelope to mail.

DIY Valentine’s Day Lace Heart Garland

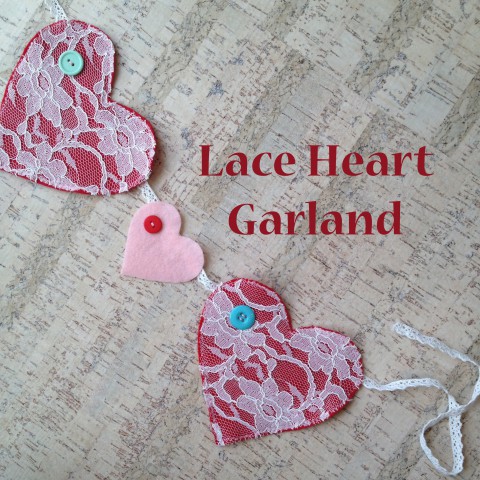
DIY Lace Heart Garland ~ Tutorial Blog Post ~ By Bubblegum Sass

Although we don’t typically do a lot to celebrate Valentine’s Day at our house, we do decorate a wee bit. It’s nice to have a few pretty things around the house in the dead of winter. I especially enjoy a pretty wreath on the door (I get so sad when I take down my Christmas wreath). A wreath on the door always makes me smile when I arrive home. This year, I decided to spruce up our twig wreath with a shabby chic inspired garland. Annnd… I even remembered to document the process thoroughly so I could share it as a tutorial with all my lovely readers! That’s my bit of Happy Valentine’s to YOU!

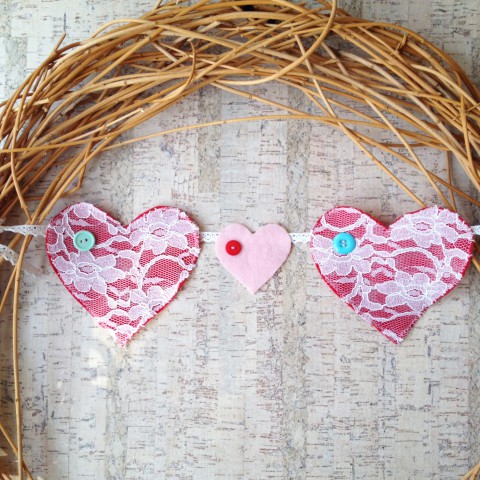
Now, the number of hearts to make for your garland is up to you (that’s why no material amounts have been given in the supply list below). I just made three (two large & one small) to symbolize my small family of three. Also, as you will see, I attached this short garland to a wreath. If you want a longer garland to hang, say from your fireplace mantel, then you will need to cut & stitch more hearts (you could alternate small & large hearts, some lace covered, some not).

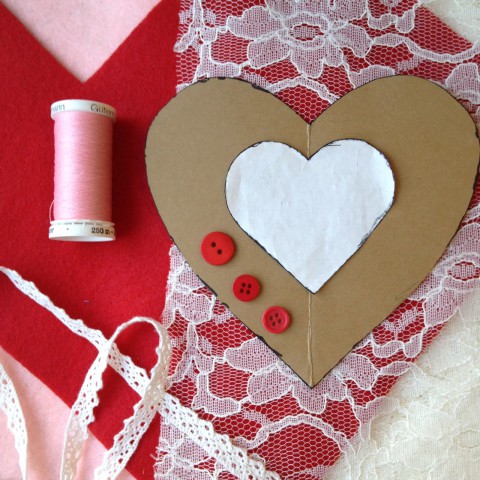
DIY Lace Heart Garland ~ Tutorial Blog Post ~ By Bubblegum SassHere are the supplies you will need for this project:

  • Bubblegum Sass Heart Template
  • Red craft felt
  • Pink craft felt
  • White or light-coloured lace
  • Buttons
  • Lace trim or ribbon (to hang hearts from)
  • Sharpie or fabric marker
  • Thread
  • Scissors
  • Hot glue gun
DIY Lace Heart Garland ~ Tutorial Blog Post ~ By Bubblegum Sass
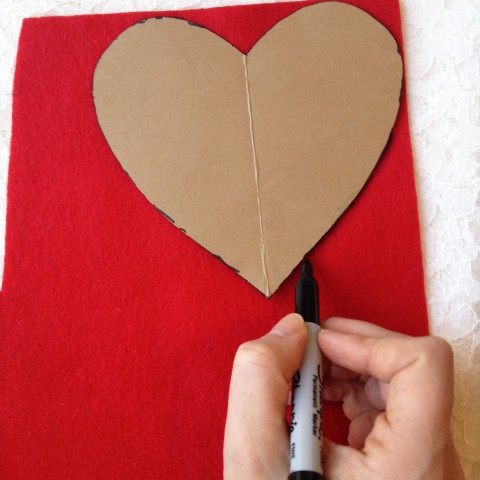
Print off and cut out the heart template (or use your own preferred heart template). Using a sharpie, trace around the template onto the felt.
DIY Lace Heart Garland ~ Tutorial Blog Post ~ By Bubblegum Sass
Trace out your heart template onto the lace, as well. *For perfectionists, see note below (in sewing section) for a tip on cutting out the lace.*
DIY Lace Heart Garland ~ Tutorial Blog Post ~ By Bubblegum Sass
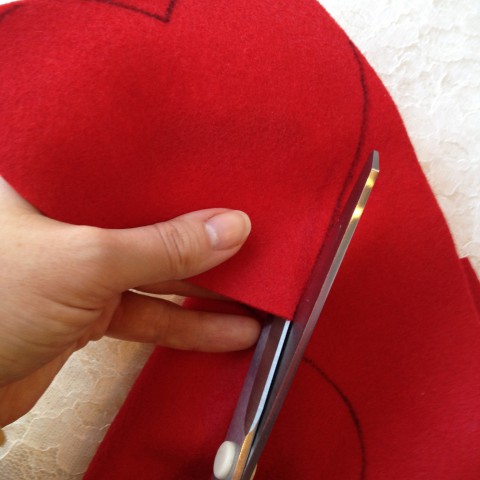
Cutting just inside the marked line, cut out each heart shape.
DIY Lace Heart Garland ~ Tutorial Blog Post ~ By Bubblegum Sass
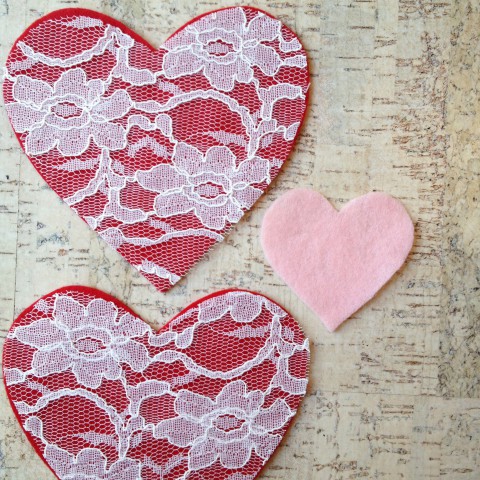
Repeat above steps for all sizes of hearts in both felt & lace. For my short garland, I cut out: two large felt hearts, two large lace hearts, and one small felt heart.
DIY Lace Heart Garland ~ Tutorial Blog Post ~ By Bubblegum Sass
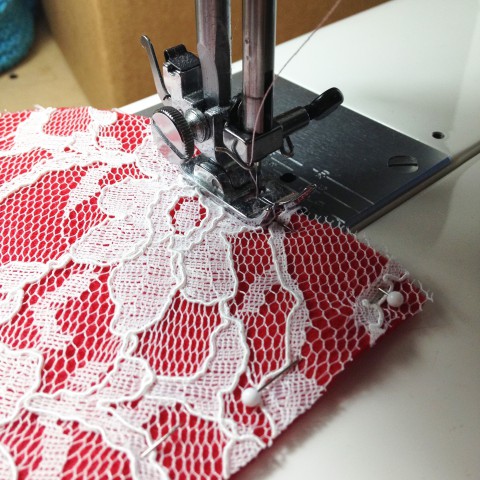
Lay one lace heart over a matching felt heart, lining up the edges. Pin into place, as the lace tends to stretch & move a bit. Using a sewing machine zigzag stitch, sew all the way around the heart. Repeat with remaining hearts that you wish to layer with lace & felt. *If you really want your lace hearts perfectly lined up with the felt hearts (I know there are perfectionists among us), then I suggest cutting your lace hearts out slightly larger than the felt hearts, zig zag stitching them on and then trimming the edge of the lace so it is even with the felt.*
DIY Lace Heart Garland ~ Tutorial Blog Post ~ By Bubblegum Sass
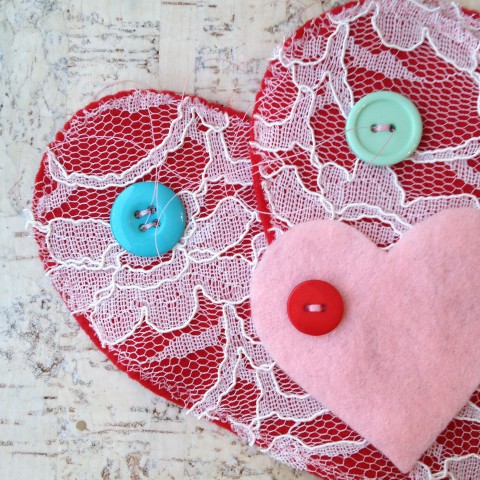
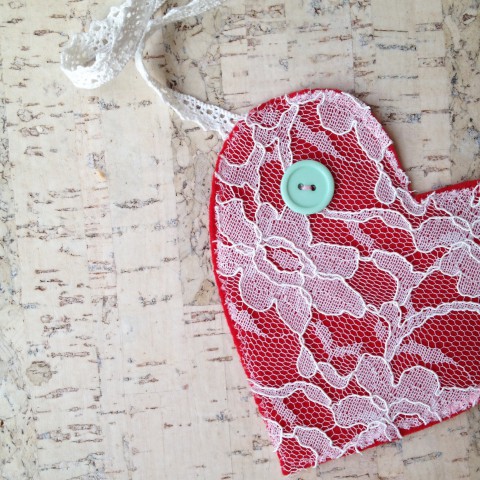
Choose your buttons and stitch onto each heart, either on the left or right upper corner of the heart.
DIY Lace Heart Garland ~ Tutorial Blog Post ~ By Bubblegum Sass
Measure and cut the length of lace trim/ribbon that you will hang the hearts from (mine was about one meter or 39″, but of course cut whatever length is going to work for your own project. A longer garland will require a longer lace trim/ribbon.) Fold this in half and mark the half-way point (with a pin). Position your center heart here and pin into place, along the back of the heart.
DIY Lace Heart Garland ~ Tutorial Blog Post ~ By Bubblegum Sass
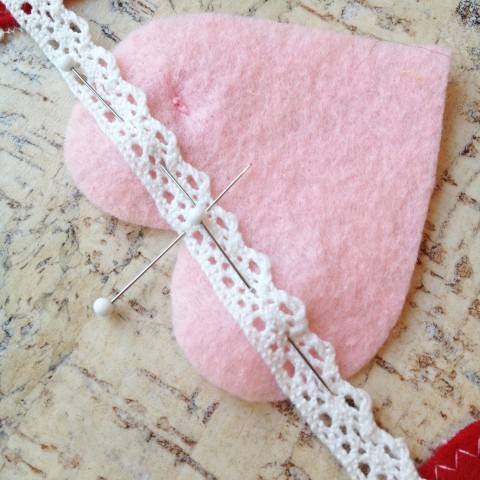
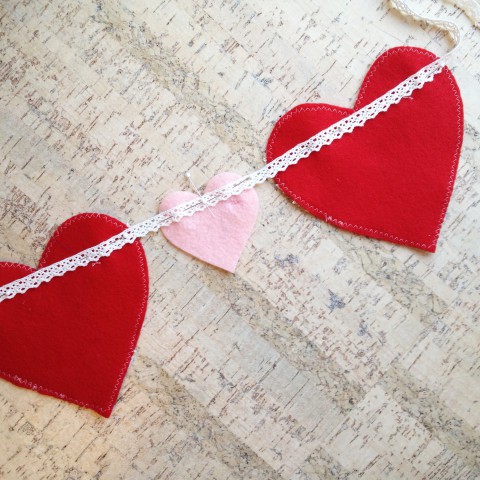
Position remaining hearts along the lace trim/ribbon, pinning into place on the backside. Tip: Place your lace trim/ribbon on the upper part of the heart, or else the hearts tend to flip over once hung. Once pinned into place, use a hot glue gun to attach the lace trim, removing pins as you work. If you would prefer, you can stitch the lace trim/ribbon into place.
DIY Lace Heart Garland ~ Tutorial Blog Post ~ By Bubblegum Sass
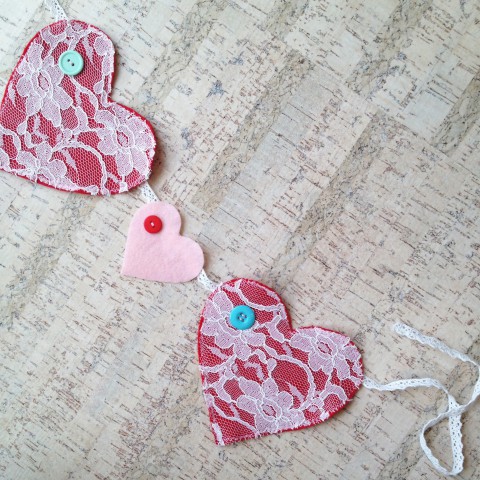
Voila! A pretty lace heart garland to hang. Besides using it to decorate for Valentine’s Day, I think it would be a sweet addition to a baby room. And of course, you could make it in any combination of colours.

DIY Lace Heart Garland ~ Tutorial Blog Post ~ By Bubblegum Sass

DIY Lace Heart Garland ~ Tutorial Blog Post ~ By Bubblegum Sass

DIY Lace Heart Garland ~ Tutorial Blog Post ~ By Bubblegum Sass
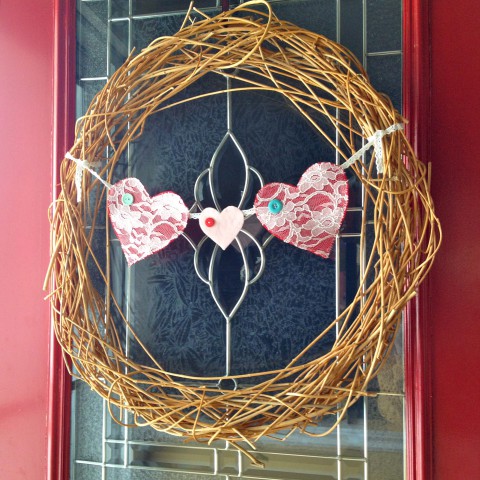
My completed project, with the lace heart garland attached to our twig wreath & hung on the front door. The wreath, by the way, is one that my hubby made for fun one year out of lilac bush branches.

Button-spiration: Heart Day

Valentine’s is just around the corner. Thought I would share one more “heart themed” button craft with you. This one is from Buttons Galore & More. These little rustic fabric hearts decorated with buttons would make a very nice gift, for the young or old. All you need is some plain or linen fabric, buttons, thread, ribbon, and polyfil. If you’re short on time, you could always use some hot glue to attach all the buttons, instead of sewing them (although they look more adorable stitched). Check out the full tutorial for all the details. And enjoy your Happy Hearts Day!

Heart on my sleeve

Specifically heart on my elbow. Yesterday I shared my “button collector” cardigan with you (a basic grey cardi that I embellished with some vintage buttons). There is an additional adorable element, needle felted elbow patches. In the shape of hearts. Seriously.

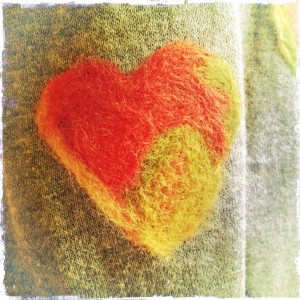
Needle felted elbow patchNeedle felted elbow patch heart

Came across this cute DIY tutorial on Pinterest, of course, originally from the HonestlyWTF blog and couldn’t wait to give it a try. I’ve had needle felting supplies sitting in the sewing room for quite some time (courtesy of my mama) and figured it would be the perfect project for this needle felting newbie. I was a bit hesitant to make my first attempt on the cardigan that I’d spent months in search of, but with little crafting time these days, I decided to “just give ‘er”. I figured the worse case scenario was that it doesn’t work and I end up covering the disaster with fabric patches. No big deal.

Let me just say, needle felting is super fun! Stabbing wool with sharp needles repeatedly is quite therapeutic, and I will keep it in mind as a craft to do when I need to release some frustrations. Plus, super simple. Can’t wait to do some more! Look out! My wardrobe might soon have strange random felted patches everywhere! Be afraid Sammy, your little sleepers are fair game!