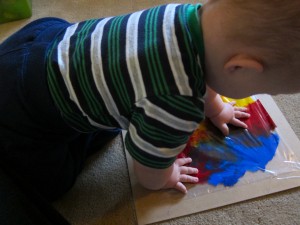
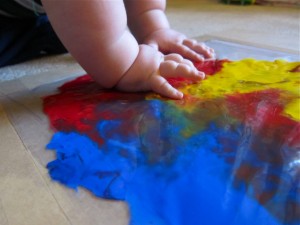
Last month, while Sam was teething and in need of some serious distraction, I decided to try out some finger painting with him. I’d seen random ideas for doing finger painting with babies on Pinterest and opted for the plastic bag method (as trying to clean up a teething, grumpy baby would only lead to more rage).
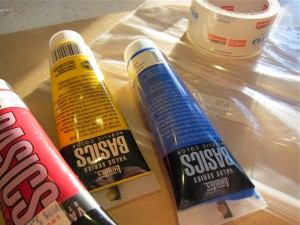 I used a large freezer bag, some acrylic paint left from my art school days, packing tape and a piece of board intended for an artist palette. I wanted to be able to place it on the floor, so that Sam could get “into it” a bit more than making him sit up at a table.
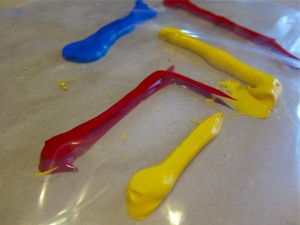 I squeezed some paint into the freezer bag (next time I will use more paint so it’s easier for him to squish it around). Then closed the bag up nice & tight and taped it down to the board.
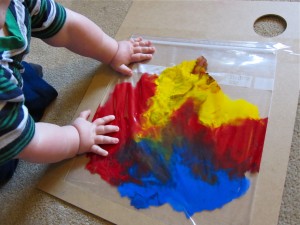 Then I plopped it down on the floor in front of him. He wasn’t sure what to make of it at first. I showed him how the colours squished & moved around. Eventually he got interested in touching each colour and was soon squishing a bit on his own.
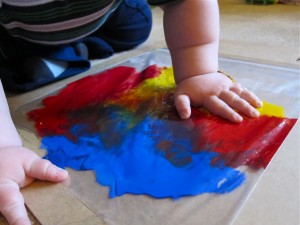 (I love his chubby little hands!)
Overall it was a nice activity. Quick set-up and clean-up (just pulled the bag off the board and tossed the bag into the garbage). No mess on the baby (I recommend you ensure that baby’s nails are clipped short to avoid ripping holes in the bag). And lots of fun to watch him explore. We will be doing more of this soon, for sure.

