{Colour inspiration from my studio & home to yours…}
A very Merry Christmas, to you!

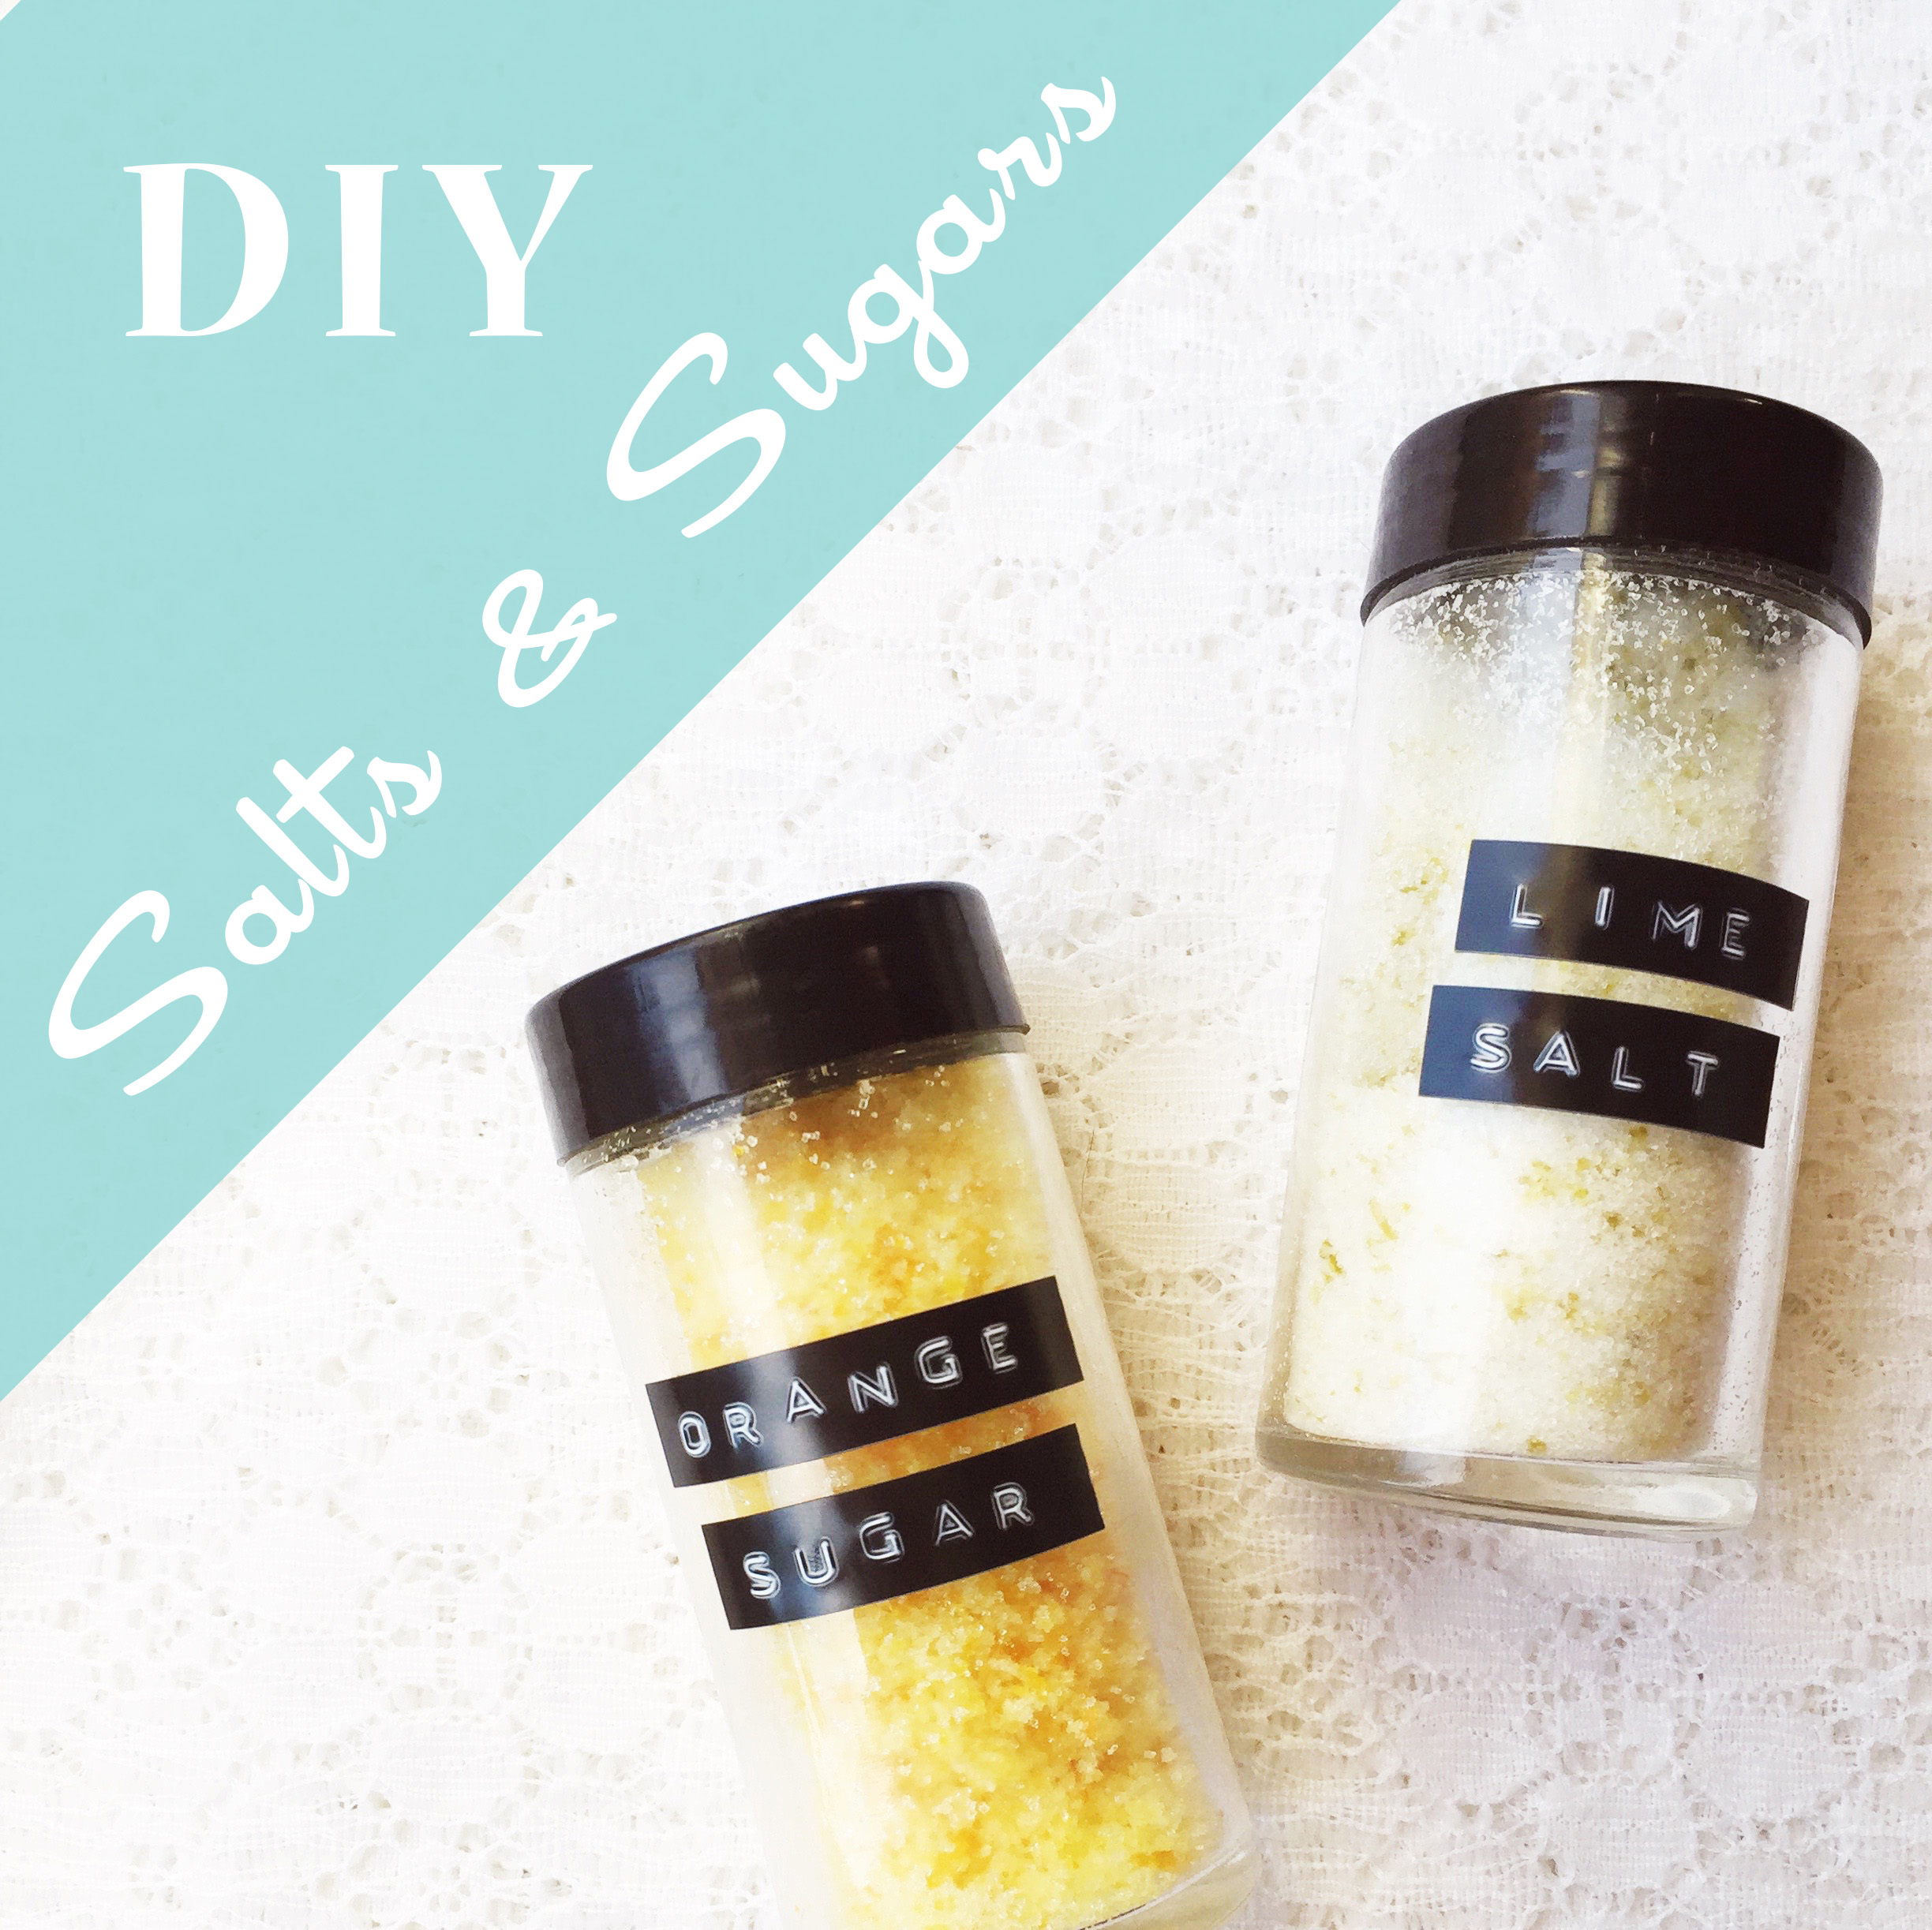
I was gifted a lovely & deliciously useful salt & sugar set infused with essential oils. It’s one of those things, at first glance, you’re not sure how you’ll use it, but I quickly changed that attitude into “what won’t I use them in?!” Turns out they are simple to make, and really handy to have sitting on the kitchen counter to shake in here & there.
Let’s just jump into it:
Zest your lime & set aside {don’t let your now naked lime go to waste; slice it up & add to your water, or juice it & put it towards a margarita}. Mix together sea salt & lime essential oil, breaking up clumps. Add lime zest. Mix well. Put into whichever container is most convenient. Mine came in spice shakers, which work awesome.
Zest your orange & set aside. Mix together sugar & orange essential oil. Add orange zest. Spread mixture onto baking sheet to air dry. Scoop into container, breaking up clumps as needed.

Now here’s the best part… you can do a whole variety of citrus infused salts & sugars using citrus zests & essential oils! The other amazing thing, is the number of ways to use these. I’ve sort of lost track of how many thing’s I’ve added them to. The salt gets added to random cooking, from veggies to chicken {lime salt & cooked beans is super tasty}. The sugar gets added to things like plain greek yogurt & homemade applesauce. I keep ours handy on the kitchen counter, so whenever I’m at a loss or just plain too tired to decided on flavours or seasonings, I grab one of these. They make a great hostess gift too!
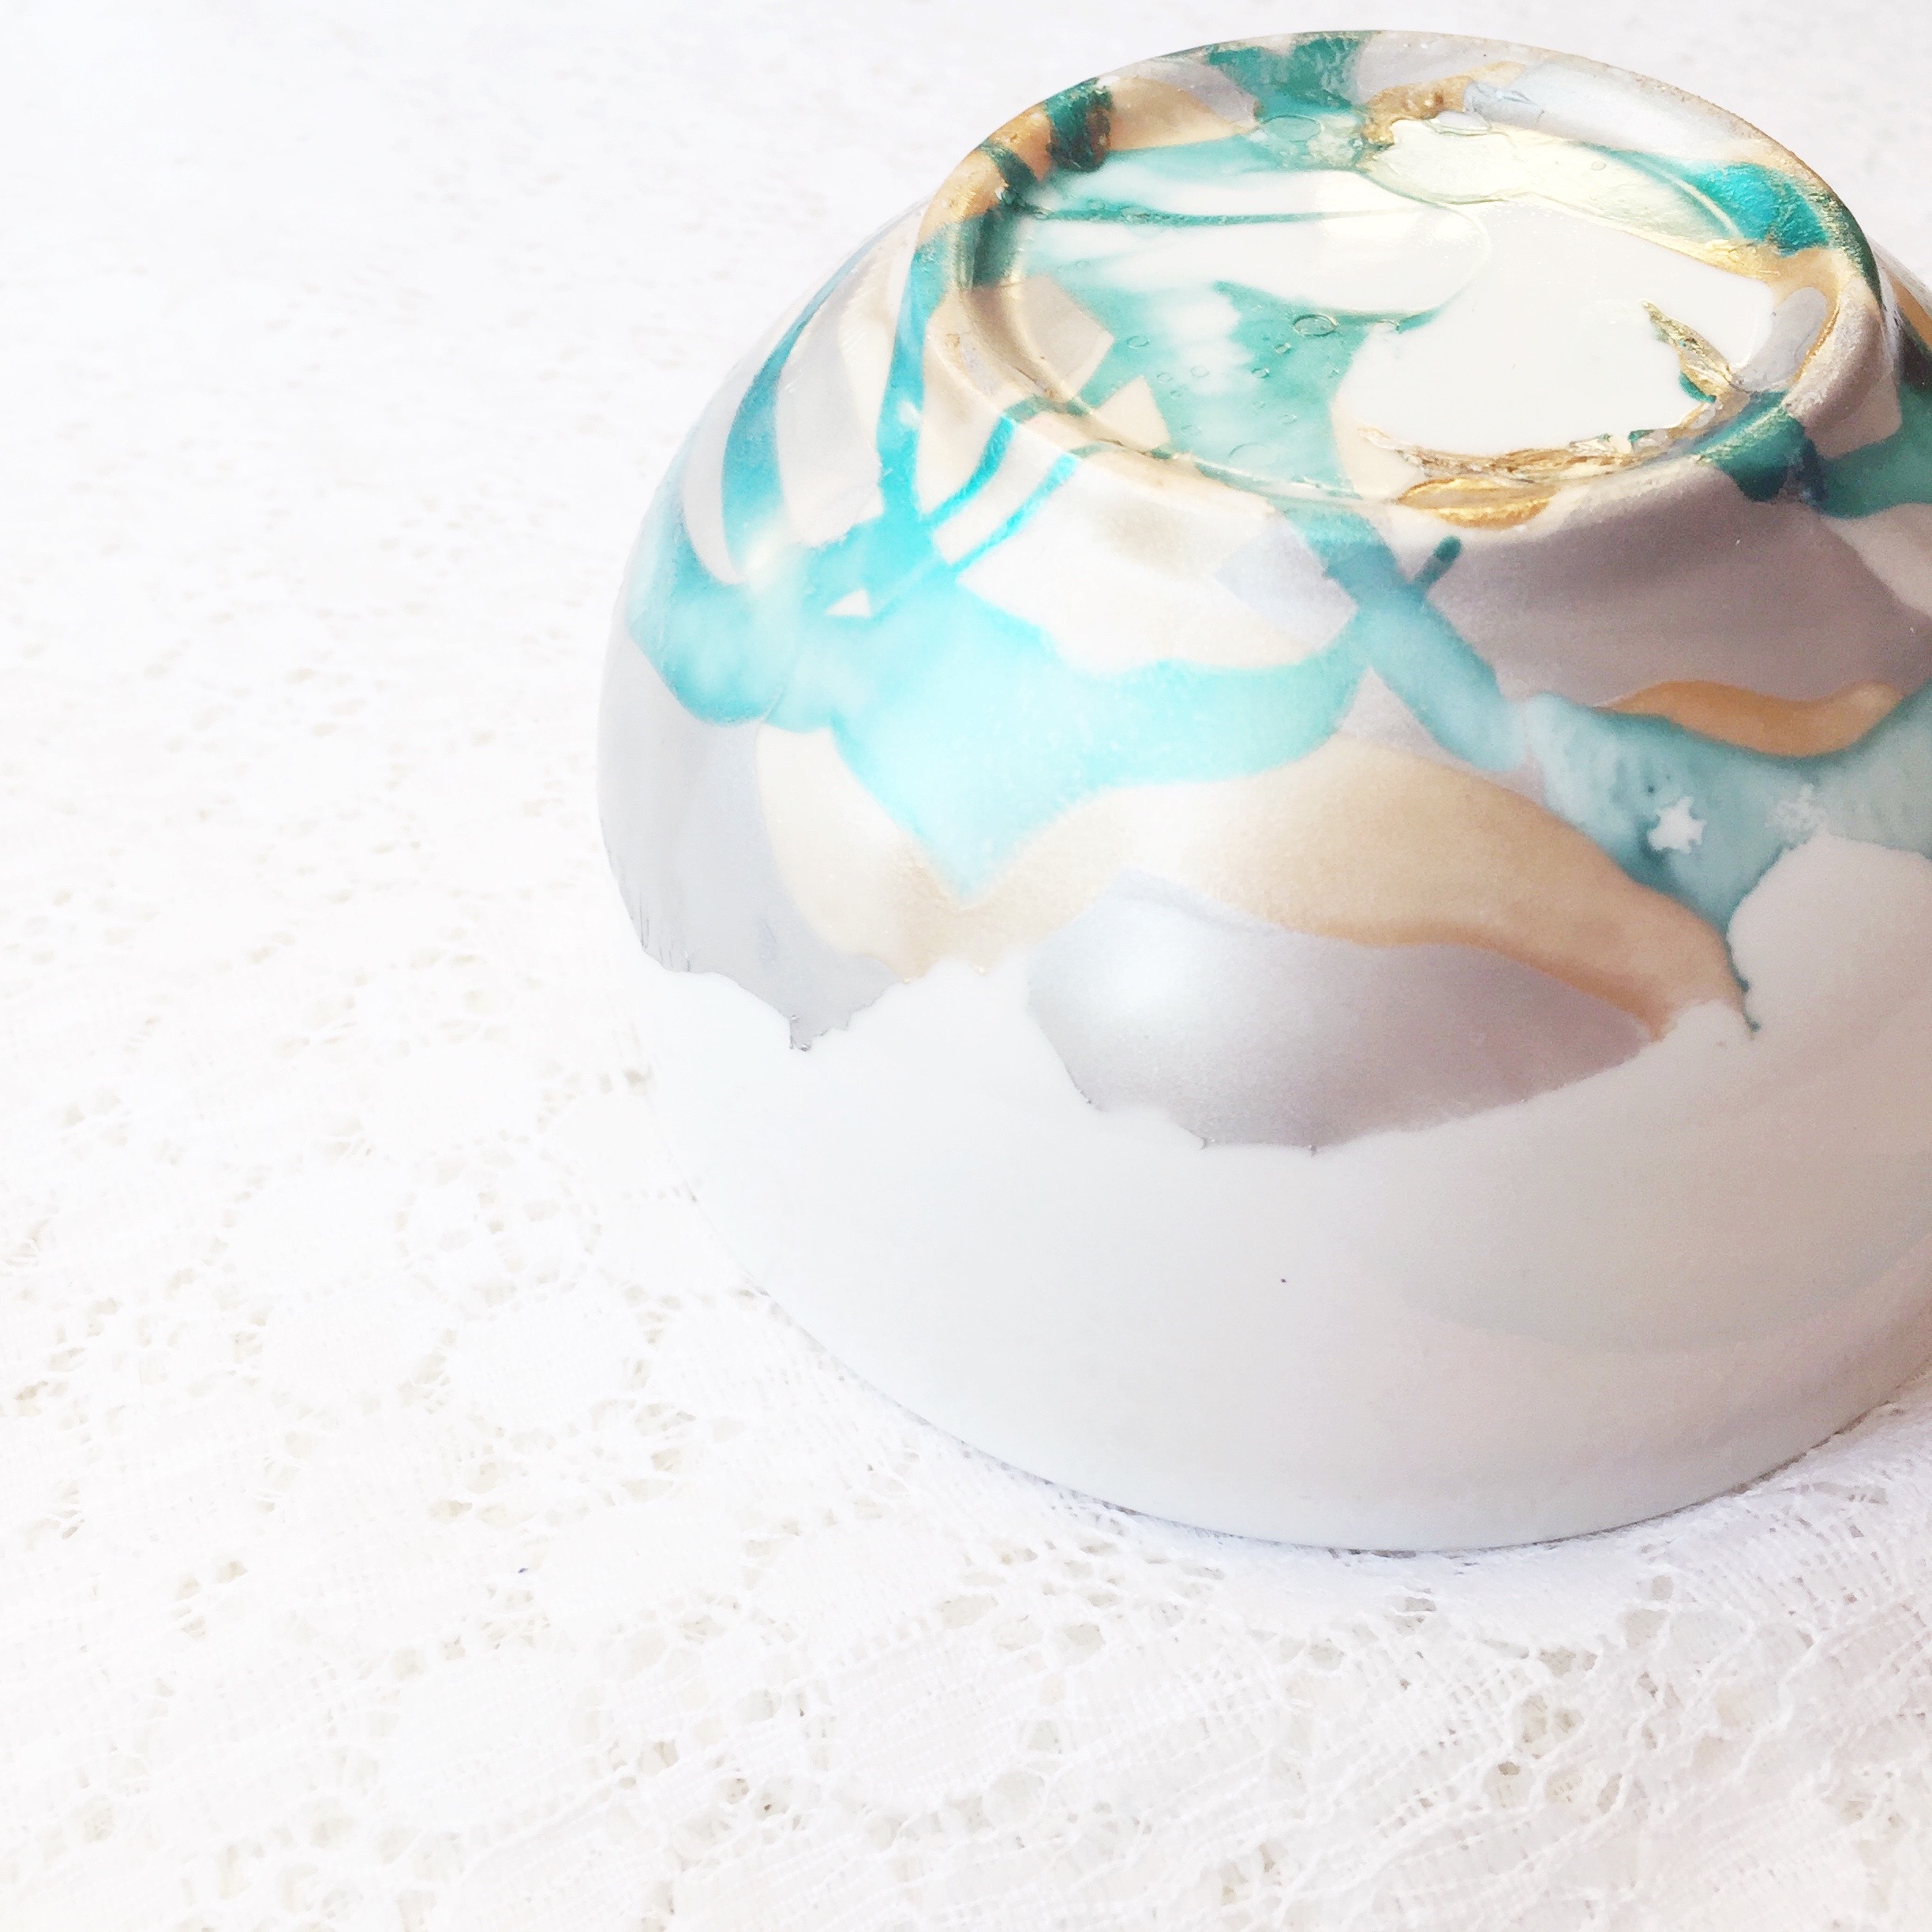
At this year’s annual Pinterest Christmas Party with the ladies, our lovely host, Shauna, had us try out a quick little project: marbling with nail polish. She picked up white bowls & mugs at the dollar store. Then all you need is a disposable foil container, nail polish, hot water, and some creative bravery.

There’s lots of great full tutorials already out there {like here and here}, so I’m not going to do step by step. Just going to offer some tips we discovered as we each took a turn at this project.
Tip #1: Get your work area set up, all the nail polish colours you’re going to use picked out & open each bottle, so everything is ready to go quickly.
Tip #2: Open a friggin’ window {or two}! It was a damn cold winter night, and I’m pretty sure we got a little high on fumes.
Tip #3: In case you thought doing this with young kids was a good idea {ummm, nail polish & kids don’t usually mix}, please reconsider. It’s a simple “adult” craft. Again, hello, fumes.
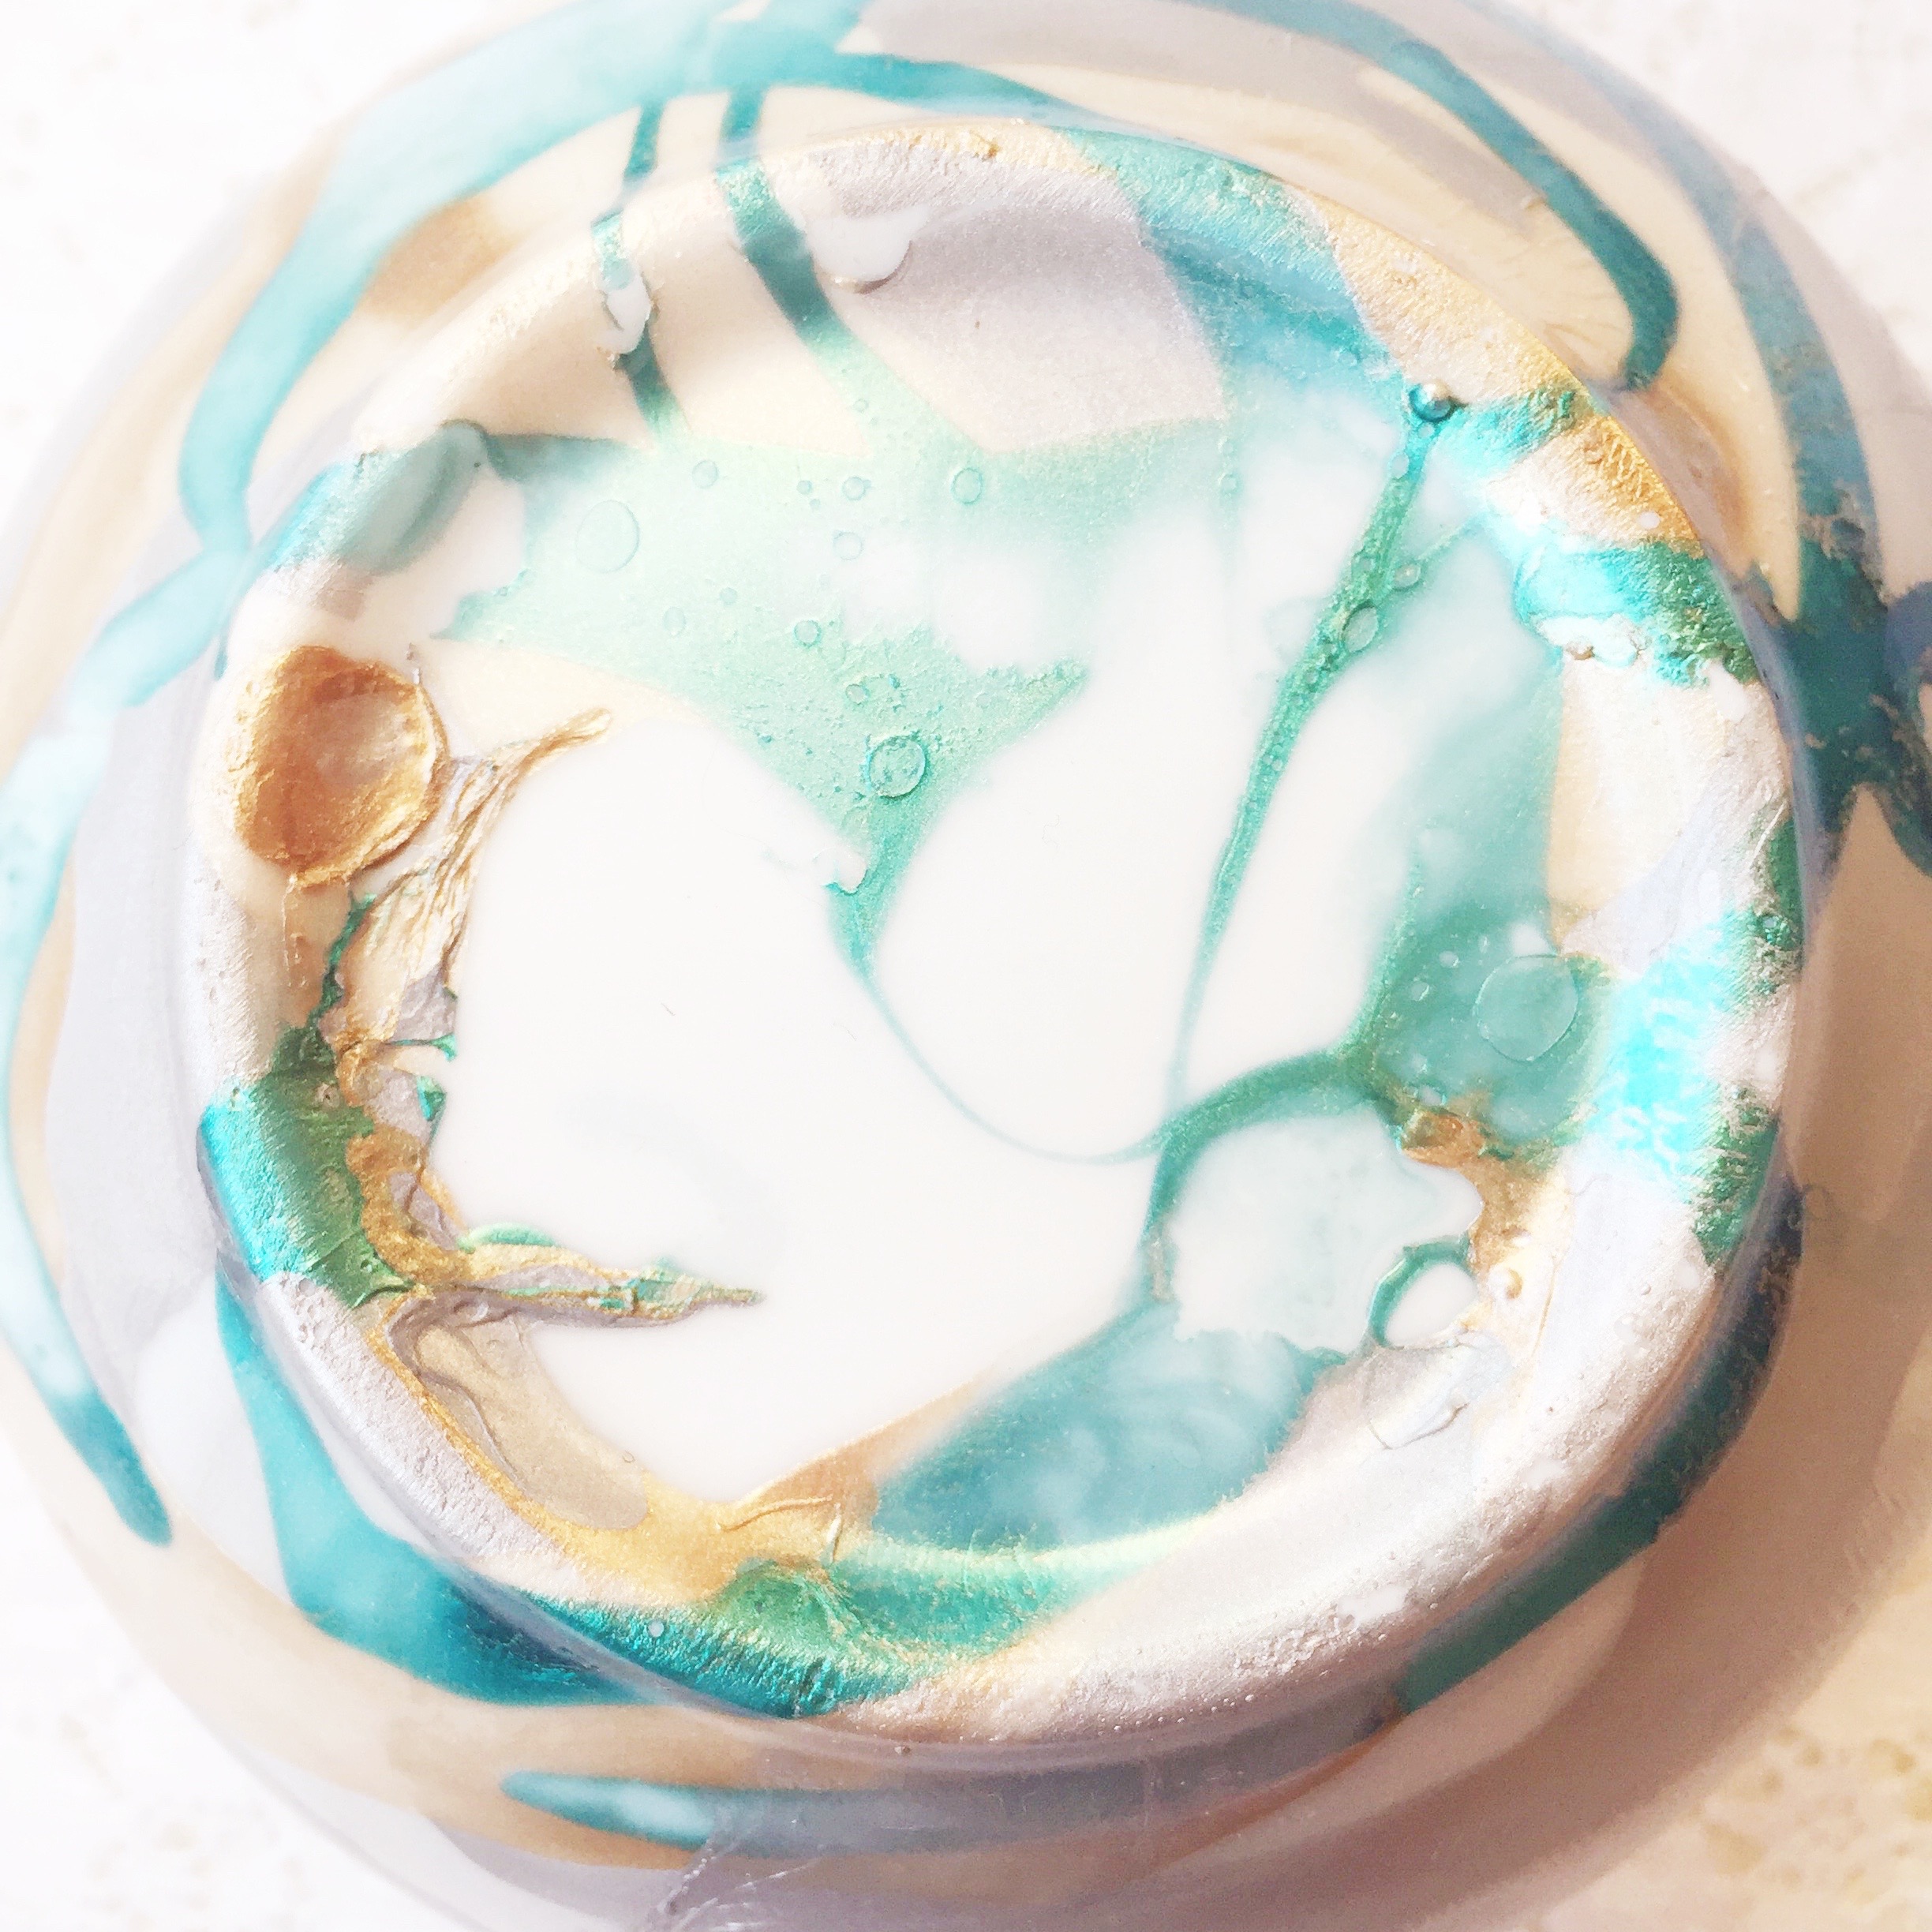
Tip #4: Work quickly. Drizzle the nail polish close to the surface of the water, slowly, but do work quickly. The polish will start to get gummy as it hardens & can lead to lumpy {somewhat ugly} results. But hey, if you don’t like how it turns out, just use nail polish remover & start again.
Tip #5: You don’t necessarily have to take the time to swirl the nail polish in the water with a toothpick before dipping your item in. Simply the way you drizzled the nail polish colours into the water can give beautiful results.
Tip #6: Prepare to be surprised! Or brace yourself! Or heck, just dive in & DO NOT overthink it. This is one of those crafty projects that you can’t predict what the end product will look like. Yes, you’re choosing the colour scheme, but that’s about all you have control over. I found it exciting, others found it a little frightening. Experiment!
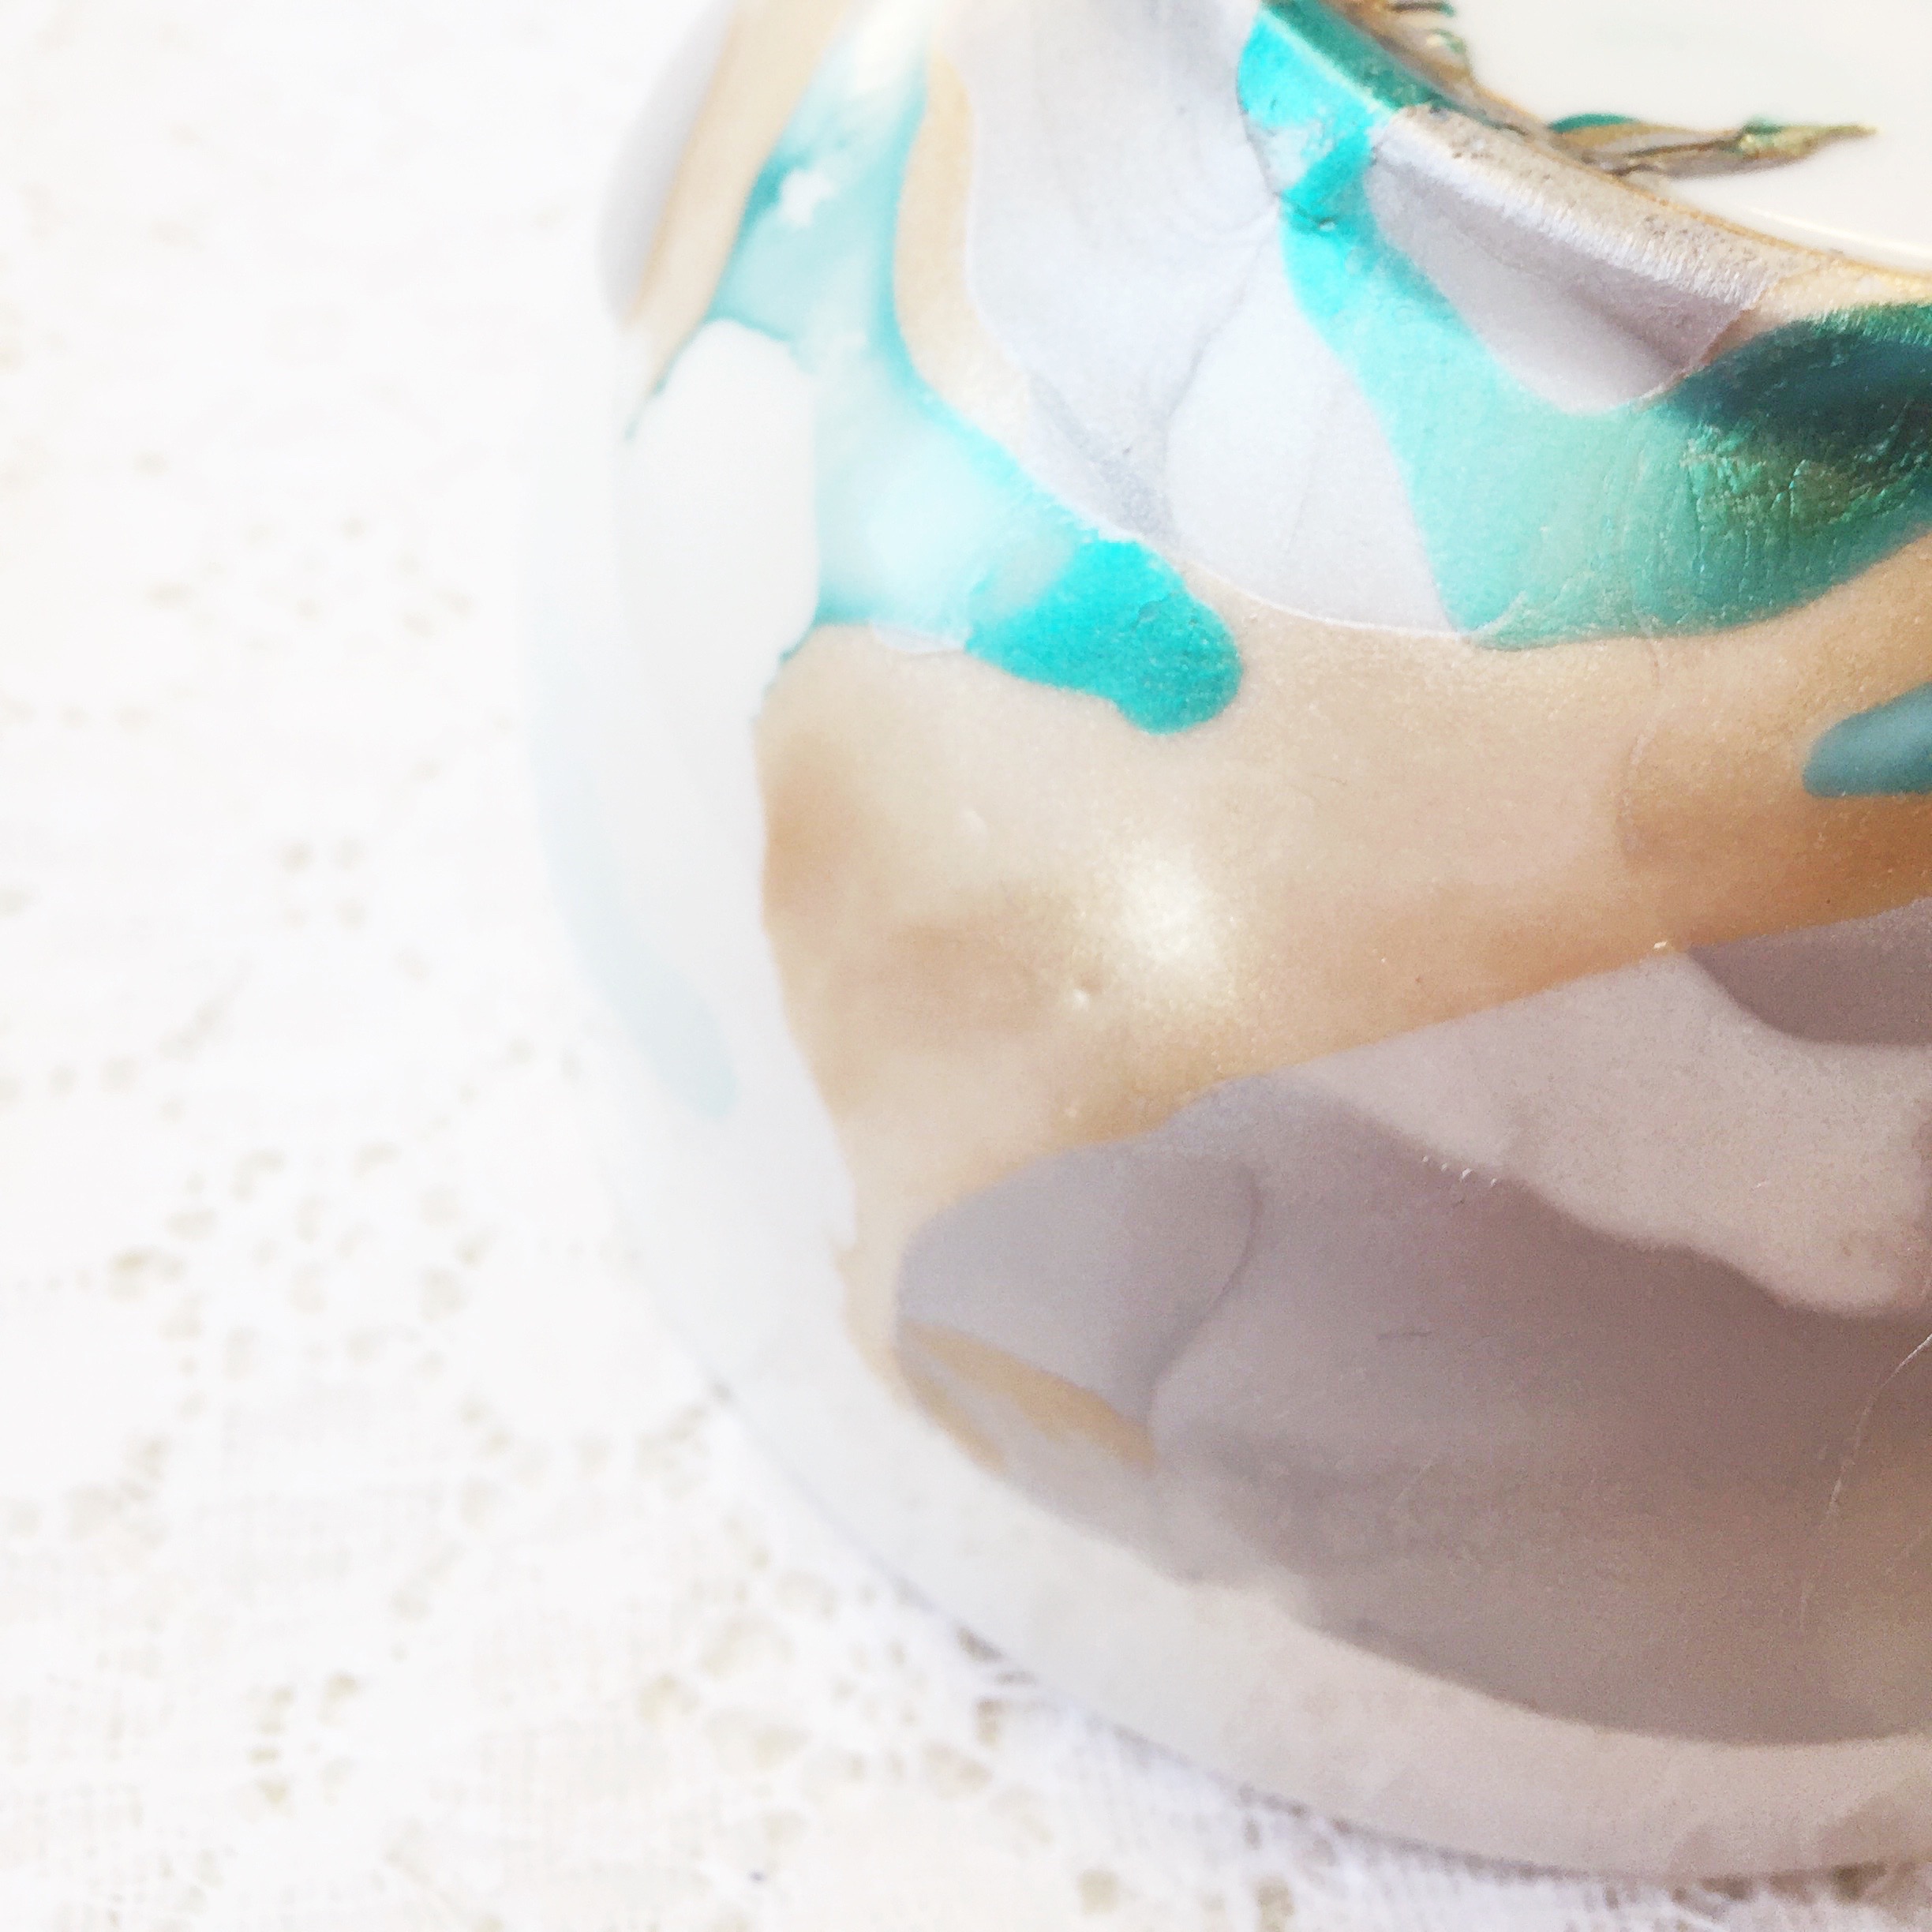
You can generally rate the success of a Pinterest project by whether you’d repeat it. And yes, I would definitely gives this one another go. Several of us at the party were interested in attempting to dip our bowls upside down, so that the inside gets marbled {not food safe, but to keep jewelry in}. I think tile coasters would be awesome too {and a great hostess gift idea}. But high on the list to try, is a marbled hanging planter! They’re gorgeous!
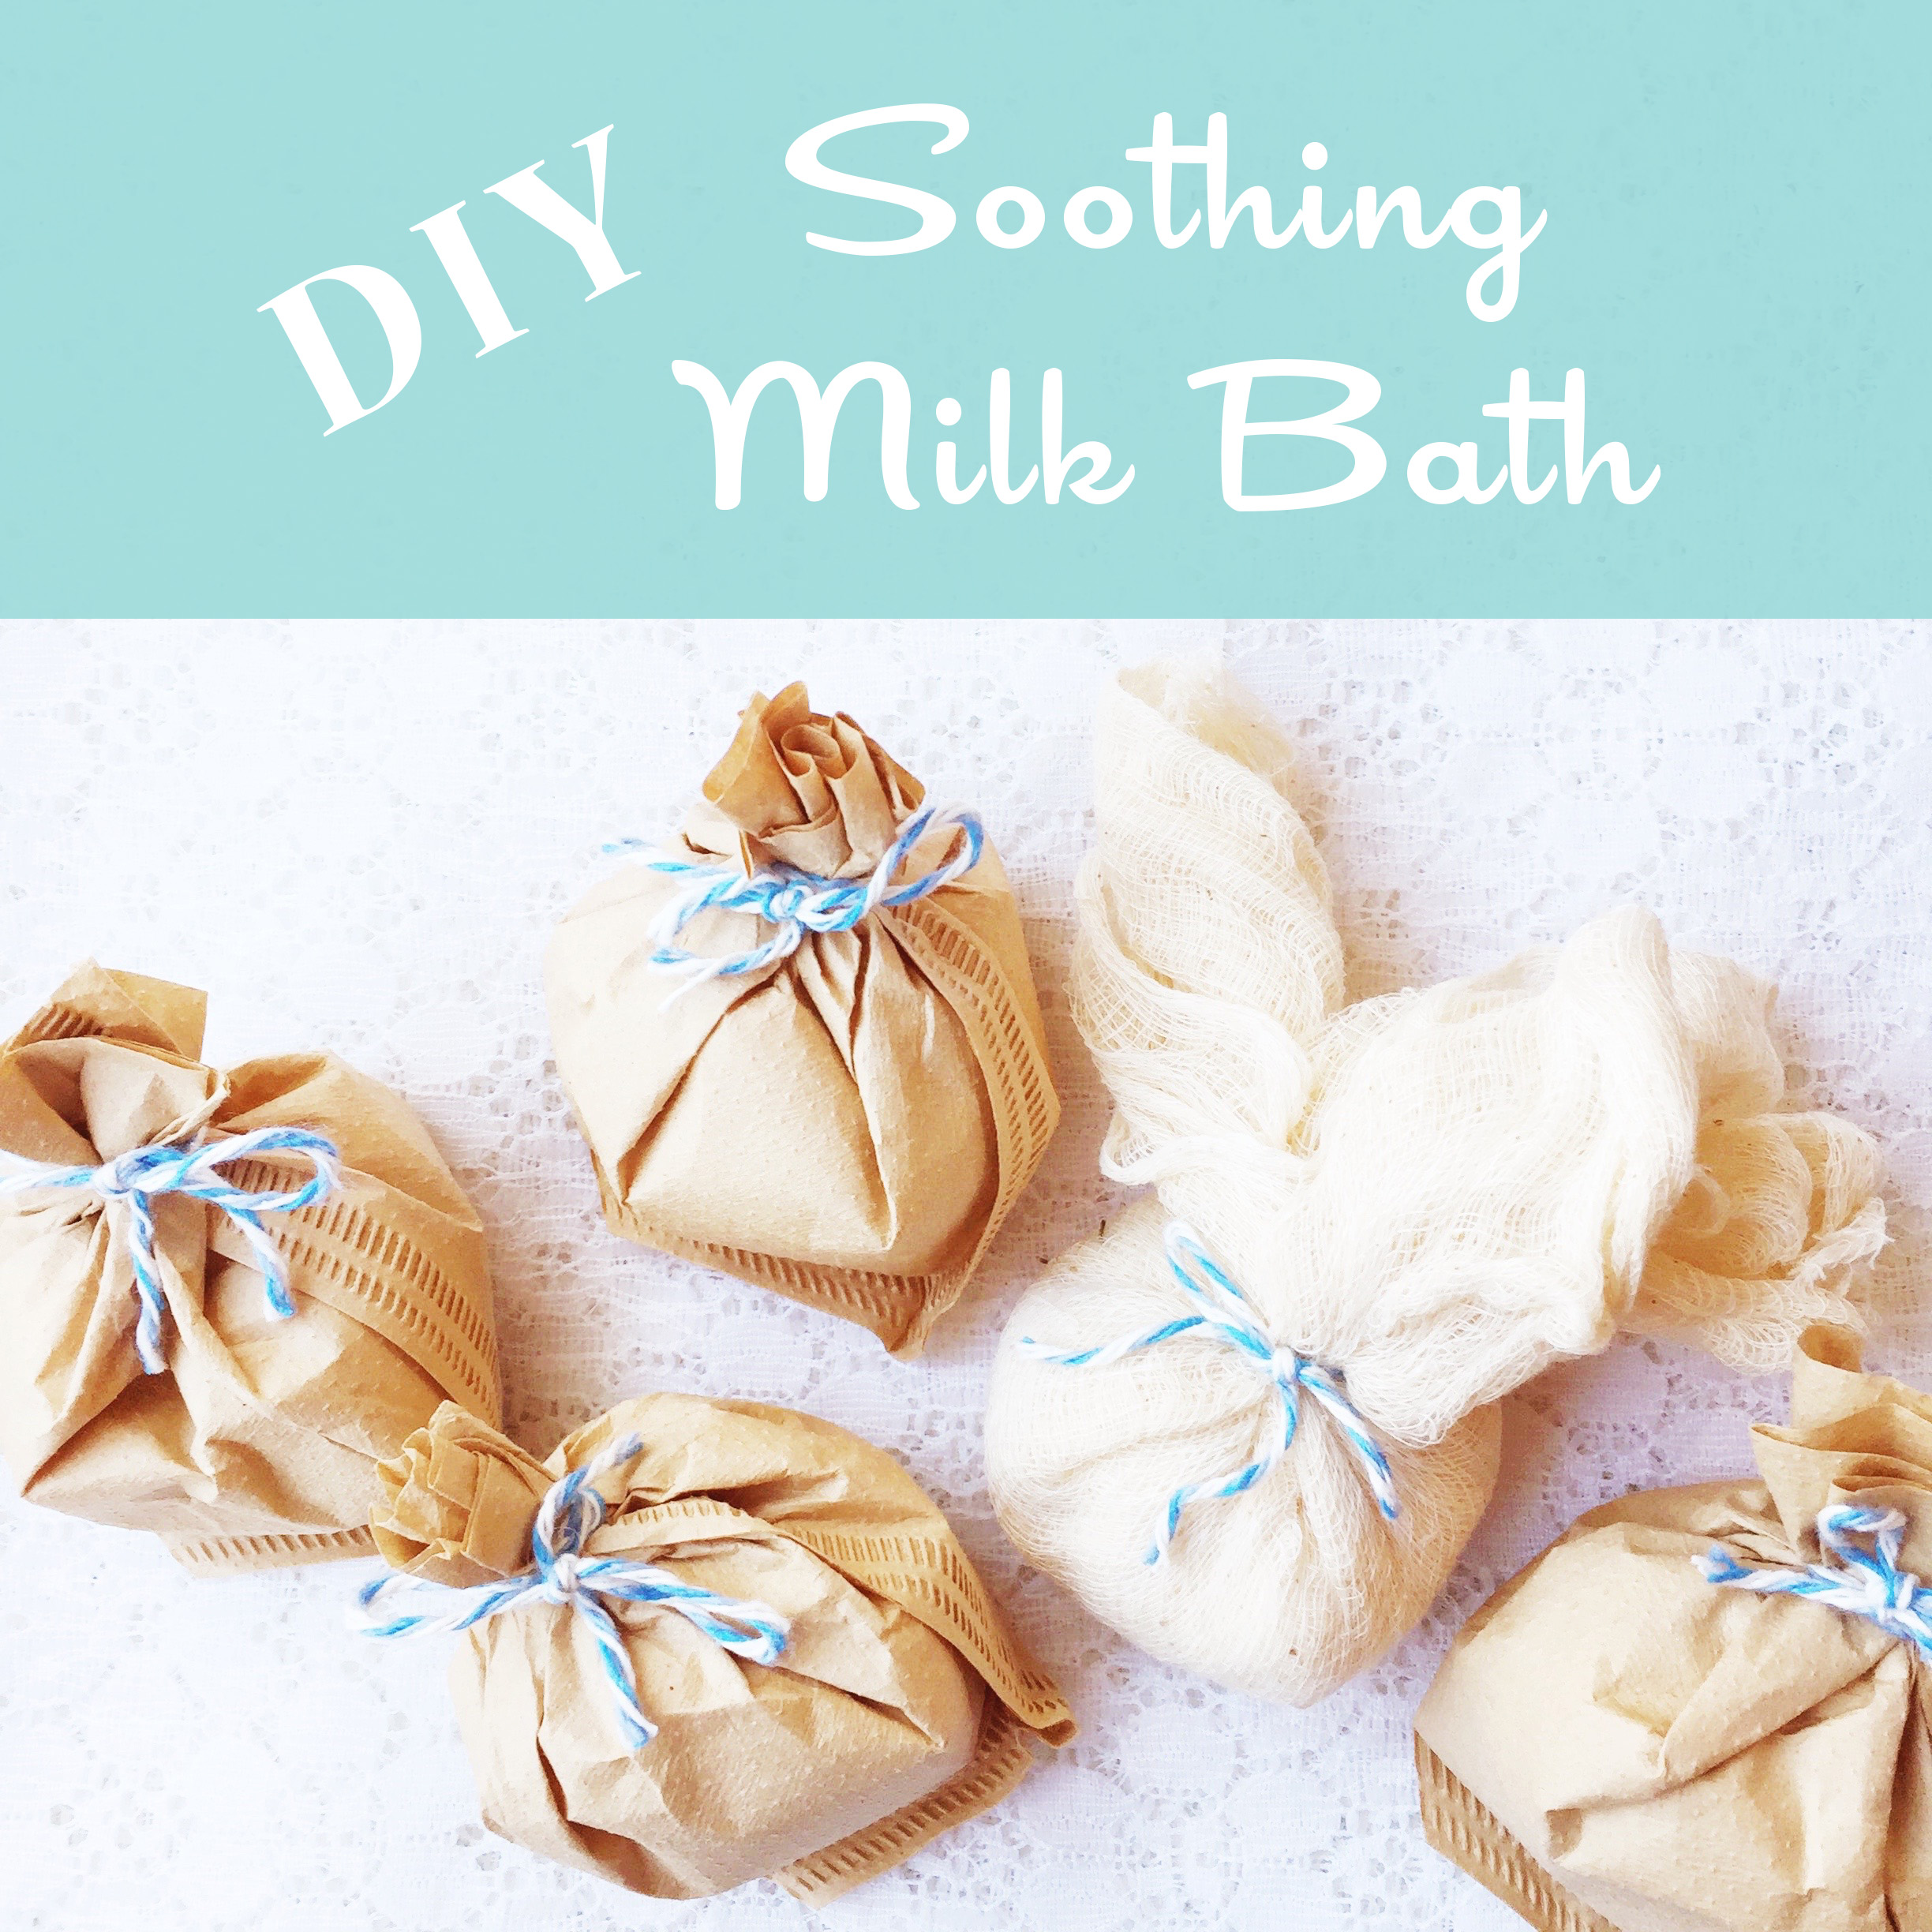
Oh man, I used to buy such a lovely milk bath mixture, but then the shop changed their recipe & it was much less lovely. Anyway, I’d sort of forgotten about how enjoyable milk baths were, until I started diving more into this whole DIY bath & beauty using essential oils. There’s lots of great recipes online, as it turns out, but I thought I would post my version to share with you. Tweak it as you like, to get the results & scent you adore.
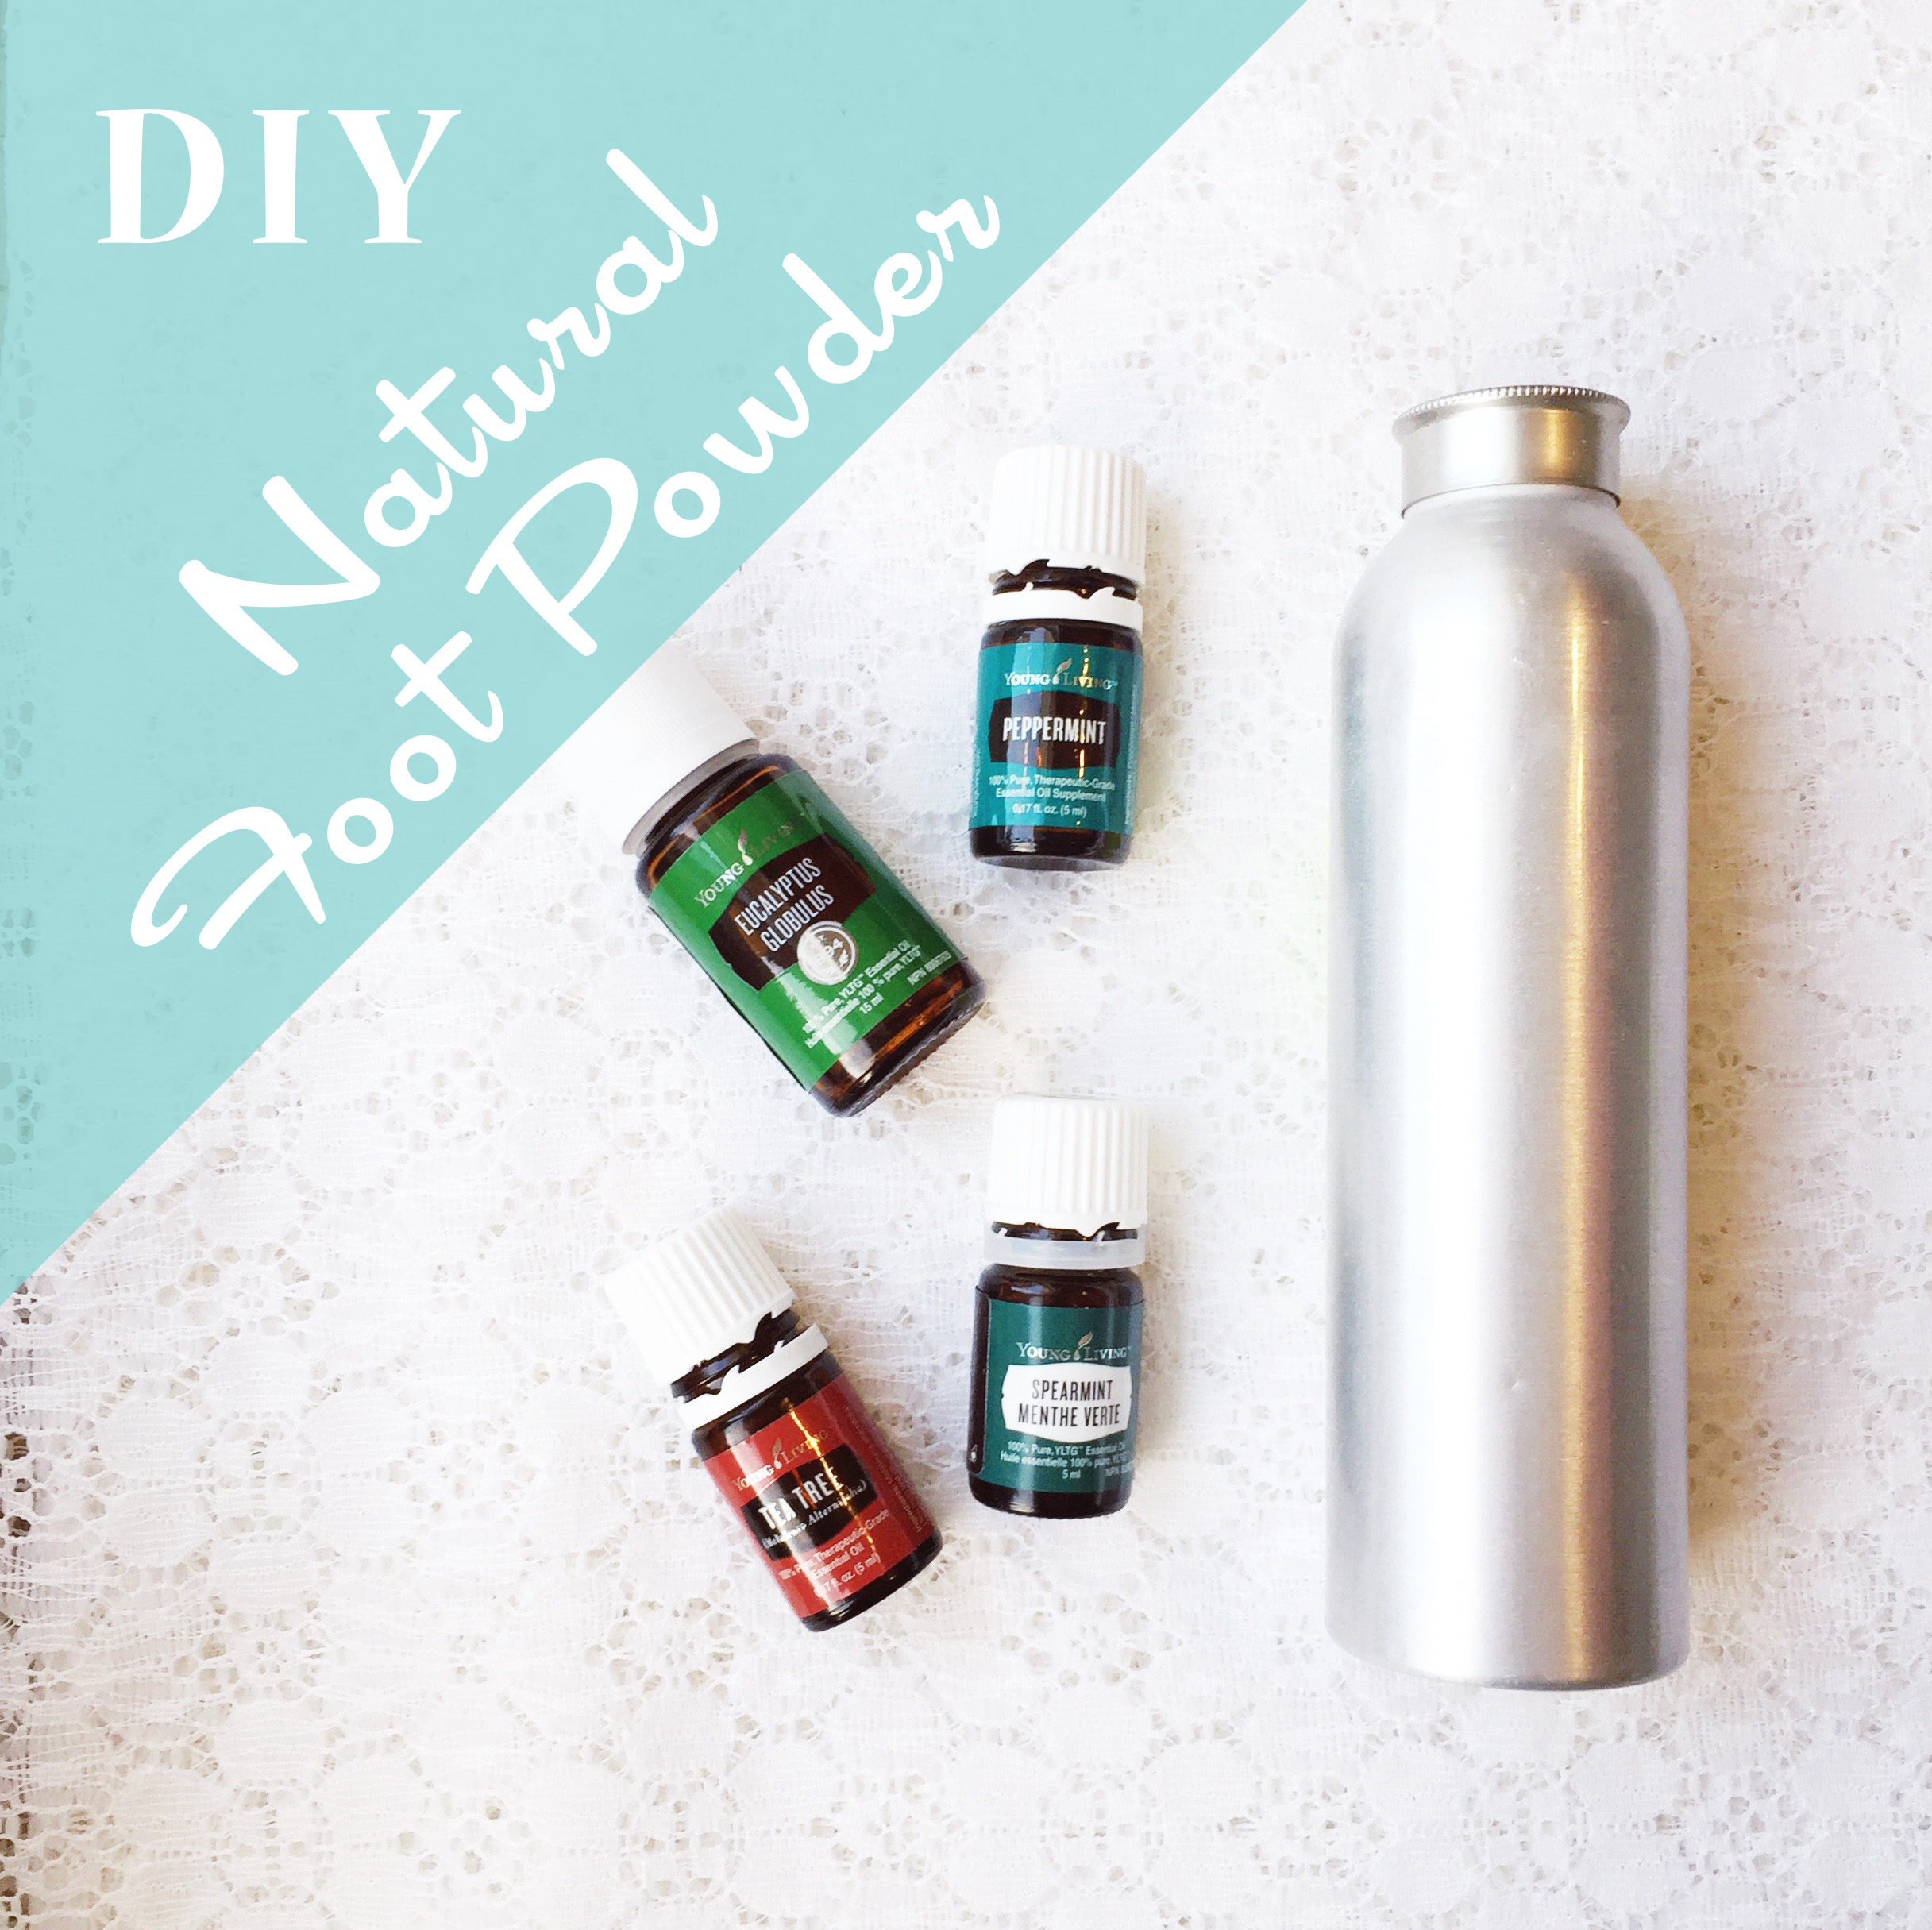
{Excuse the pun} This is a great stocking stuffer gift: DIY Natural Foot Powder! In previous years, I’ve purchased my husband some natural foot powders. It was always nice to have a container of it by the front door to sprinkle into shoes after arriving home. Keeps the entry way stinky-shoe free and helps with general foot odor. It’s been a while since I purchased any, and decided it was time to try my hand {not foot} at making our own. After all, with so many wonderful essential oils in the house, I figured we’d be set.
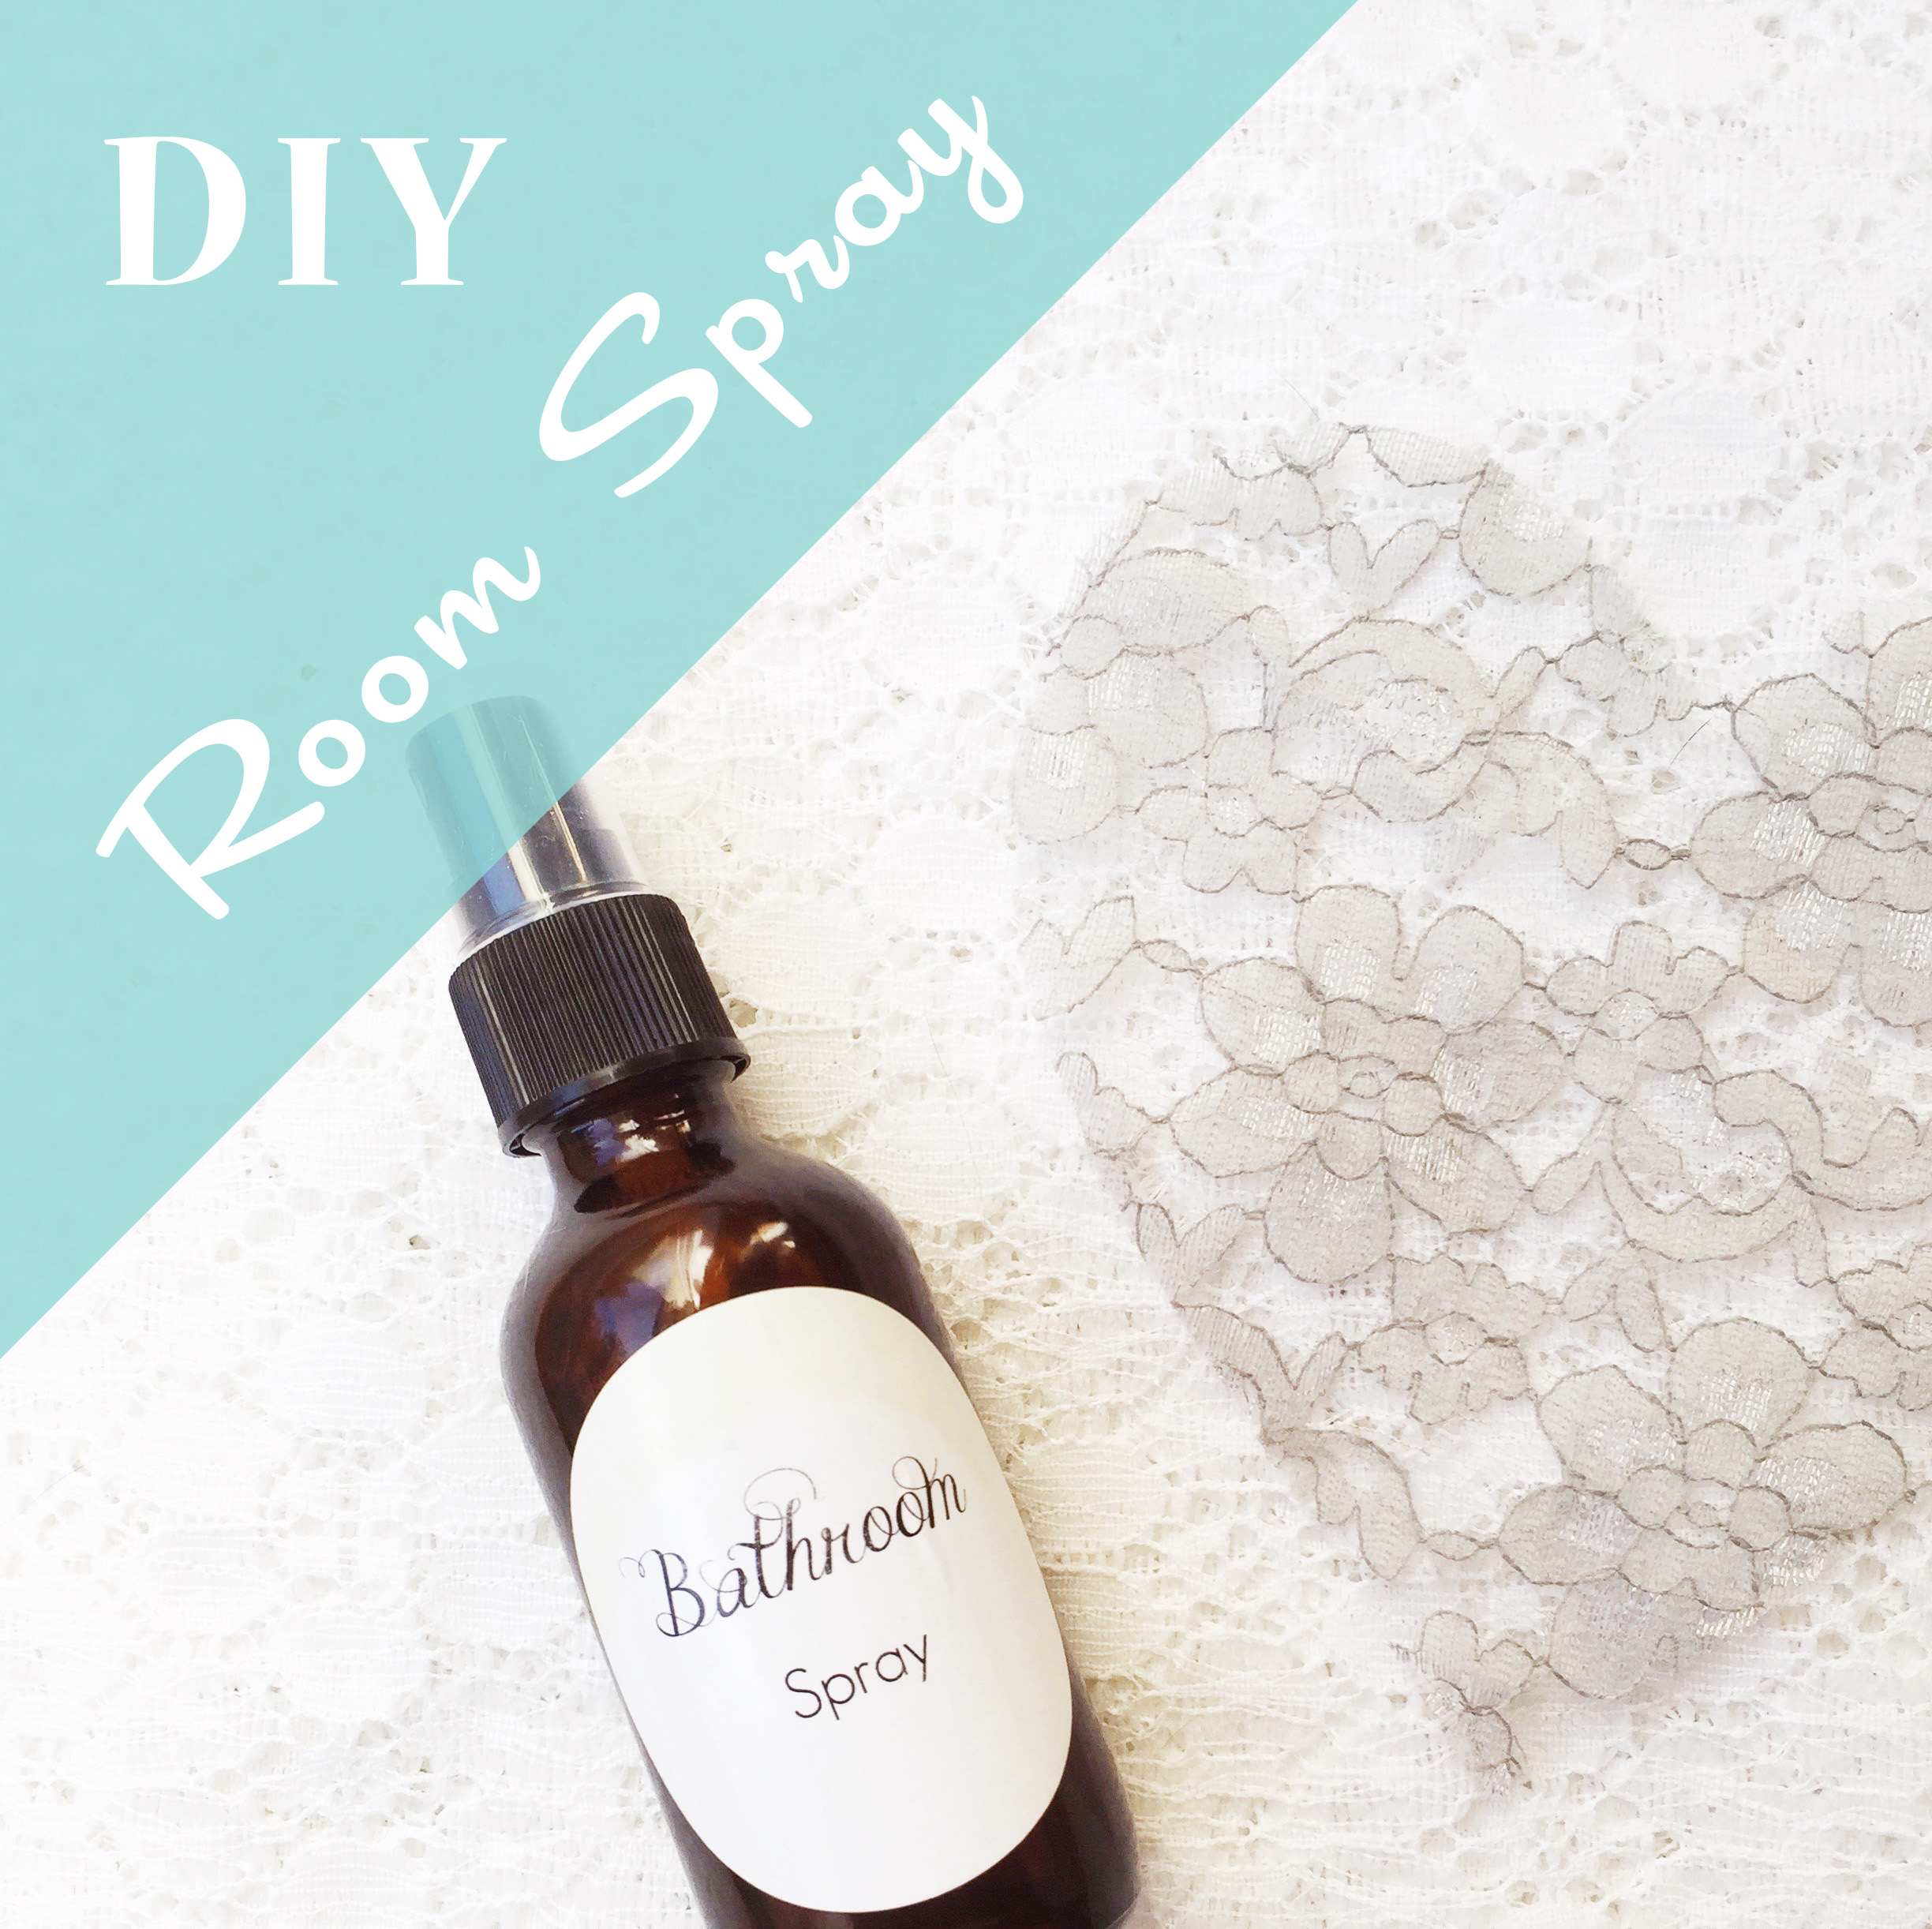
I’ve been using some purchased natural room sprays for a couple of years now. I’m tickled that my oils guru has shown me just how simple they are to make. Two ingredients combined with whichever essential oils you want to use. Ya, it’s seriously that simple!
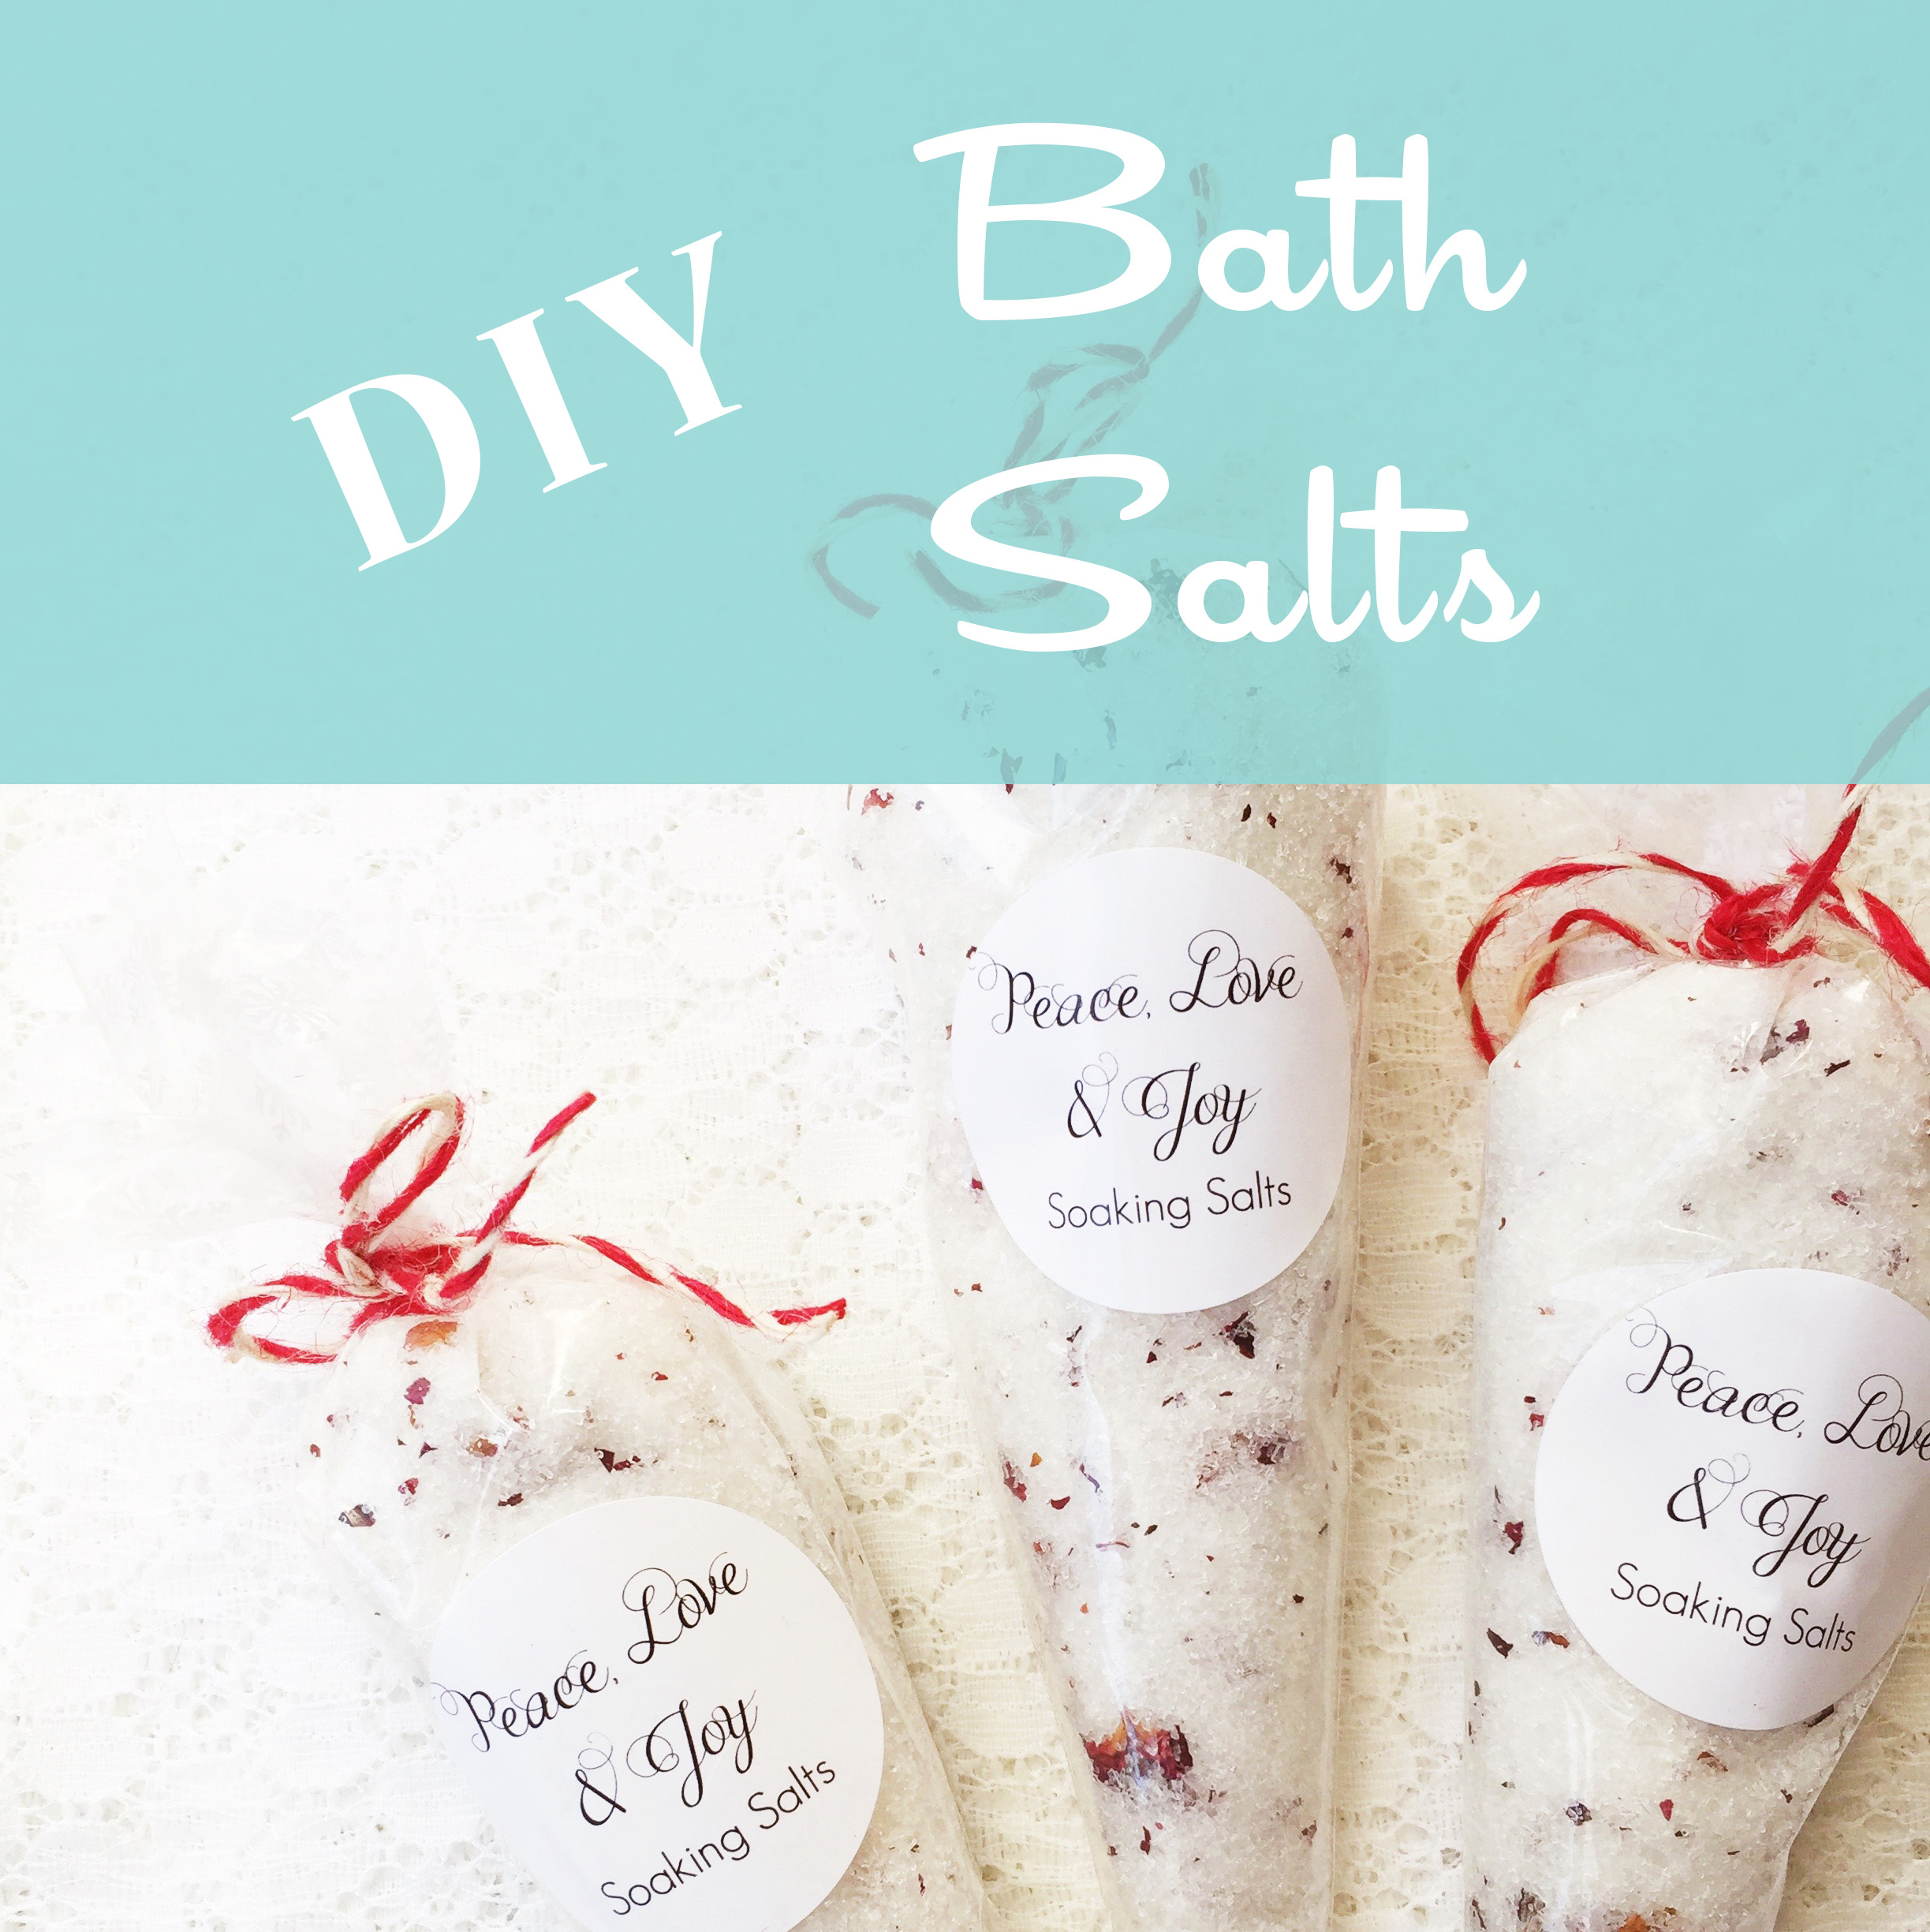
Hot soaking tub time is upon us in Canada. Whether to warm up, soothe sore joints & muscles or immerse yourself in total relaxation, bath time can be a great way to rejuvenate in winter. Today, I’m sharing a couple of quick recipes to make your own bath salts.
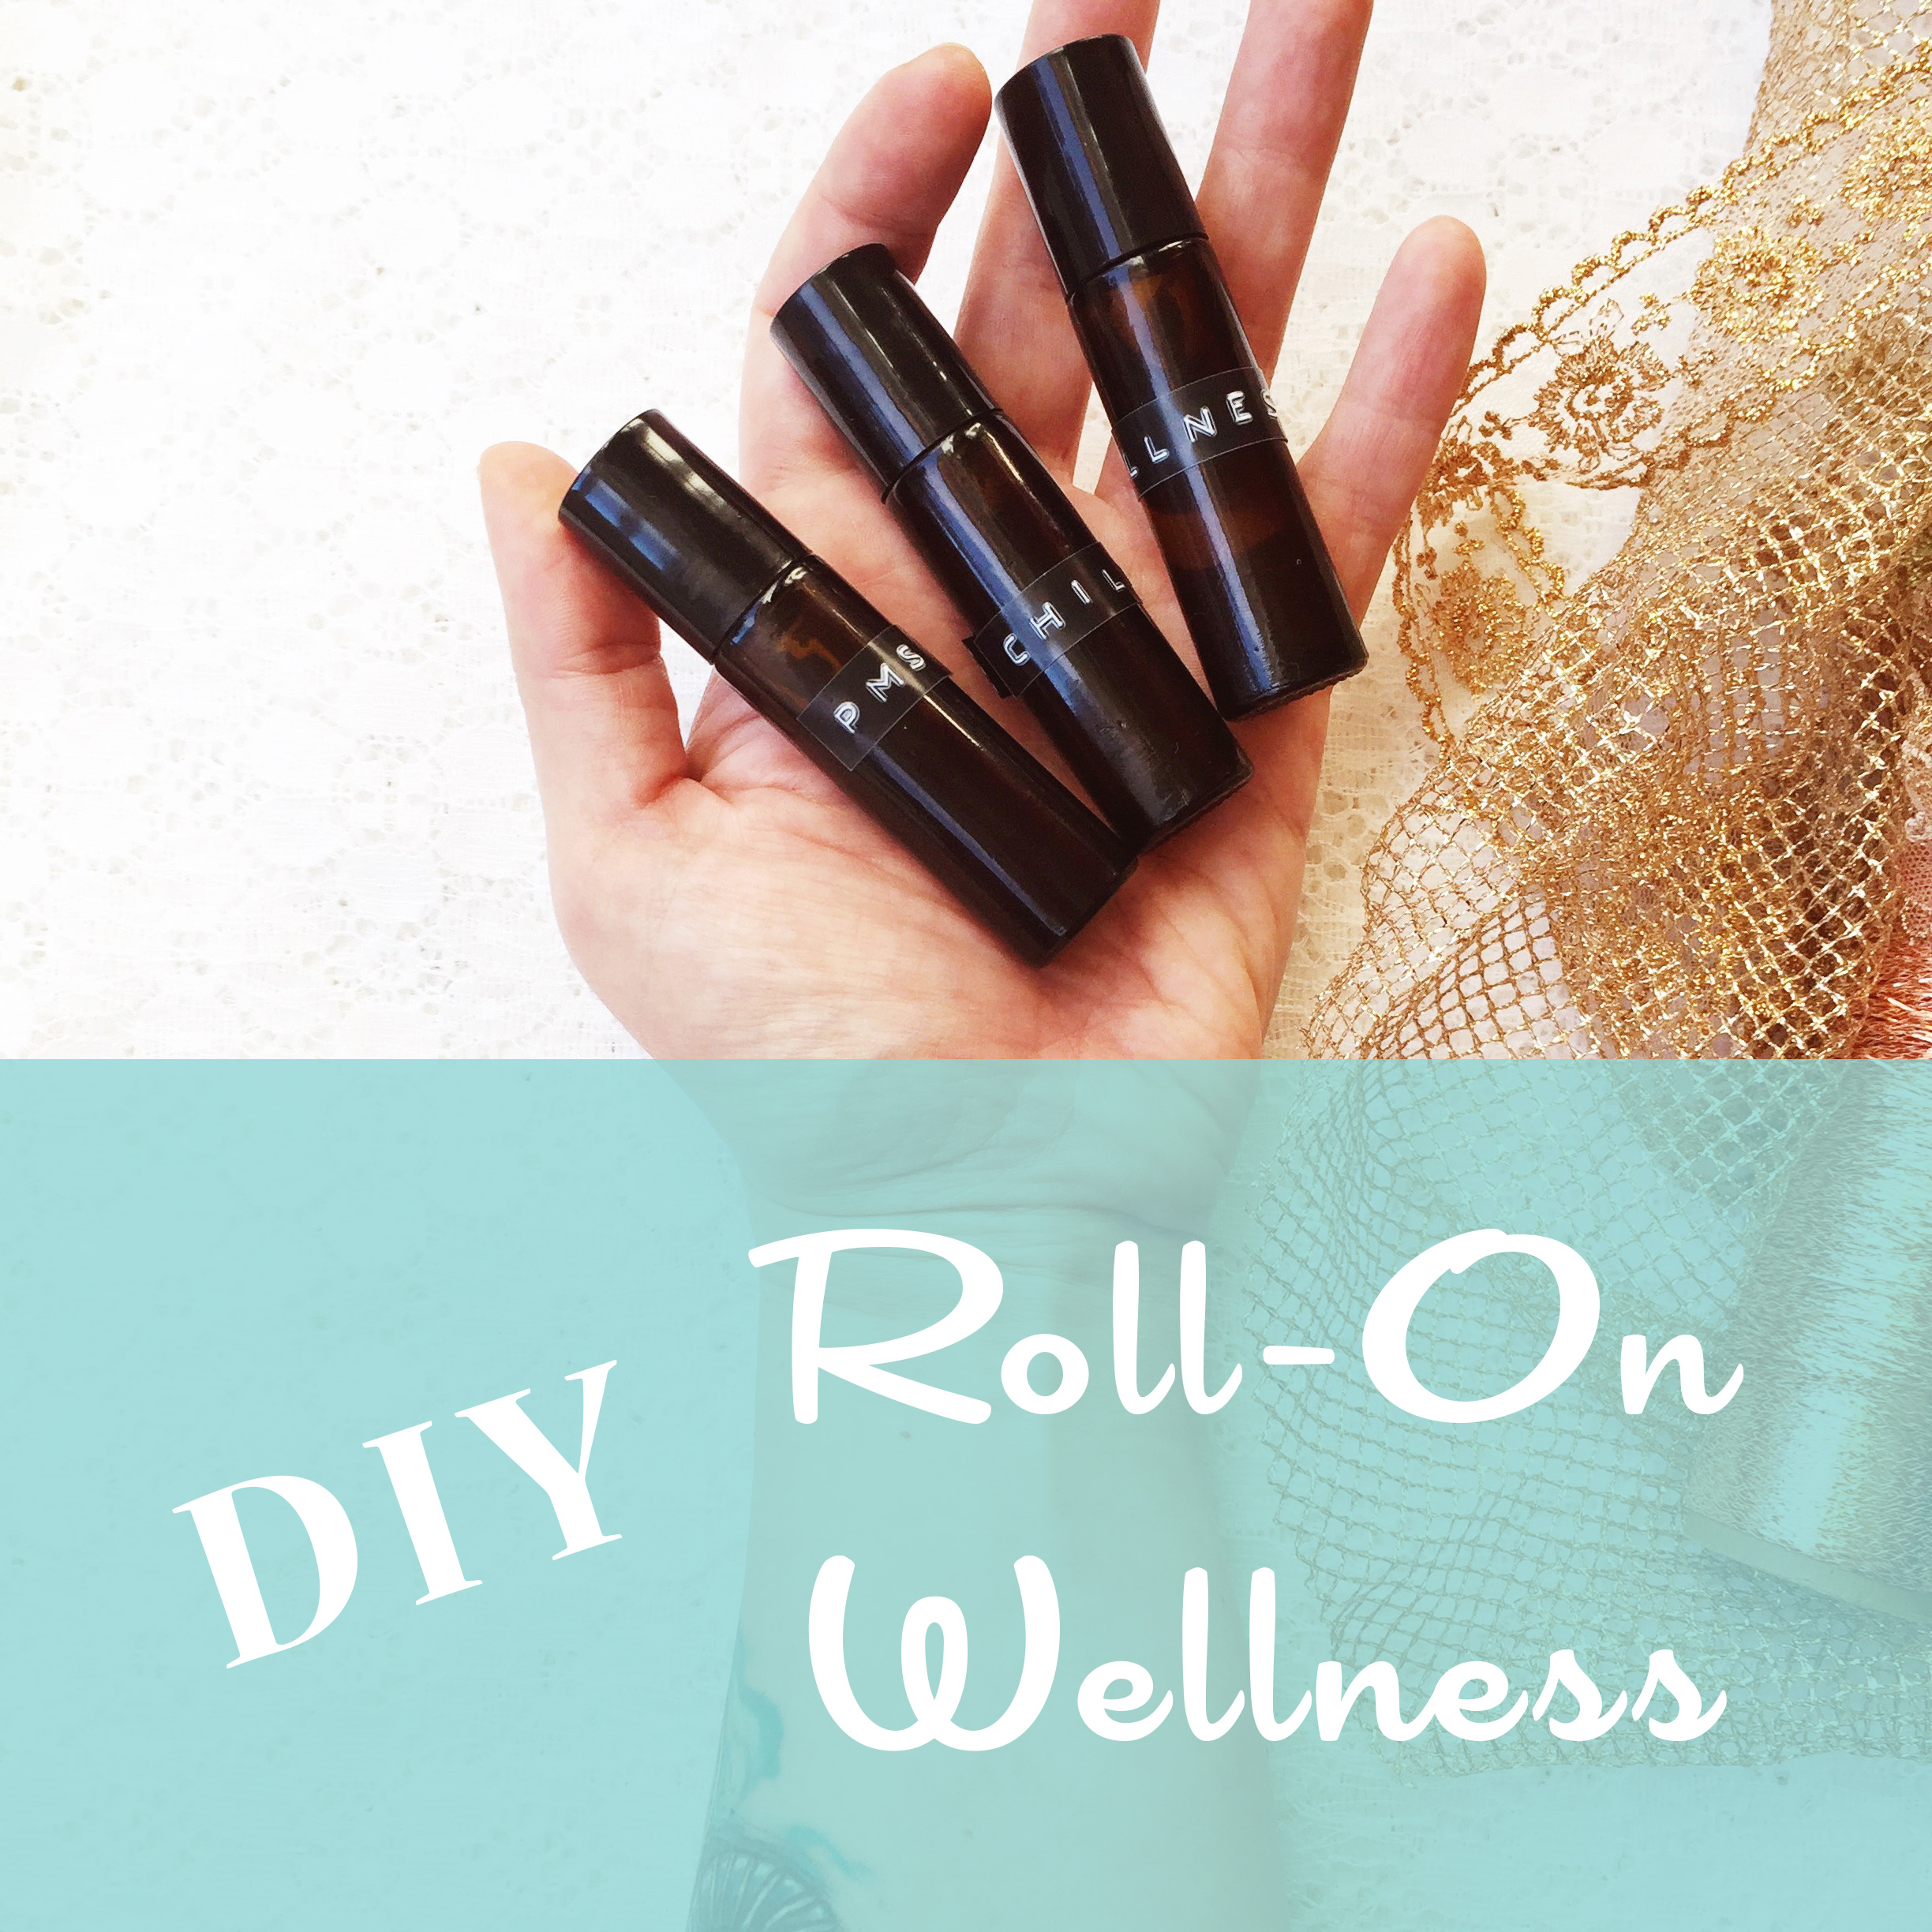
Today I’ve got three great essential oil roll-on recipes to share: PMS Wellness {to help balance emotions}, Winter Wellness {to help boost immune systems}, and Chill Out {to, obviously, help you chill & relax}. Once again, all these recipes are courtesy of my generous oils friend, Jan DuMontier.