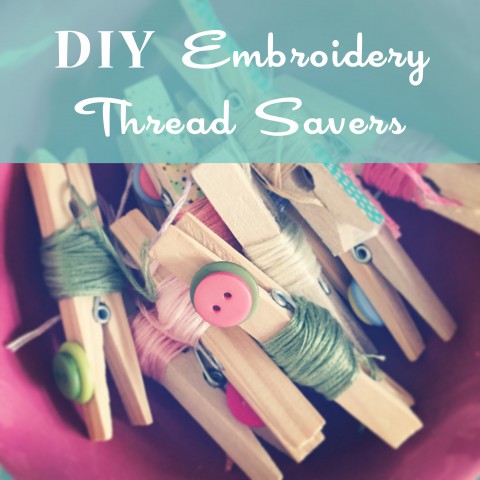
I was recently on a mission to tidy up my Love Catcher sewing box. It contains all the bits and pieces I need to prepare the embroidery hoops for the Love Catchers. I began pulling everything out of the box and sorting things into piles, which is when I quickly discovered a mishmash of embroidery thread pieces. They’re good lengths of embroidery thread (perfectly suitable to keep around), so I whipped out some clothespins and got to work on organizing them. When I posted a picture on Instagram of the nicely organized threads, folks were tickled {and surprised} at how a simple thing like a clothespin could make such a great thread saver. And so, I’m sharing it here with you. Pull out your sewing box and errant threads and let’s get to work!
Here are the supplies you will need for this project:
- wooden clothespins
- washi tape
- buttons
- hot glue gun & glue
- scissors
- embroidery thread in desperate need of organizing
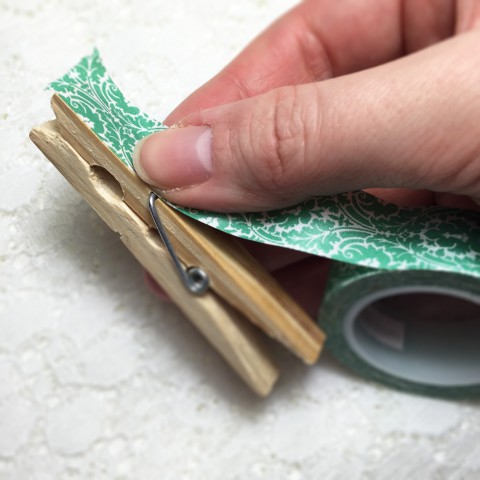
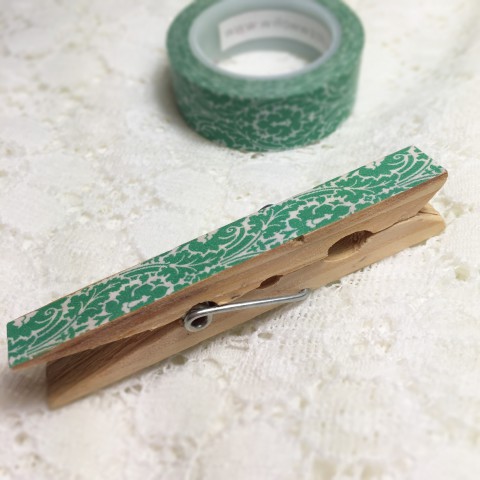
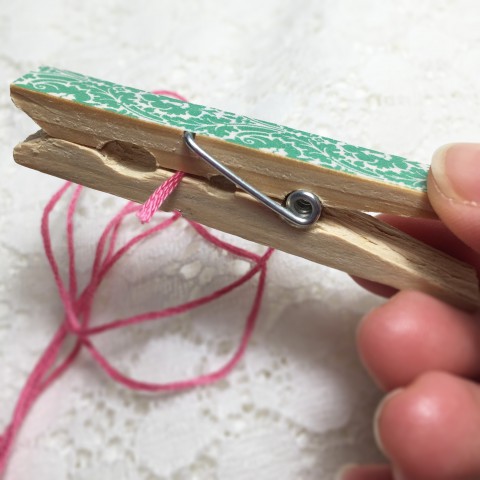
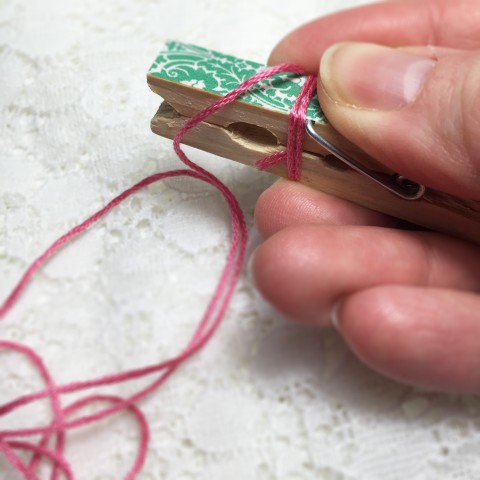
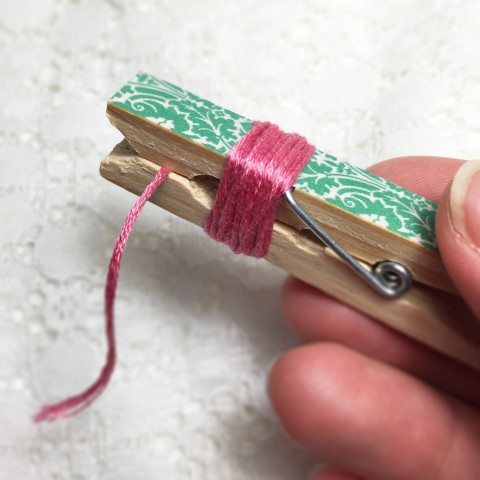
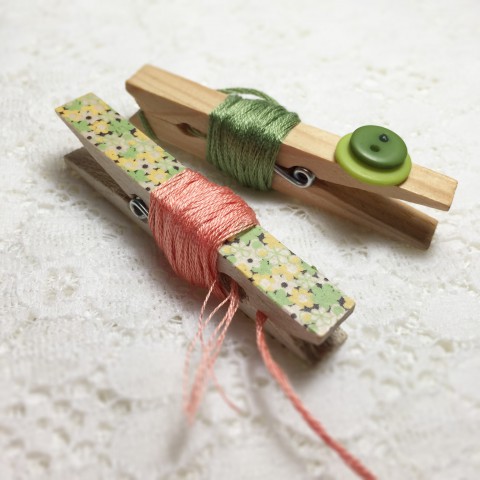
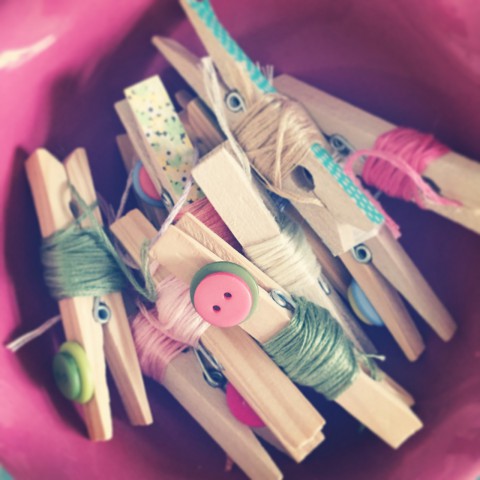
After Thoughts:
One of my favourite shops to purchase washi tape is Willow and Washi. In fact, that is where the washi tape used in this tutorial is from. If you’re on Instagram, they are a lot of fun to follow. I also admire the washi at Le Box Boutique, but I have yet to order from them. Do you have somewhere special you like to buy your washi tape from?
]]>
Sammy and I have had a bit of fun lately making mail art for friends. I posted about my previous adventures in mail art, doing a postcard exchange with my art friends. It’s been years since all of that, but I continue to be fascinated with mail art, especially in light of all the postal changes coming to our Canada Post services (they’re phasing out home delivery of mail… we’ll all just have community post boxes). Maybe I’m just sentimental, but it makes me really sad to think of Sam’s generation growing up without knowing the joy of receiving mail right to your front door. Although, I realize that once we move out to the farm, we will likely have a PO box anyway. Does it make me old, that I still remember the joy of sorting the mail at home as a kid & discovering a letter or postcard from one of my pen pals living on the other side of the world? Who keeps pen pals anymore, when there’s Facebook? There’s still just something really wonderful about receiving a physical letter or card from someone, instead of a digital one or an instant message.
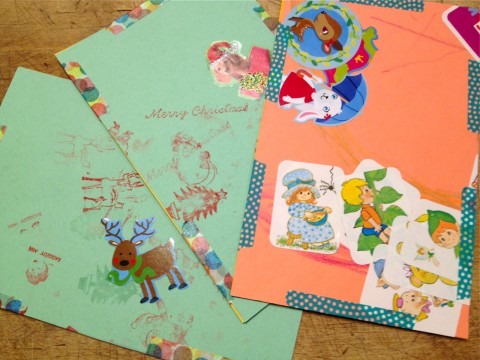
It with some of these thoughts in mind, that I put together little postcard making kits for two of Sammy’s dearest friends. I really meant to take photos of their kits before I gifted them, but le sigh, did not (I will add the postcard kits to the list of DIY projects/tutorials I want to share with you in the near future). One of Sammy’s friends has since moved to Ontario and we (ok, it’s mostly me at this stage) have loved receiving the colourful postcards from little Miss Summerlee. Sam is just reaching the stage when he will start to enjoy receiving the cards, after all, he now understands the concept of opening presents. And these postcards are really just little present that arrive in the mail. Sam finally returned the favor and got a few postcards off to friends before Christmas.
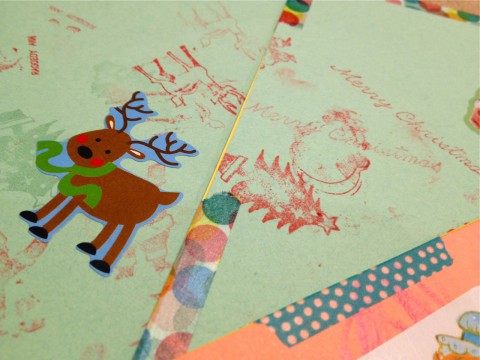
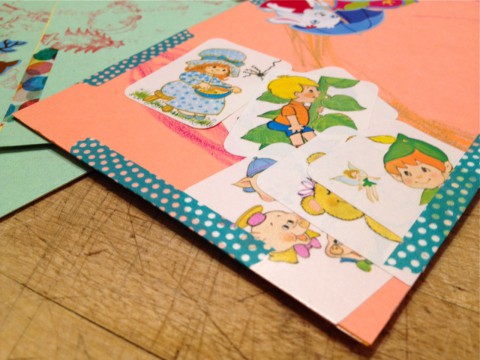
I used to glue the front & back of the postcards together, but that’s not exactly a toddler friendly activity to do. So I’ve opted instead to tape the postcard fronts & backs together with colourful washi tape. I also tacked them together a bit with double sided tape, which isn’t visible in the finished postcard. I do the cutting and taping, but Sam’s does all the “artwork”. He’s very fond of piling up stickers on top of each other. For these postcards being sent around Christmas, I also dug out some vintage Christmas stamps that my dad used to use. That was a slight mom fail, as I used some of my stamp ink, which is meant to be archival, and therefore not easily washable from little hands. Doh! Sam was a bit festive with red hands for the day, but it eventually came off once he soaked in the bath. Mom fails are a common occurrence in our home (and I know I’m not alone on these things).
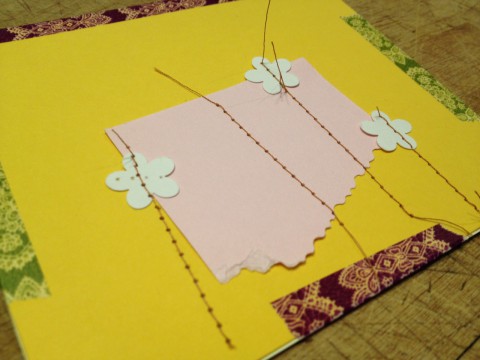
I also did a little mail art myself, with some shaped paper punches, scrap paper & the sewing machine. Simple, but cute, I think. It’s jut lacking a button. I blame all the crooked stitching on the fact that Sam insisted on sitting in my lap while I sewed. Not sure how long I’m going to be able to keep him from the sewing machine. That’s NOT another “mom fail” to come. He won’t be using it himself for years to come, but he does love to watch me & I can see the gears turning to figure out how it’s all working.
Don’t forget I keep a Pinterest board of inspirational mail art ideas. Do check it out, it you’re curious about some of the possibilities. There’s also an awesome book, which I should dig out & look through again, called A Good Mail Day by Jennie Hinchcliff. There’s also a tumblr feed to check out if you appreciate all the is associated with the “art” of real, honest-to-goodness mail. Enjoy!
]]>So of course, now I’m keeping my eyes open for some washi tape crafts. I already started doing this (decorating clothespins with tape and wrapping my embroidery floss scraps around them to keep my hand stitching box tidy).
These washi tape flowers caught my attention (notice the button in the centre of the flower). Super easy to make. I’d love to whip up some to put on cards. You can find the full tutorial on the Lines Across blog.
Source: linesacross.com via Sarah on Pinterest
